


Embroidery by Design
Beginnings
 Have you ever had a design dilemma? You know the one I mean, you have just constructed this beautiful fabric base, and you want to begin embroidering. You have all of the materials and tools arrayed in front of you, and then it hits you, where on earth do I start?

I know what that dilemma feels like, because I have been there myself! In my new book, Beyond Crazy Quilts: Piecing, Patchwork & Embroidery for Unique Designs, by C&T Publishing, I focus on answering that very question, and more.
Where to Start

First of all, I find the best way to start is to understand the areas that you will be embroidering. In the chapter, Embroidery and Embellishment Stitches, the stitches are organized by the type of stitch that you would use. When you are selecting a stitch, look at the size and the shape of the pattern pieces, the seams connecting these pieces, and the open spaces between these seams.
- Border rows: choose a stitch for short seams or narrow spaces, medium seams or medium spaces, and long seams or wide spaces.
- Decorative stitches: choose an individual stitch, flower, or filler shape to work off or around the border rows.
- Detail stitches: choose stitches to work off or around the border row and decorative stitches.
- Embellishment stitches: choose stitches to work off or around the previous stitches.
-
Center, corner section, open spaces, and vignettes: choose stitches from 1- 4 above.
Embroidery Progression

In the chapter Embroidery by Design, I explain how to determine the details of the blocks and what stitches will work best where. In addition, I give you embroidery and embellishment examples, explaining how to build and layer your embroidered designs.
Before you begin to embroider, first stitch any larger components on the block, such as trims, hexis, or buttons. The embroidery stitches will start or end with these pieces, rather than being covered up by these components.
- Step 1: Embroider in the border row stitches, working from the shortest seam to the longest.
- Step 2: Embroider in the decorative and detail stitches off of, or around the border row stitches.
-
Step 3: Embroider the embellishment stitches off of the previous stitches. Finally, stitch the embroidery and embellishment stitches into the center, corner sections, open spaces, and vignettes.
Project Examples
Here are a few examples of the projects that are included in the book.

Caption: Strip-Pieced Block Wall Hanging

Each project has a comprehensive materials list, with images for the fabrics, trimmings, embroidery materials, and embellishments that were used for the project. Use these as a guide for when you are making your own design choices.
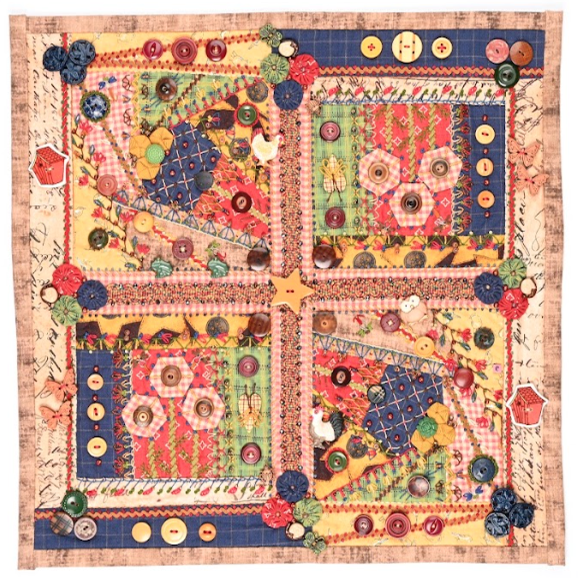
 Caption: Wedge-Pieced Block Wall Hanging
There are detailed cutting instructions for the blocks and other components, sewing instructions to complete the base, and then final assembly instructions to finish the base design.

Each of the projects includes block diagrams and base design blueprints, so that you can visualize the process while reading the instructions.

Caption: Crazy-Pieced and Stripped Crumbles Block Wall Hanging
The complete written details for the embroidery and embellishment stitches will guide you through each project with confidence from start to finish.
You can find the details for my new book, Beyond Crazy Quilts, at C&T Publishing.
Happy Stitching To You! ~Christen
...
Christen Brown teaches embroidery, quilting, crazy quilting, ribbon work, mixed media, and beadwork in her best-selling books. With a degree in fashion design, she has shown her work in galleries and fashion shows internationally. She lives in Escondido, California. christenbrown.com


