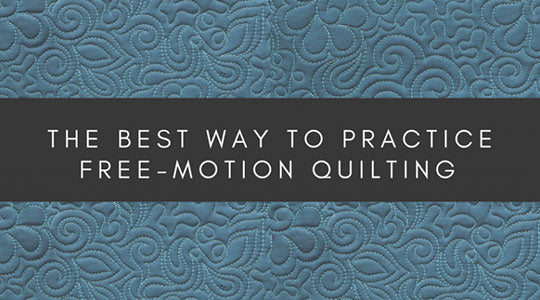
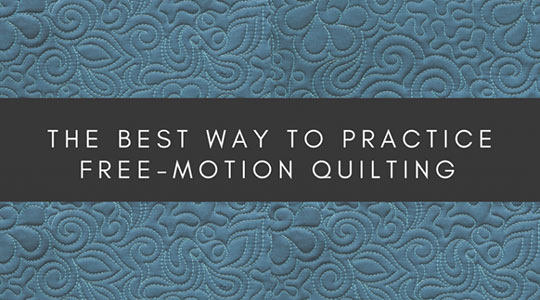
The Absolute Best Way to Practice Free-Motion Quilting
Share
Almost every month I travel and teach free-motion quilting to quilters at guilds and quilt shops. I truly love it, and I hope that everyone who takes a class from me enjoys it as well! But, inevitably, there comes a time in every class where I have to break the bad news . . . to get better at machine quilting, you have to practice.
I know, I know. It’s not exactly what you (or anyone for that matter) wants to hear. I so wish that I had that one tip, trick, or even funny joke that would instantly make you a great machine quilter . . . But, unfortunately, I don't.
But before you leave in frustration . . . there is hope! While you do have to practice, I have the absolute best way to practice machine quilting. It’s a technique from my soon to be released book, Free-Motion Meandering: A Beginner’s Guide to Machine Quilting.
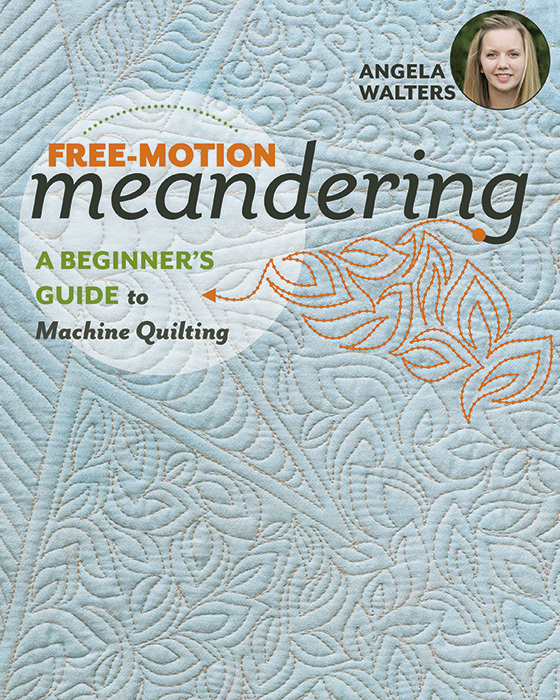
I developed this practice technique from teaching more machine quilting classes than I can count. It makes learning machine quilting manageable and helps prepare you for working on an actual quilt. The bottom line is that if you practice productively, you will get better at machine quilting faster.
On a side note, this technique works whether you are drawing the quilting design or actually quilting on a quilt sandwich.
How to Practice Machine Quilting
1. Define a practice area.
Define a practice area by quilting (or drawing) a square. It doesn’t have to be any particular size or even a square. You just need clear boundaries to fill in with quilting.
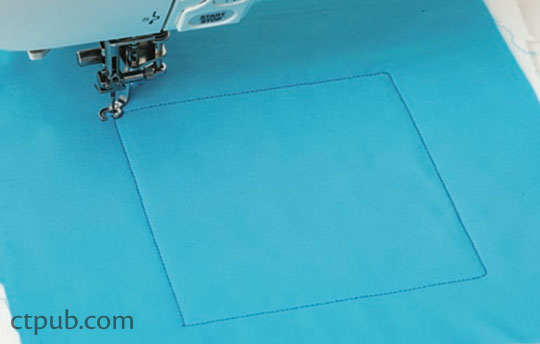
It could be a whole piece of paper or an area that you have marked on a quilt or even an actual quilt block. (You get bonus points for practicing on an actual quilt.)
2. Commit to Filling in the Whole Area
Pick out a quilting design and commit to filling in the whole area without stopping or ripping out quilting (or erasing any drawn lines).
But that’s not all . . . here comes the hardest part of all . . . you can’t judge your quilting while you’re doing it. (I told you it would be difficult!) That also means you can't say negative things to yourself. (It's amazing that we will say things to ourselves that we wouldn't allow any one else to say!!)
3. Ready . . . Set . . . Quilt!
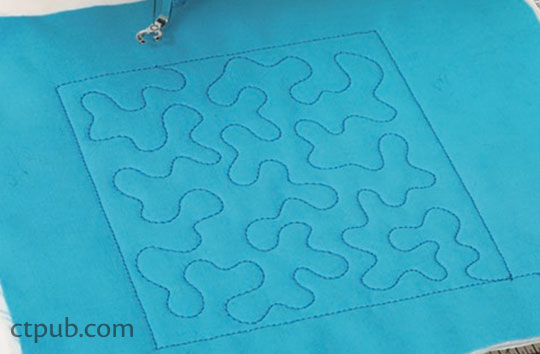
This is where the fun happens! Start quilting (or drawing) a design in the area, trying to fill it in as much as possible. The design you use doesn’t matter. It could be something that you have been wanting to master or perhaps a design you plan on using on your next quilt. If you can’t decide, you could always quilt “Angela Is Awesome” over and over again. Just kidding!
4. Assess Your Quilting
Once finished, look over your sample and decide on one thing you want to improve during your next practice session. It could be anything, including, but not limited to:
• Quilting smoother lines
• Keeping the stitch length consistent
• Avoiding getting stuck
• Not cursing as much while quilting (Hey, it doesn’t matter what your goal is!)
If you are a perfectionist, it may be difficult limiting yourself to only one thing. But it’s very, very important to only focus on one aspect of your quilting to improve. Setting just one goal gives you the ability to see improvement. When it comes to machine quilting, achieving small goals can help prevent you from giving up!
5. Repeat
Now that you have a goal in mind, repeat the steps and practice until you are ready to start working on a different goal. It isn’t really about how long you practice, it’s about consistency. Try doing quilting five minutes a day . . . or twenty minutes a week . . . whatever you think is manageable for you!
What if you make a quilting “mistake”?
Here's the kicker, what happens if you make a mistake. Well, I would argue that it's not "if" you make a mistake, it's what you do "when" you make a mistake!
Filling in a defined area teaches so much more than just learning a particular quilting design. You’ll learn how to maneuver around an area as well as how to deal with corners. But most importantly, it will help you see what the overall quilting texture will look like.
When your face is just a couple of inches away from the quilt, it can be so easy to spot all your mistakes. But when the whole area is filled, you'll see that the overall texture can hide any imperfections.
For instance, if I make a mistake (or, as I prefer to call it, “an unintentional customization”) it’s going to be very obvious . . . such as this "oops" I quilted on this sample.
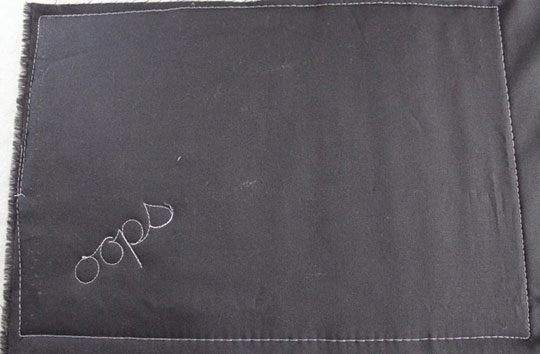
But after filling in the whole area, you'll notice that it starts to blend in with rest of the quilting.
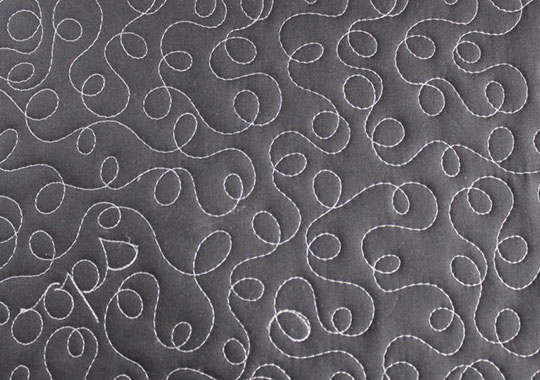
The moral of this story is, if you make a mistake . . . just keep quilting until you can’t see it anymore. (Don’t you wish that was the case with other things in life?!?)
I already mentioned that this is in my newest book, Free-Motion Meandering, but I have to tell you that I couldn’t be more proud of it! This book is the product of all the classes I have taught. It not only shows you several versatile meandering designs including swirls, leaves, and even improv quilting, it also includes frequently asked questions, as well as how to troubleshoot common mistakes.
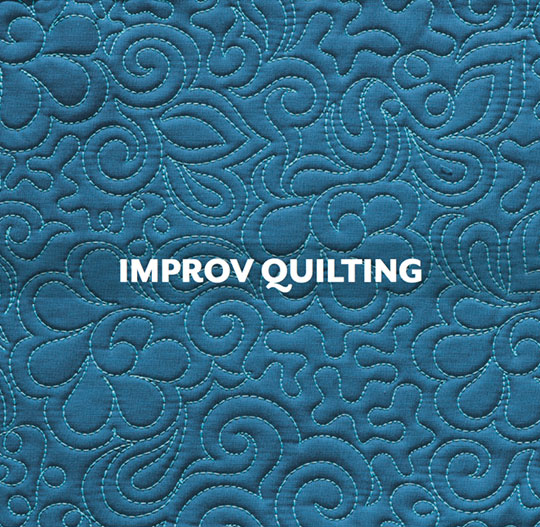
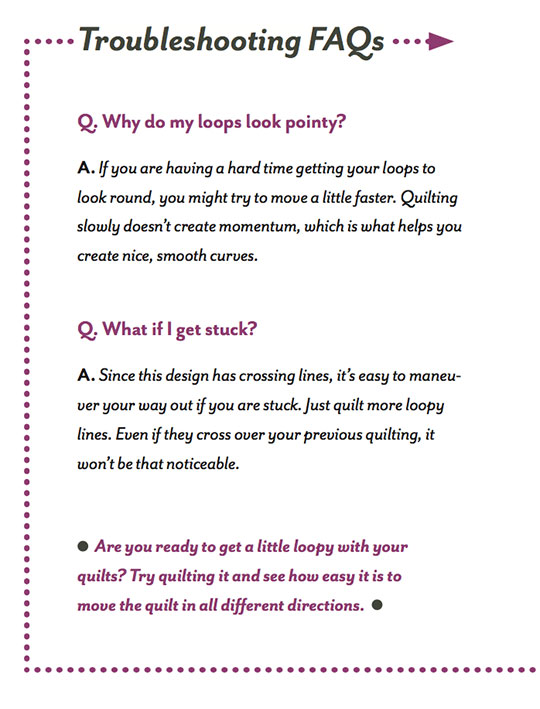
The book will be released in the next week or two, but you can preorder a signed copy now.
Thanks so much for your support! Happy quilting!
Angela Walters


