Spotlight on Embroidery Titles
Share
This August, we're turning the spotlight on embroidery! Embroidery is increasingly popular among every kind of stitcher, and with the huge variety in style out there, it's no surprise. Today we'll share some tips and tricks from our favorite embroidery books (and a few products!). Plus, we're offering 25% off all the featured titles until Saturday! Scroll down to the bottom of this post for the 25% off promo code.
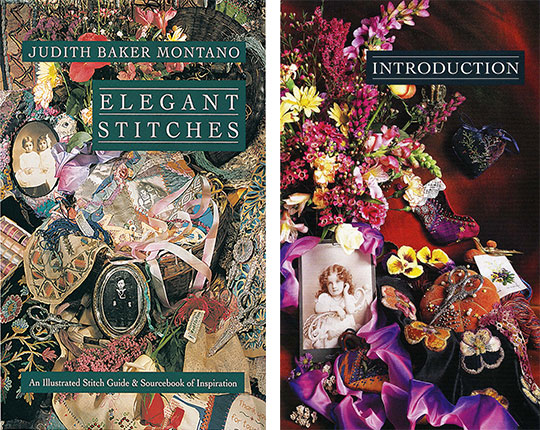
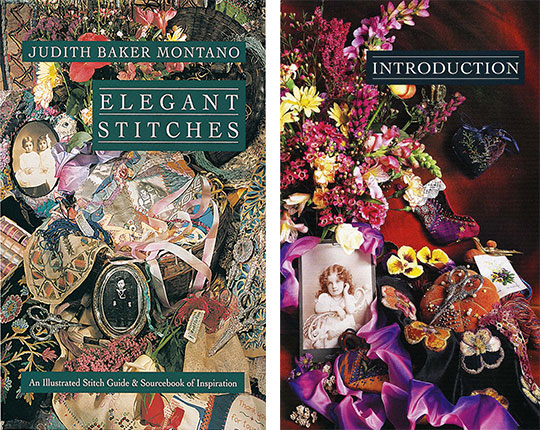
Elegant Stitches: An Illustrated Stitch Guide & Source Book of Inspiration
Useful Tip: Before working the design, test your threads, yarns, or ribbons for color-fastness. Place these in a glass of water with part of them up and over the edge of the glass. Leave for ten minutes, the remove and lay out on a white paper towel or non-abrasive fabric. Using your fingers, press between the towel, then open and check for color stains.
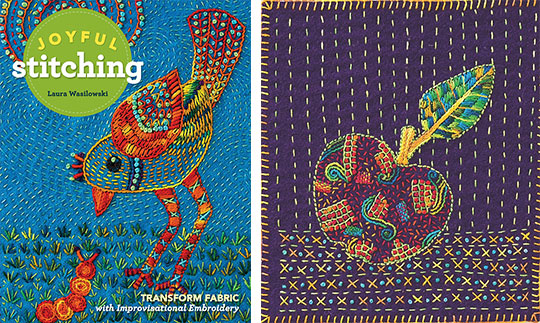
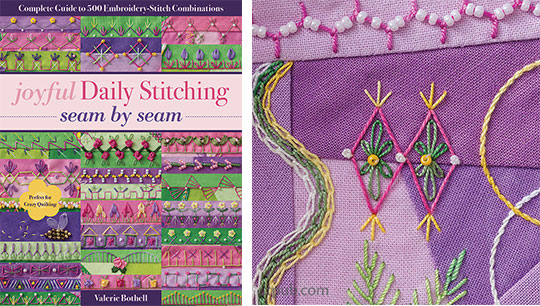
Joyful Stitching: Transform Fabric with Improvisational Embroidery
Tip: Using Perle Cotton
A length of 18 ̋ or less is good for stitching. If the thread is too long, it tangles and may fray from the friction of being pulled through fabric.
Useful Tip: Cut more fabric than you will need. The rule of thumb is 2 ̋ extra all around.
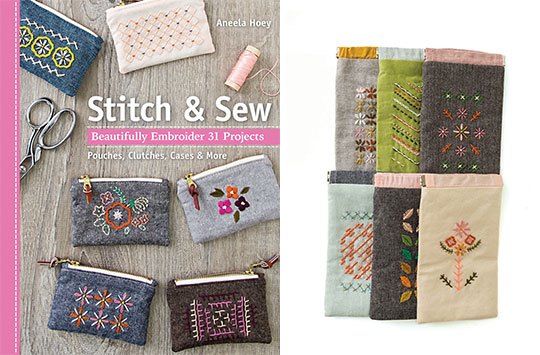
Stitch & Sew: Beautifully Embroider 31 Projects
Note: Screen-Light App
If you have an iPad, you can add the Screen-Light app to your device. When opened, it turns your iPad into a makeshift lightbox, allowing you to trace designs onto your fabric.
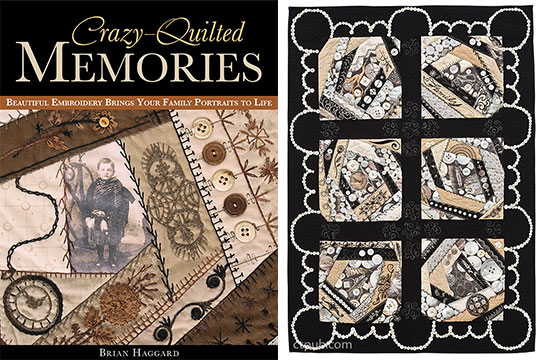
Crazy-Quilted Memories: Beautiful Embroidery Brings Your Family Portraits to Life
Note: You can use an aging technique for organza, a synthetic fabric. Gather the fabric to make a flower and tie it off. Spray it with water and, using a pressing cloth, squash it under the iron, making it look tired. Place it on a piece of paper and spray it with Brian’s Aging Mist. Iron the still-wet fabric using an old pressing cloth. (Some dye residue will come off on the pressing cloth, so don’t use your best linens.) The fabric is magically aged and ready to appliqué to your project.
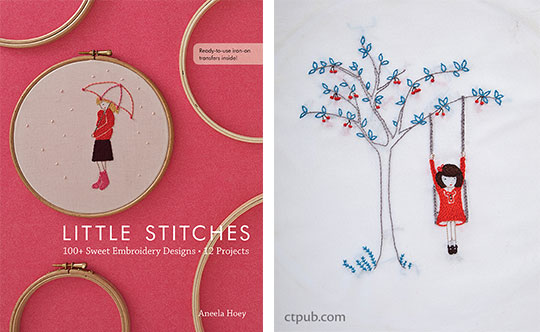
Little Stitches: 100+ Sweet Embroidery Designs • 12 Projects
Tip: When embroidering with only one or two strands of floss, you will need to make a larger knot to anchor the thinner threads firmly.
Tip: Think Back
A great place to start figuring out your original favorite color is to close your eyes. Next try to remember that favorite crayon color from when you were five years old—the one that you could not wait to use. I bet that you are smiling right now remember-ing the joy that color brought to you. Start there. It’s that simple.
TIP! Clean your machine with a brush, and oil as directed in your manual—and do change the needles regularly!
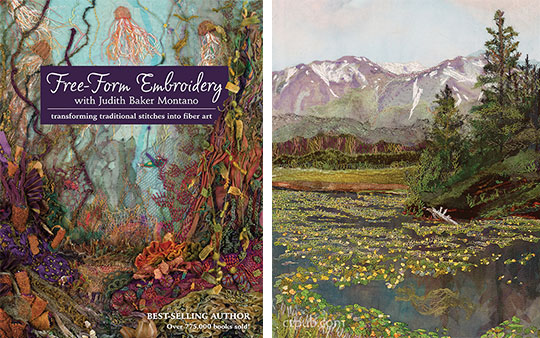
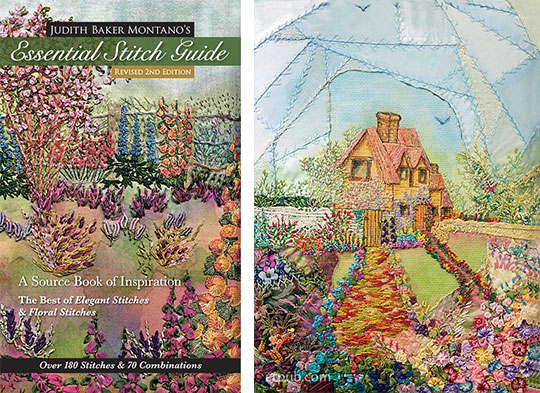
Free-Form Embroidery with Judith Baker Montano: Transforming Traditional Stitches into Fiber Art
To create grass shapes, use fine threads in long, loose overlapping stitches such as lazy daisy, straight stitch, couched straight stitch, elongated buttonhole stitch, coral stitch, and pistil stitch. Use colonial knots, braid stitches, fly stitch seedpods, and head of the bull stitches for seed or grain heads.
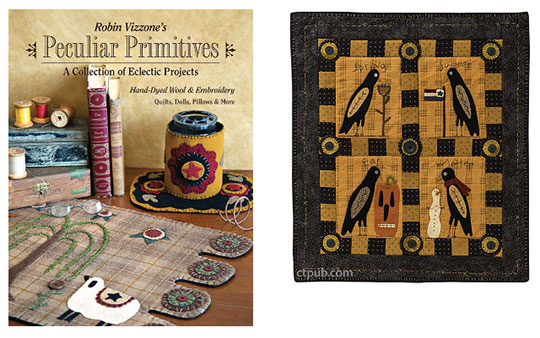
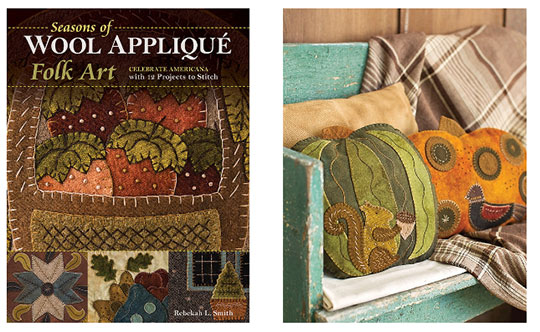
Seasons of Wool Appliqué Folk Art: Celebrate Americana with 12 Projects to Stitch
Helpful Hint: To make a crisp corner, insert the needle through the background at the point. Then bring the needle back up again next to where the needle went down to anchor the stitch at the point.
Tip: I don’t recommend using a solution of steeped tea for dyeing, because the tannin in the tea will eventually ruin the lace by leaving brown or discolored spots. Coffee also eventually discolors fibers.
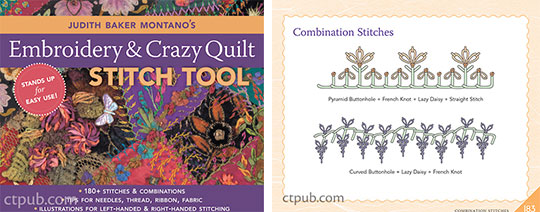
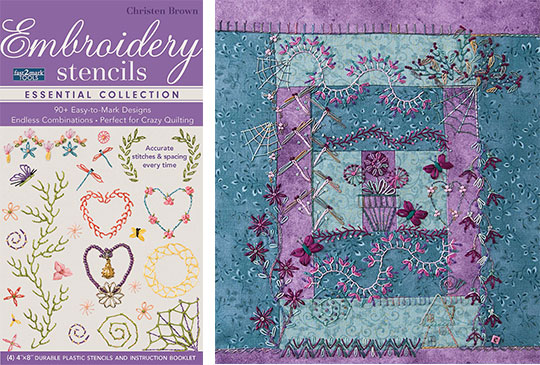
Tip: Many of the curved and V-shaped designs can be combined with the reverse image or the flipped image to create a different shape.
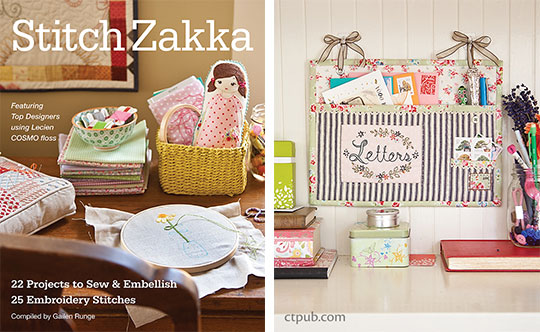
Stitch Zakka: 22 Projects to Sew & Embellish • 25 Embroidery Stitches
Tip: To ensure that the embroidery is centered on card stock, hold the embroidery up to the light with the card stock shape behind it. You will easily be able to see if you have it in the correct place.
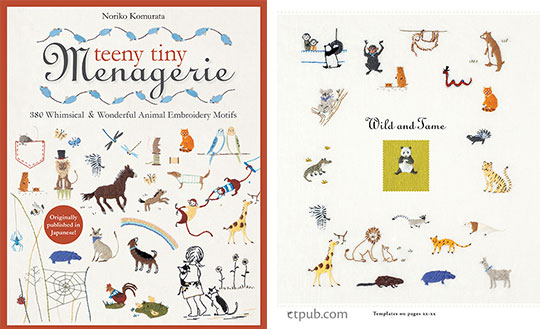
Teeny Tiny Menagerie: 380 Whimsical & Wonderful Animal Embroidery Motifs
Make small, neat knots and trim the thread ends close to the surface of the embroidery fabric. This will prevent the design from appearing bulky or bumpy on the right side of the work.
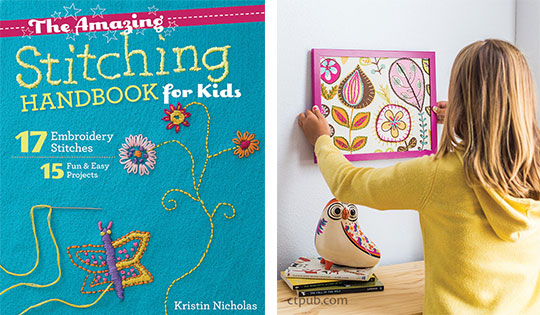
The Amazing Stitching Handbook for Kids: 17 Embroidery Stitches • 15 Fun & Easy Projects
Quick Tip: When cutting a length of Persian wool or embroidery floss from a skein, be sure to leave about 3 ̋ of thread sticking out of the skein so that next time you need thread, you will be able to find the end easily.
Tip: If you need to remove stitches, simply pull them out. Realign the fabric threads by scratching over the surface with your fingernail.
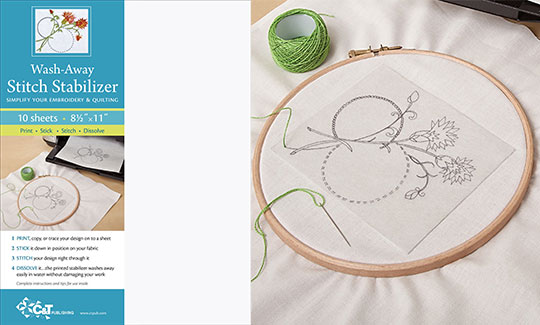
Wash-Away Stitch Stabilizer: Simplify Your Embroidery & Quilting
Note: Because printers and inks vary, always do a test sample to verify that your ink does not bleed, and that it washes out completely. If the ink in your printer or copier bleeds, use a different machine.
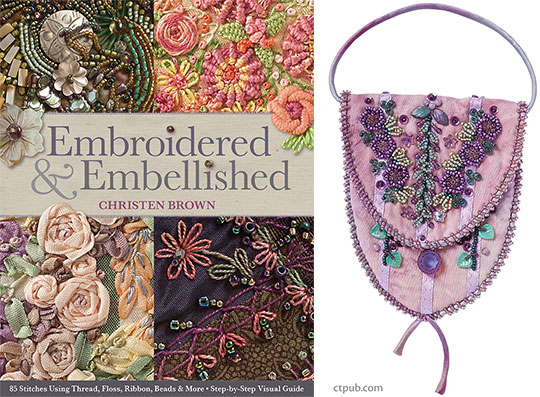
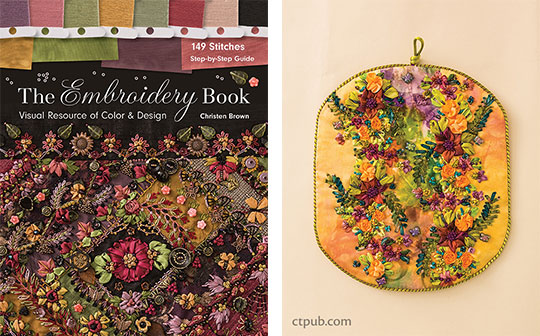
The Embroidery Book: Visual Resource of Color & Design • 149 Stitches • Step-by-Step Guide
Note: If the beads, buttons, and charms are to be used as accents, it is not necessary to use them in every color of your chosen palette.
Tip: To make the crazy-quilt block more interesting, start cutting different fabric shapes other than the rectangular shape you started with.
You can get 25% off all these amazing books with the promo code EE25. Promotion ends 9/1 at 11:59 PM PST.

