Making a Bargello Quilt
Share
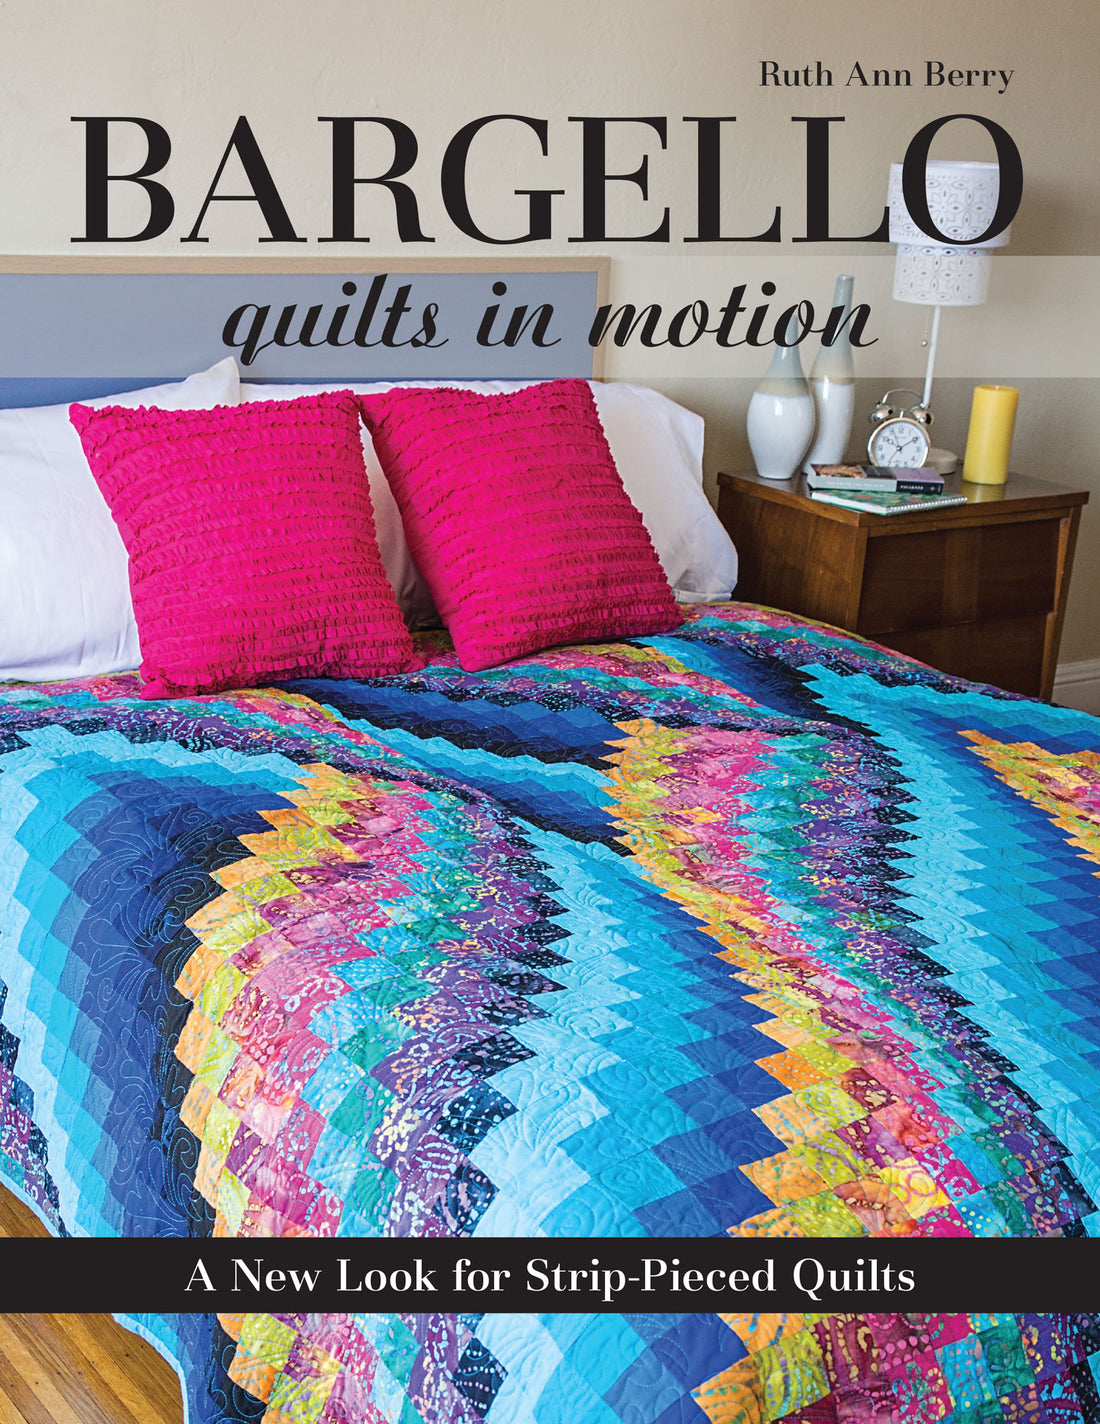
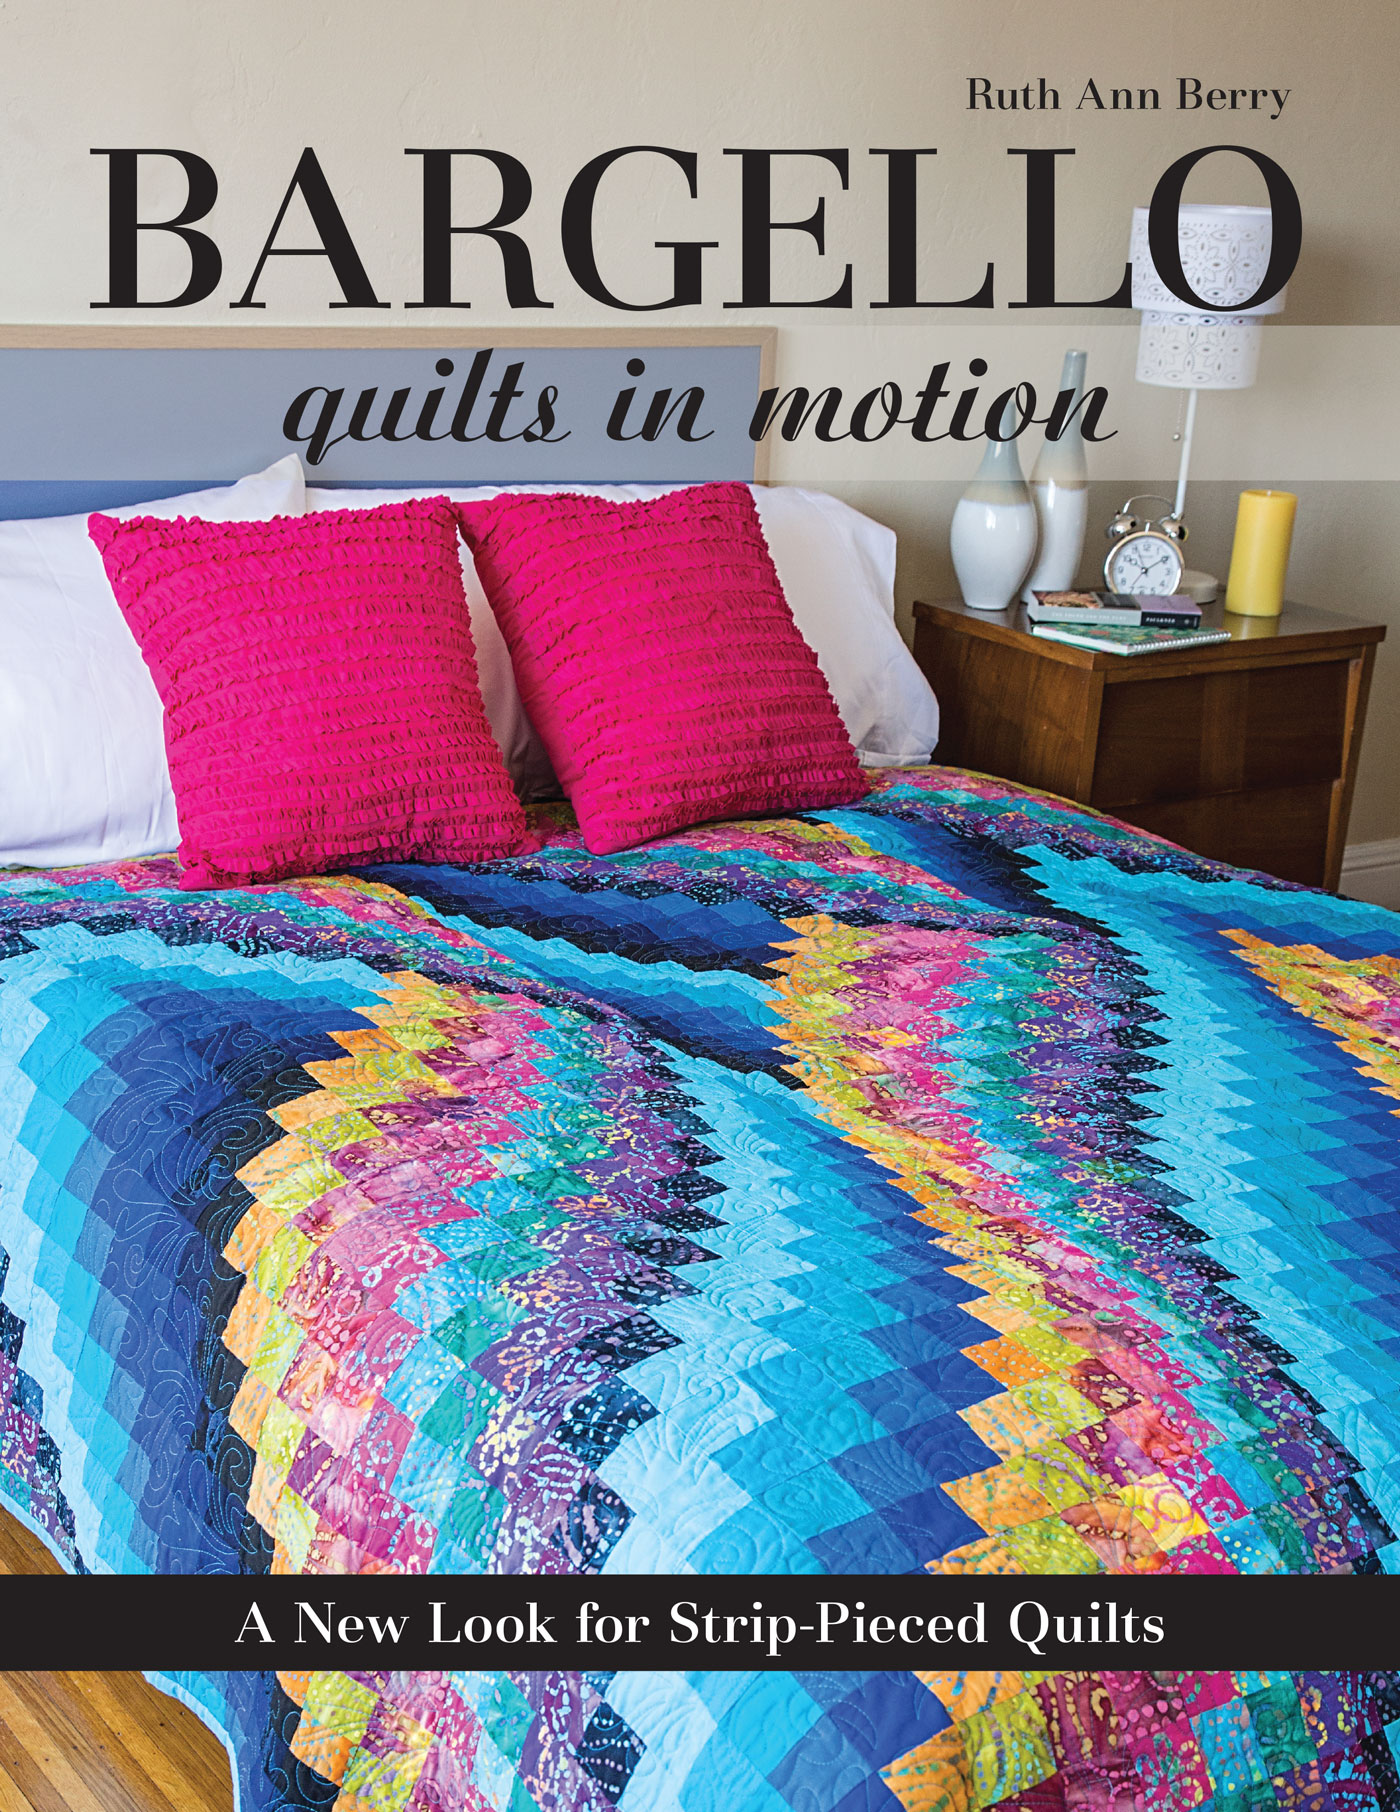
The following information is from Bargello Quilts in Motion by Ruth Ann Berry. Learn some helpful tips on how to get started making a Bargello quilt! Plus, scroll to the bottom of the blog for a chance to win an ebook copy.
MAKING A BARGELLO QUILT
Selecting Fabric
It seems like you need a separate set of fabric shop-ping eyes for each style of quilt you set out to create. For a quilt with repeat blocks, you shop for fabrics that work together but have a strong value contrast, so that the shapes within the blocks stand out and the perfect points and seam matchups are show-cased. For watercolor- or landscape-style quilts, you are on the lookout for a gradual blending of values so that the transition from one fabric to another is smooth and the shape of the individual pieces disappears into the composition as a whole.
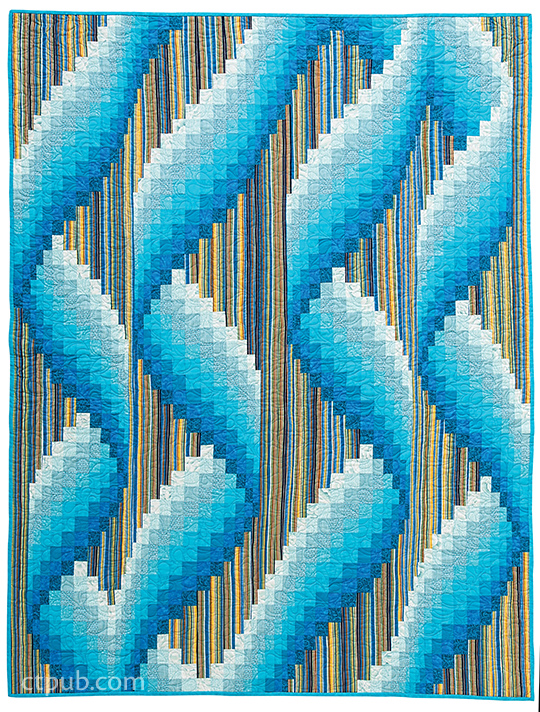
The projects in this book require a little bit of both strategies. Scout for two distinct sets of fabric that blend smoothly from light to dark within their set but that contrast strongly with the other set of fabrics. First, decide how you would like to separate the two elements of your design—the scribble and the background. Choose a light-to-dark series of prints (batiks, florals, or plaids) to go with a graduation of solid color, or choose two contrasting color sets that you like together. If you’re going to use a striped fabric for your background choose a variable-width, multicolor stripe that runs parallel to the selvage edge of the fabric for one fabric and a light-to-dark graduation of solid-color fabrics that go with the stripe but that will stand out from it.
TOOLS AND SUPPLIES NEEDED
ROTARY CUTTING
- Rotary cutter
- Rotary cutting mat (at least 18˝ × 24˝)
- Acrylic ruler (I prefer the 6˝ × 24˝ size.)
SEWING
- Scissors
- Seam ripper
- Pins (I prefer flathead flower pins.)
- Tape measure
MARKING
- There are dozens of choices of marking utensils; I prefer a #2 pencil.
- Clear tape, used to tape fabrics to Fabric Number Chart (page 6)
PRESSING
- Iron
- Pressing surface
TIP
Making Your Own Pressing Surface
I made a quilted four-layer 36˝ × 36˝ pressing surface that I really like. It starts with a bottom layer of cotton fabric, then a second layer of Insul-Bright or Insul-Fleece interfacing, a third layer of cotton batting, and a top layer of silver ironing board cover fabric. Quilt with a simple grid and finish with a binding. I use it at whichever table I am working.
Enter for a chance to win an ebook copy of Bargello Quilts in Motion
-

