From The Quilter’s Practical Guide To Color by Becky Goldsmith

Class Description
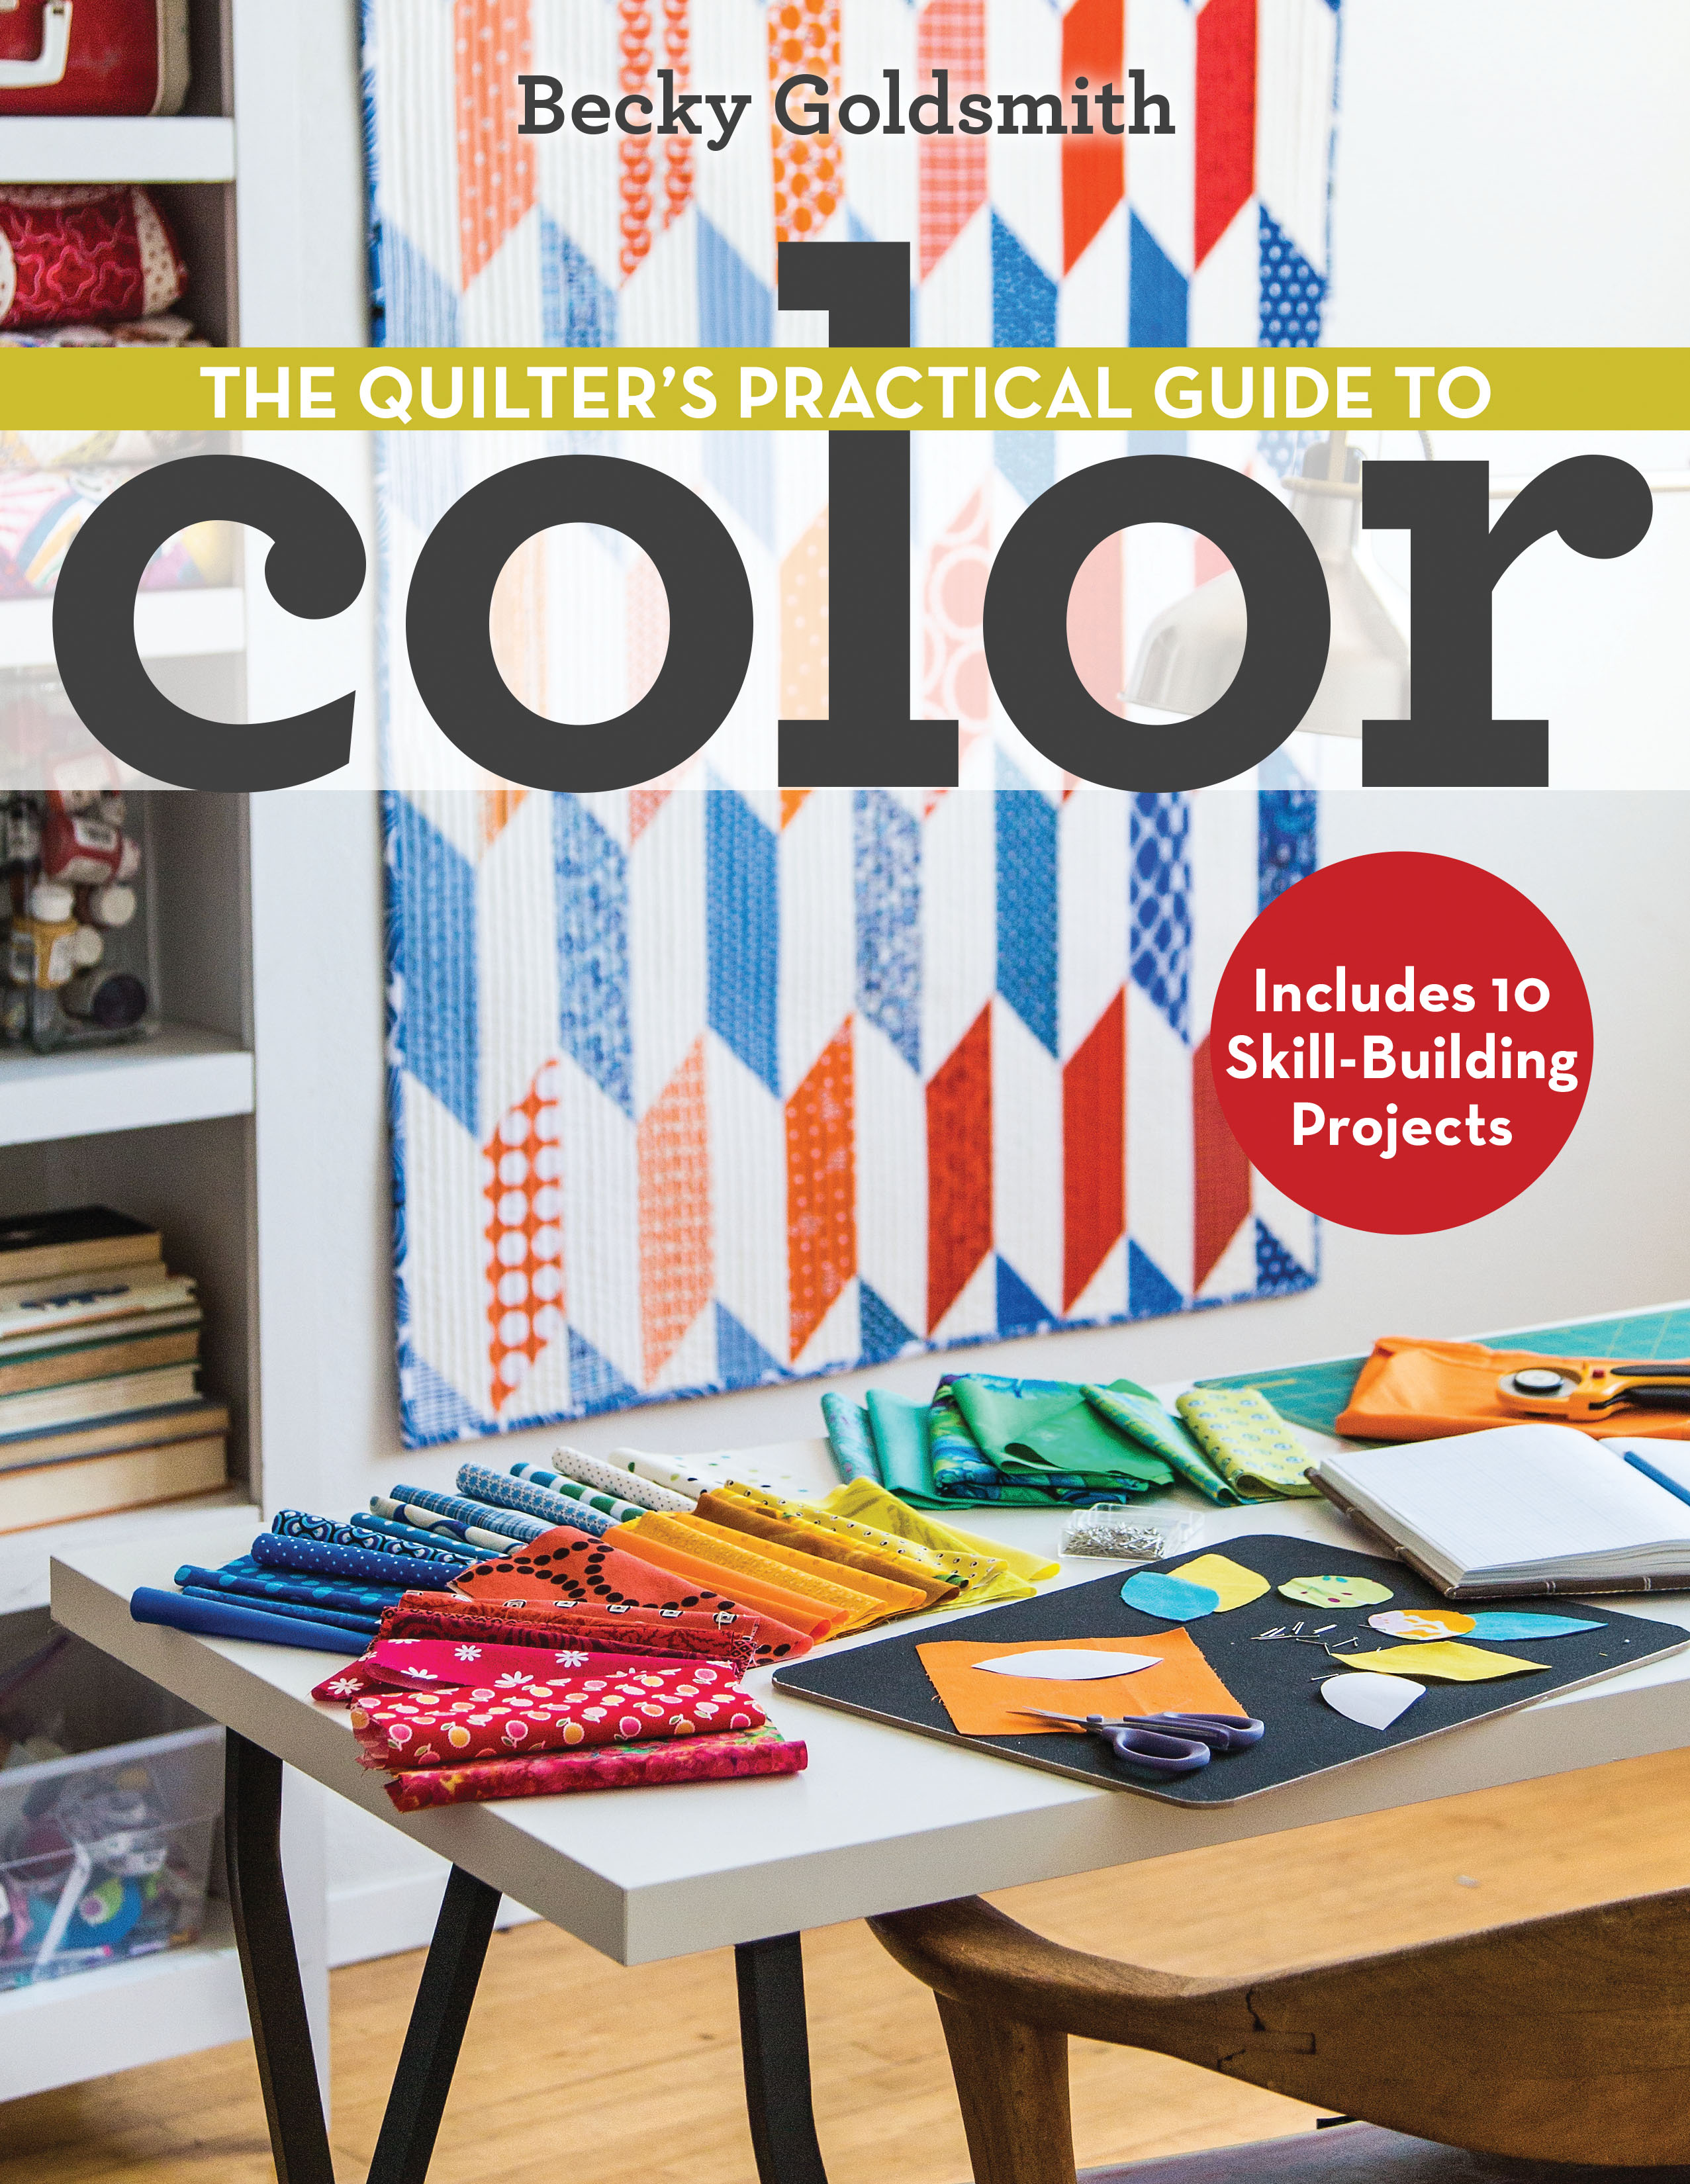
Combine complementary colors to make your own fabulously graphic quilt! You will learn how to play with color on the design wall and how to cut and sew 45° angles. This 39” x 49” quilt (page 75) is perfect for any skill level.
Students with some sewing experience may finish the quilt top in class. All students will leave class with the ability to finish the top at home.
Class Length
6 hour, 1-day class
Class Supply List
Notes to shop owners: Students will appreciate your help when shopping for fabric. It is helpful to refer to the book for reference, especially Complementary Color Schemes (pages 11-12) and Opposites Attract (pages 75-78). Offer to schedule a ‘coloring’ appointment in advance of class with each student.
A ruler for cutting 45° angles is a nice add-on for use in class.
- Required text: The Quilter’s Practical Guide to Color by Becky Goldsmith
- o Refer to Complementary Color Schemes (pages 11-12) and Opposites Attract (pages 75-78), before you purchase your fabric.
- 1 or more fabrics to total 3/4 yard of each of the main color that you want to work with. In the book, this color is blue.
- o Cut 14 strips 3½'' x 13¼''. Do not cut more than this before class.
- o Cut 7 squares 3⅞'' x 3⅞''. Do not cut more than this before class.
- 1 or more fabrics to total ¾ yards of the color on the opposite side of the color wheel. Refer to Complementary Colors (pages 11-12). If you want to shade your quilt from light to dark, choose slightly different values of each of your 2 colors.
- o Cut 18 strips 3½'' x 13¼''. Do not cut more than this before class.
- 1⅜ yards of a neutral color that goes with your first 2 colors.
- o Cut 33 strips 3½'' x 13¼''. Do not cut more than this before class.
- o Cut 6 squares 3⅞'' x 3⅞''. Do not cut more than this before class.
- Thread for piecing and quilting
Classroom Preparation
Each student needs a sewing machine, rotary mat, cutter, and 6½” x 24½” ruler with a 45° angle, and a design wall. Set up common cutting and pressing stations.
Class Agenda
- 1. Discuss complementary colors and value. Place strips on the design wall. Play with strip placement.
- 2. Carefully cut the angled ends of the strips.
- 3. Sew strips together into rows.
- 4. Sew rows together.
From The Quilter’s Practical Guide To Color by Becky Goldsmith
Class Description
Pick-Up Sticks or fireworks—no matter what the design reminds you of, this is a fast, fun, and exciting quilt! You will learn about value, contrast, and improvisational sewing. This class is perfect for confident beginners as well as experienced quilters.
Students will complete four 8” blocks and sew them together to make one 16” square in class. Experienced quilters may be able to complete more blocks
Class Length
6 hour, 1-day class
Class Supply List
Notes to shop owners: Students will appreciate your help when shopping for fabric. It is helpful to refer to the book for reference, especially What Do You See? (page 20), Following Lines (page 53), and Pick-Up Sticks (pages 89-93). Offer to schedule a ‘coloring’ appointment in advance of class with each student.
It is a very good idea that you make at least four 8”-finished blocks before class.
- Required text: The Quilter’s Practical Guide to Color by Becky Goldsmith
- o Refer to What Do You See? (page 20), Following Lines (page 53), and Pick-Up Sticks (pages 89-93) before you purchase your fabric.
- 2⅞ yards of background fabric to make the quilt. Solids or near-solids will yield better results.
- o Cut 8 squares 10” x 10'' for class. More squares are required to finish the quilt.
- A variety of fabrics to total 2 1/2 yards for the sticks to make the quilt.
- o Cut 10-20 strips 1½'' x WOF for class. More strips are required to finish the quilt.
- Thread for piecing and quilting
Classroom Preparation
Each student needs a sewing machine, rotary mat, cutter, and 6½ x 24½'' ruler. Set up common cutting and pressing stations. A design wall is nice to have as the blocks come together.
Class Agenda
- 1. Refer often to the instructions and photos in the book (pages 89-93). Stack four 10” background squares and make the first cut through all blocks.
- 2. Insert first strip.
- 3. Trim each strip. Continue to make the block as instructed.
- 4. If the class is sewing quickly, encourage students to cut and sew more blocks.
- 5. Sew 4 blocks together as shown in the Quilt Assembly Diagram (page 93).


