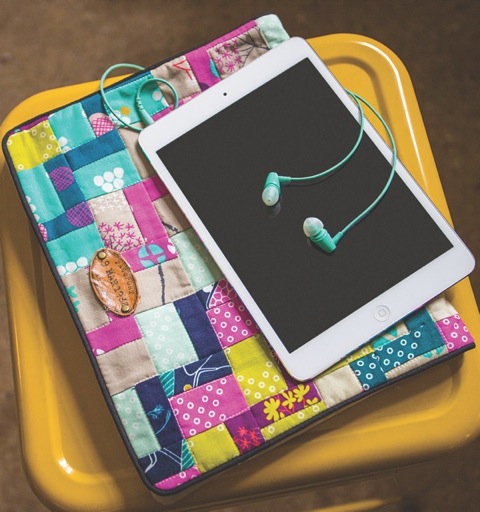
Zigzag Patchwork Tablet & Cellphone Sleeves
Zigzag Patchwork Tablet & Cellphone Sleeves

By Sue Kim with Veronica Yang
Class Description:
Want to add a little color and fun to your tablet and cellphone? This tablet and cellphone sleeve may be perfect for you! Store your electronic devices in this wonderful yet practical project. Learn how to do a zigzag patchwork and more! This sewing project is easy to make and can be completed by sewists of all levels. Every student will make a tablet and phone sleeve.
Class Length:
Single class of 6 hours.
Class Supply List:
Required text: Perfect Patchwork Bags
Tablet Sleeve:
- 6 different dark-colored fabrics and 6 different light-colored fabrics for flap exterior patchwork
- 3/8 yard of 44˝-wide heavyweight home decorator or quilting-weight cotton for one-fabric exterior (and flap, if you wish)
- 3/8 yard for lining
- 1 yard of 20˝-wide lightweight fusible interfacing
- 5˝ of 1˝-wide hook-and-loop tape (nonfusible)
- 1 yard of piping
Cell Phone Sleeve:
- 4 different dark-colored fabrics and 4 different light-colored fabrics for flap exterior patchwork
- ¼ yard of 44˝-wide heavyweight home decorator or quilting-weight cotton for one-fabric exterior (and flap, if you wish)
- ¼ yard for lining
- 3/8 yard of 20˝-wide lightweight fusible interfacing
- 5˝ of 1˝-wide hook-and-loop tape (nonfusible)
- 5/8 yard of piping
Classroom Preparation:
Students must have sewing machines and cutting and pressing stations.
Class Agenda:
- Patchwork the flap.
- Attach the front and back.
- Make the flap.
- Assemble the flap and exterior piece.
- Assemble lining and exterior piece.

From Perfect Patchwork Bags
By Sue Kim with Veronica Yang
Class Description:
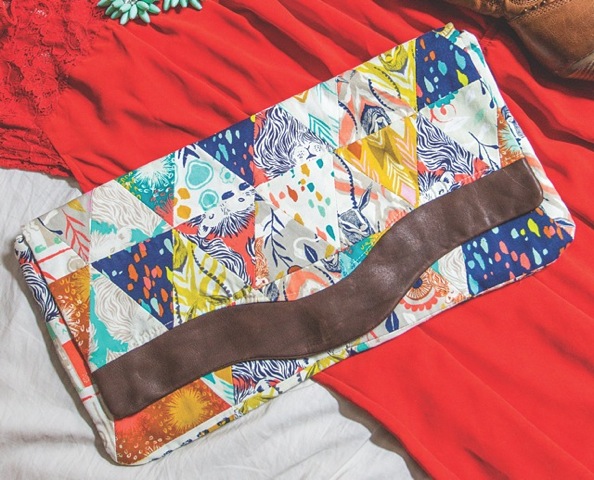
The Scarlett Clutches come with two different patterns. Learn how to do triangular patchwork and more in this fantastic project. It is intended for sewists of all skill levels, and it’s a fun, practical, and easy project for anyone to try out. Each student can take home a clutch!
Class Length:
Single class of 6 hours.
Class Supply List:
Required text: Perfect Patchwork Bags
Rectangle Clutch:
- 15 different fat eighths for front, back, and flap exterior patchwork OR 5/8 yard of 44˝-wide linen/cotton or quilting-weight cotton fabric for one-fabric exterior
- ¼ yard of solid fabric for flap bottom piece
- 2/3 yard for lining
- 1 yard of 20˝-wide medium-weight fusible interfacing
- 16˝ all-purpose zipper for clutch
- 6˝ all-purpose zipper for zipper pocket
- 18 mm magnetic snap
Square Clutch:
- 15 different fat eighths for front, back, and flap exterior patchwork OR 5/8 yard of 44˝-wide linen/cotton or quilting-weight cotton fabric for one-fabric exterior
- ¼ yard of solid fabric for flap bottom piece
- 2/3 yard for lining
- 1 ¼ yards of 20˝-wide medium-weight fusible interfacing
- 12˝ all-purpose zipper for clutch
- 6˝ all-purpose zipper for zipper pocket
- 18 mm magnetic snap
TIP: When you are assembling the triangular pieces, do not sew all the way around but leave ¼˝ on all corners.
Classroom Preparation:
Students must have sewing machines and cutting and pressing stations.
Class Agenda:
- Patchwork the exterior front, back, and flap.
- Make the lining pocket.
- Assemble the flap pieces.
- Attach the flap to exterior back.
- Put on the magnetic snap.
- Install the zipper.
- Assemble the exterior and lining.

From Perfect Patchwork Bags
By Sue Kim with Veronica Yang
Class Description:
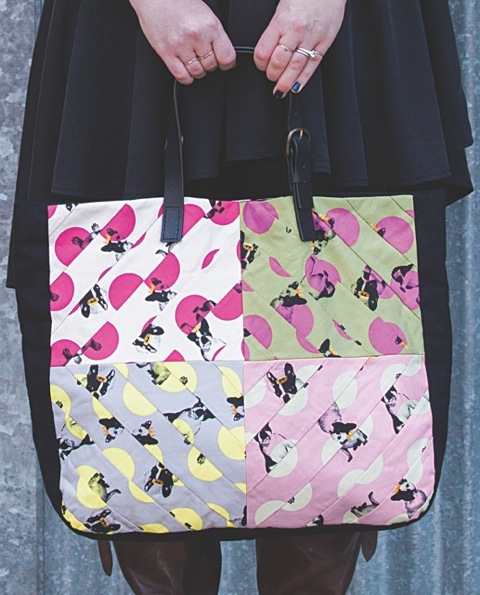
The Tailynn Bag is a tote bag styled with beautiful patchwork. This project is designed for anyone to make, especially beginners and intermediate sewists. Learn how to do diagonal patchwork and more! All students will complete a bag.
Class Length:
Single class of 6 hours.
Class Supply List:
Required text: Perfect Patchwork Bags
- 4 different fat quarters OR 5/8 yard of 44˝-wide linen/cotton or quilting-weight cotton fabric for one-fabric exterior
- 3/8 yard of 44˝-wide quilting-weight cotton for gusset
- 1 1/8 yards of 44˝-wide quilting-weight cotton for lining
- 1 ¾ yard of 20˝-wide medium-weight fusible interfacing
- 8 sheets of plain paper at least 9 ½˝ ´ 9 ½˝
- 1 pair of sew-on leather handles (1˝ ´ 20 ½˝)
- 18 mm magnetic snap
- 6˝ all-purpose zipper for lining pocket
- 5/8 yard of ½˝-wide elastic for lining pocket
Classroom Preparation:
Students must have sewing machines and cutting and pressing stations.
Class Agenda:
- Patchwork the front and back.
- Attach the exterior pieces.
- Make the lining zipper pocket.
- Apply the magnetic snaps.
- Install the elastic pocket.
- Assemble the exterior and lining.


