Class Description:
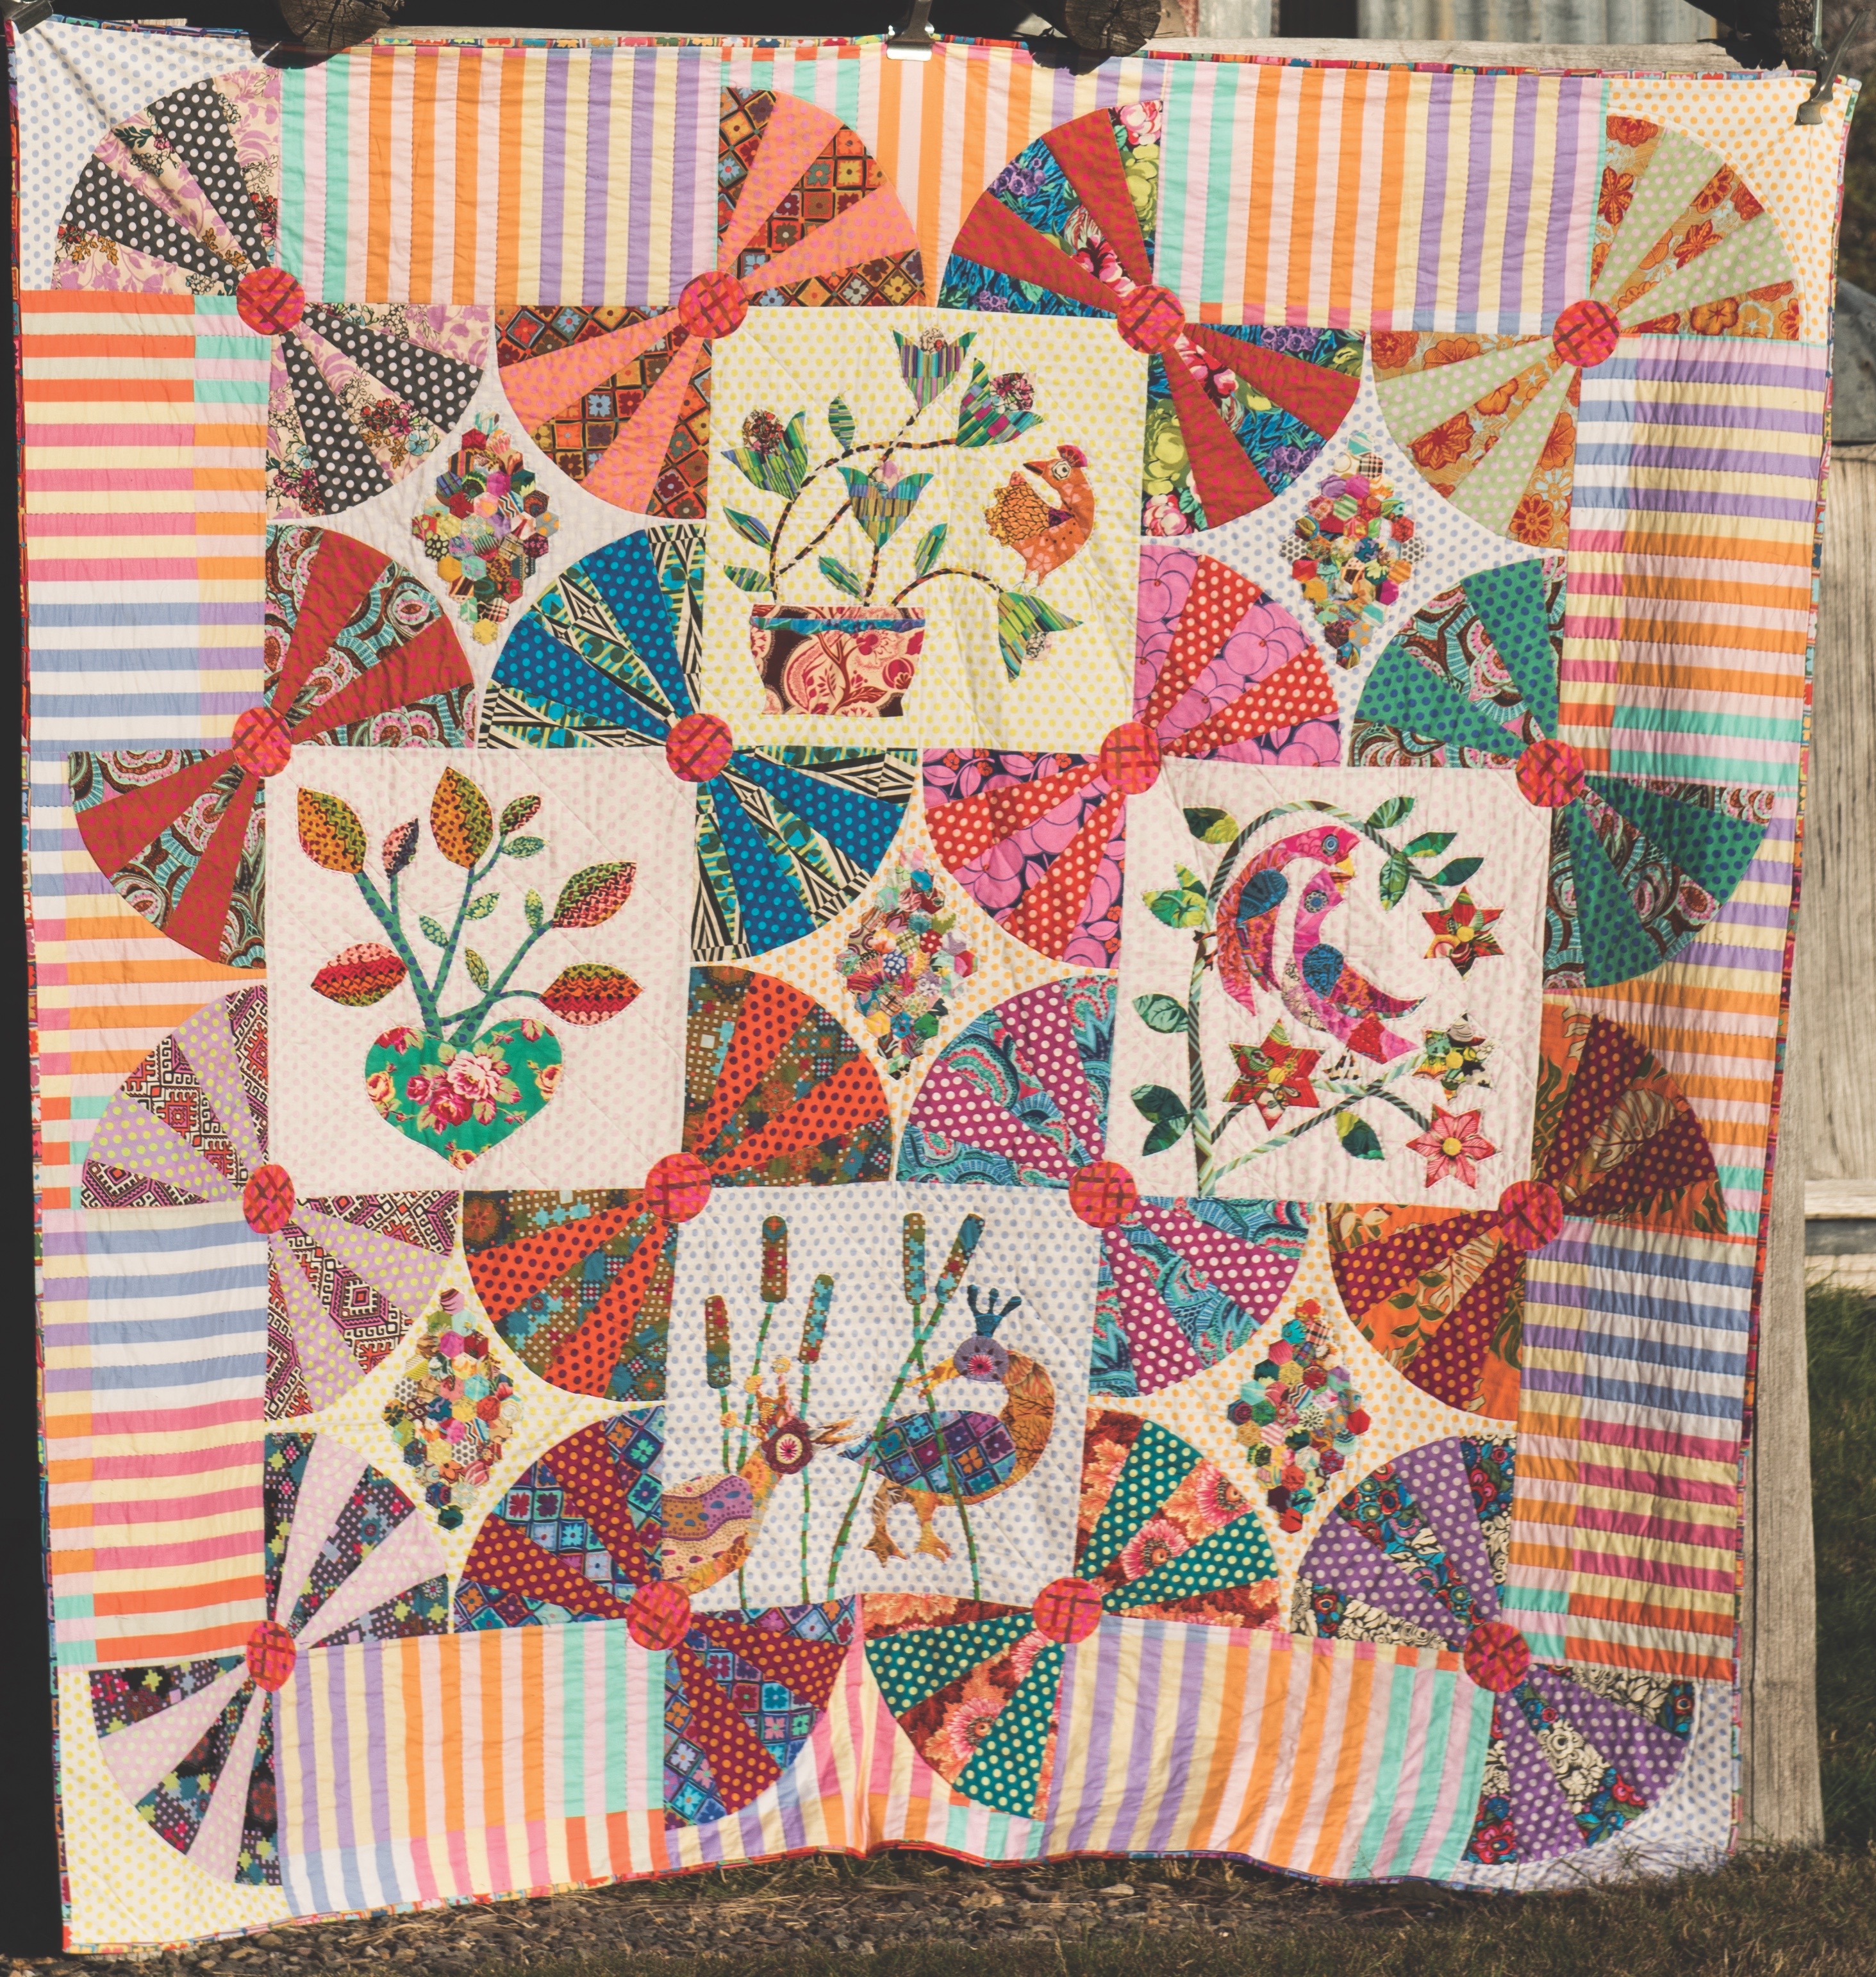
Love Birds from Mixing Quilt Elements is a perfect quilt sample for a multi-session class plan. The techniques covered include appliqué, paper piecing, wedges, and lots of room for talking about using fabric. The participants can be invited to share their own interpretations of the designs or to use the ones provided.
Class Length:
This is best suited to 3-4 sessions lasting 3-6 hours each. Perfect for a term class.
Class Supply List:
- Mixing Quilt Elements by Kathy Doughty
Backgrounds: Consider a small regular print in a light color, a low volume print, or go bold and try a plaid!
- Pink dots: 1 ¼ yds
- Pea green dots: 1 ¼ yds
- Light blue dots: 1 1/4 yds
- Yellow dots: 2 yds
Please note: the sample shows Kaffe Fassett dots in the pastel colors. If you choose one background you will need 2 ½ yds (9 fat quarters and four 10 ½” squares).
Fans: Consider selecting two fabrics for each set of fans—one big print and one spot or graphic print.
- Colorful prints for wedges: 1/3 yd each of 16 prints
- Polka dots/alternating graphic print: 1/3 yd each of 8–16 prints
- Red centers: ¼ yd
Border: Consider a stripe or graphic print. The border can be selected after the blocks are completed.
- 2 ½ yds of stripe
Classroom Preparation:
Iron, mat, rulers, cutters, sewing machines and general supplies. Design wall for each student or to share.
Class Agenda:
Student Preparation: Review fabric descriptions page 37. Select fabrics. Gather supplies
Teacher Preparation: Step out cutting wedges. Step out appliqué steps with Wash-Away Appliqué Sheets. Step out hexagons. Quilting sample.
Session 1:
1. Review fabric selections of participants.
2. Discuss the layout and fabric strategy.
Technique 1: Working with wedges
1. Discuss using contrast.
2. Select pairs for the wedges.
3. Demonstrate cutting and sewing wedges.
Technique 2: Appliqué techniques
1. Demonstrate selecting fabric with viewing templates.
2. Using Wash-Away Appliqué Sheets it is easy to transfer the designs.
3. Demonstrate tracing, cutting (and cutting away the middle), then iron onto fabric and cut away.
4. Demonstrate positioning and sewing appliqué shapes.
Technique 3: Paper piecing
1. Demonstrate selecting fabric with viewing templates.
2. Demonstrate cutting and gluing fabric to papers.
3. Demonstrate sewing hexagons together.
4. Demonstrate appliqué of paper-pieced section to the background.
Technique 4: Quilting
1. Demonstrate hand-quilting method around the appliqué.

From Mixing Quilt Elements
By Kathy Doughty
Class Description:
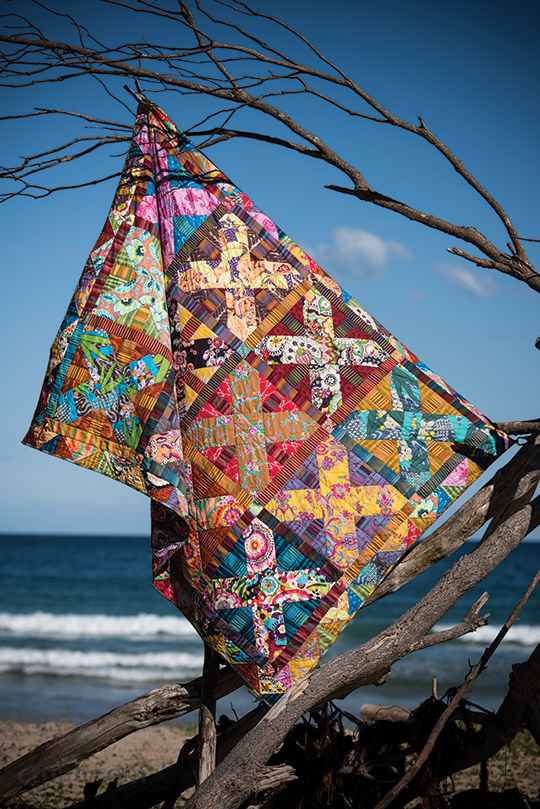
Many people are hesitant to use large-scale, colorful prints. Color Works is an easy block to assemble that allows the maker to really concentrate on what fabric choices are available. The feature prints are shown off as hero fabrics by using low-key tonal prints for the background and stripes for the sashing.
Class Length:
In a 3-hour class, students may finish 1-2 blocks. In a 6-hour class students may finish 3-4 blocks.
Class Supply List:
Fabric:
- Focus prints: 80cm of 12 fabrics
- Stripes: 25cm of 12 fabrics (or 3 metres of 1)
- Backgrounds: 50cm of 12 fabrics
Tools:
- 45°/90° ruler
- Standard cutting and sewing supplies
- 1.2 Design wall
Classroom Preparation:
Mats, cutters, rulers. Steam irons. Design wall.
Class Agenda:
Student Preparation:
- Choose and purchase fabrics
- Pack machine and sewing supplies
Instructor Preparation:Include, in the handout, a reference to Choosing Fabric for Color Works (p. 101)—this chapter handles the best practices for choosing fabric, with references to specific designers.
1. In a shop, I often do a walk-through of the different sections of the shop, talking about buying habits and extending the individual comfort zone of the participants. This exercise isn’t about changing their taste but rather about introducing them to fabric they may not have considered previously.
2. Do sample blocks in different styles. For example: Contemporary designers as per the sample using available prints, fussy-cut novelty prints, Japanese wovens, or pretty floral fabrics in soft colors.
3. Step out the cutting instructions and go through these with the participants.
- 4. Demonstrate sewing the step outs.
5. Wrap around the room and review the variety of samples being made in a complimentary manner. Encourage good sewing techniques.
For examples of student work, visit @matobsgirl on Instagram or my blog http://www.materialobsession.typepad.com/.


