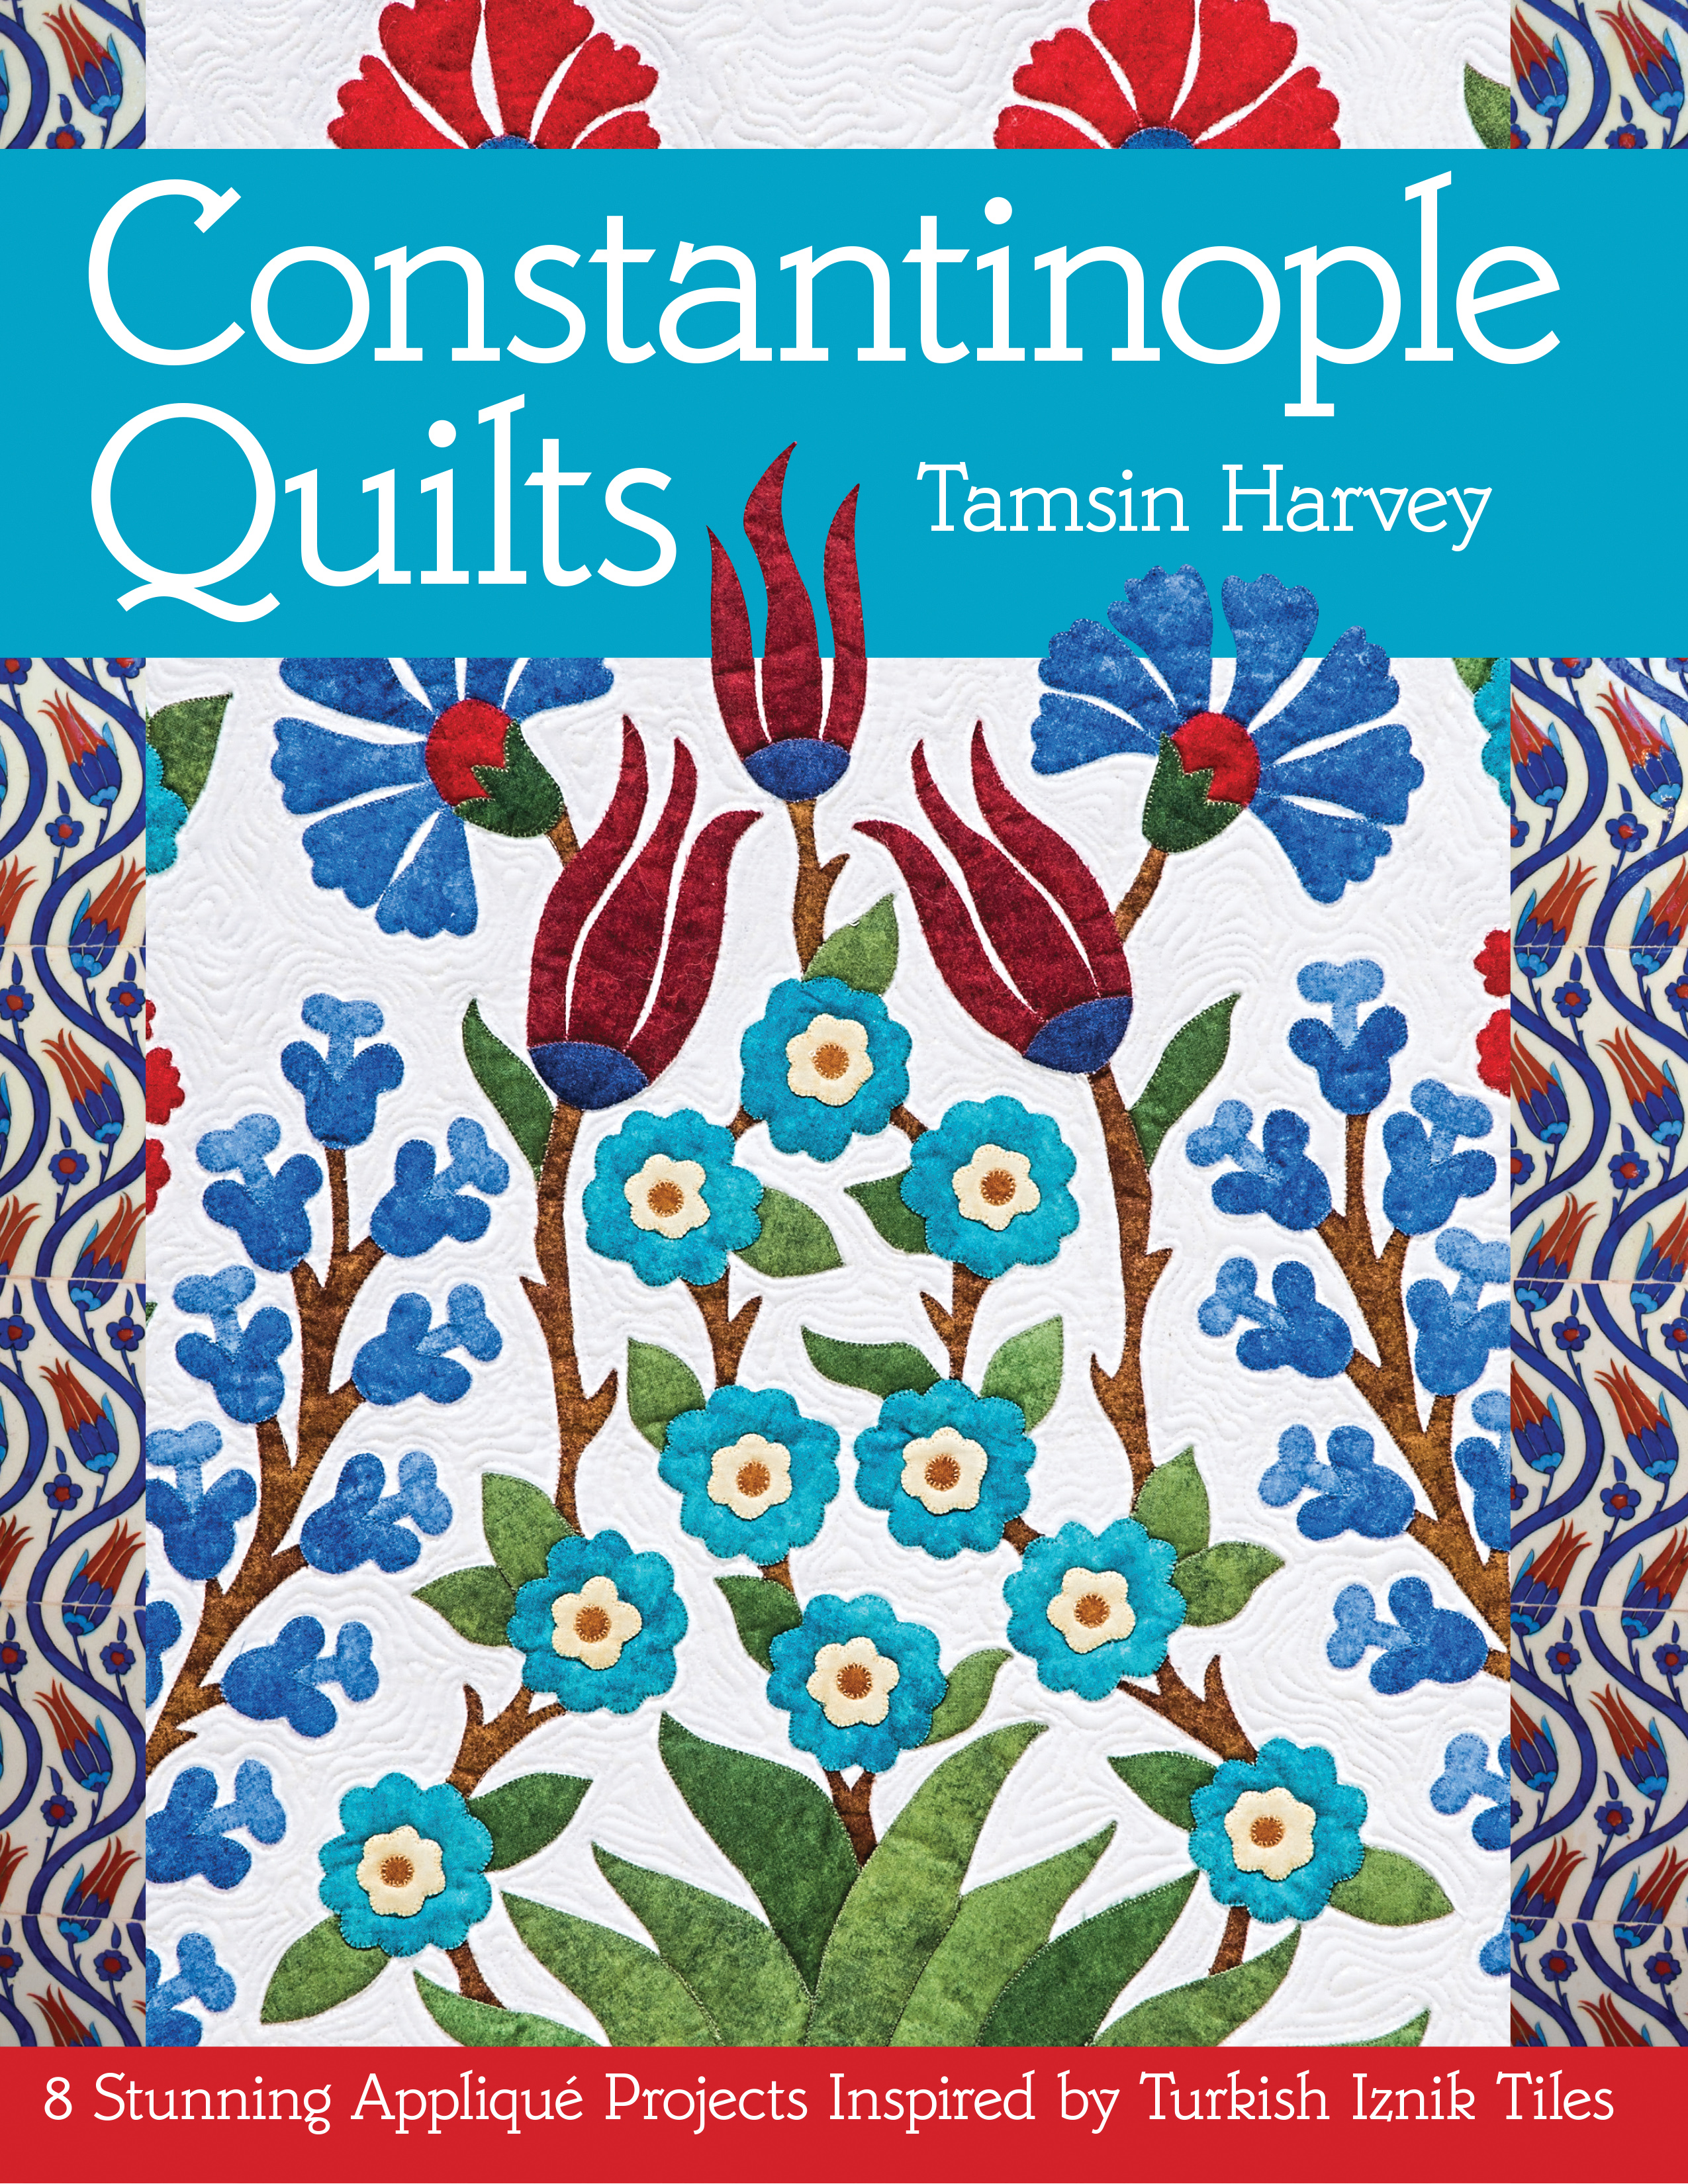
Sultan’s Cushion “B”
From Constantinople Quilts by Tamsin Harvey

Class Description
To make a cushion which is ideal for any home.
This is a great project to introduce quilters to the raw edge machine appliqué method and is suitable for all skill levels. Each student will work on an individual cushion of their own. This is a very achievable project, which won’t take up too much time but will give you a “taste” of this method and the skills to go on and create other projects within this book. Students will have a finished appliqued piece, which can then be quilted and made into the cushion.
Class Length
2 x 3 hour workshops to complete the cushion
Class Supply List
- Required Text: Constantinople Quilts
- Blue fabric: 13/4 yards (160cm) for cushion front, back, and appliqués
- White fabric: 1/2 yard (46cm)
- Red fabric: 1/8 yard (10cm) or small scraps for flowers
- Aqua fabric: 1/8 yard (10cm) or small scraps for flowers
- Light solid fabric: 26˝ × 26˝ (66cm × 66cm) for quilt backing of cushion front
- Batting: 26˝ × 26˝ (66cm × 66cm)
- Fusible web: 1/2 yard of 18˝-wide
- Permanent marker (such as a
- Sharpie) or pencil: to mark fusible web and template
- Iron-off pen or pencil: to mark fabric
- Template interfacing
- Threads for appliqué
- Thread for quilting
- Spray starch
- European cushion insert: 24˝ × 24˝ (61cm × 61cm)
- 3/4˝ Clover bias maker (optional)
Tip: this is a great project to kit up for your students. Fabric selection can be solid fabrics or marbles that you have available in the store. Once a student makes one of these cushions they will want to make the companion cushion and bed scarf which will provide a great upsell especially if you have samples made up.
Classroom Preparation
Each student will need a sewing machine. Set up a common cutting and pressing station.
Class Agenda
Follow the instructions for “cutting requirements” and “construction” on pages 47 to 52.
Day 1:
- Discuss fabric selection if kit was not provided. Pages 30 and 31
- Transfer the appliqué design onto fusible web Page 34
- Fuse the designs onto the selected fabrics
- Cut the background pieces and cushion fabrics to the required size
- Fuse the appliqué into place on the background fabric
- Discuss thread selection and the set up of the sewing machine Pages 26 and 27
- Test stitches on a sample piece before commencing stitching down the appliqué pieces. Page 38
- Stitch down the appliqué design. If not finished in the workshop students can complete this at home before the next workshop date
Day 2
- Trim the background fabric to size and join with the front cushion pieces.
- Layer the front of the cushion with the backing fabric and batting and pin baste together
- Machine quilt around the design as desired.
- Complete Cushion Pages 51 and 52


