

WIP - Queen of Hearts Bodice
Posted by Lady Cels on Jun 7th 2024
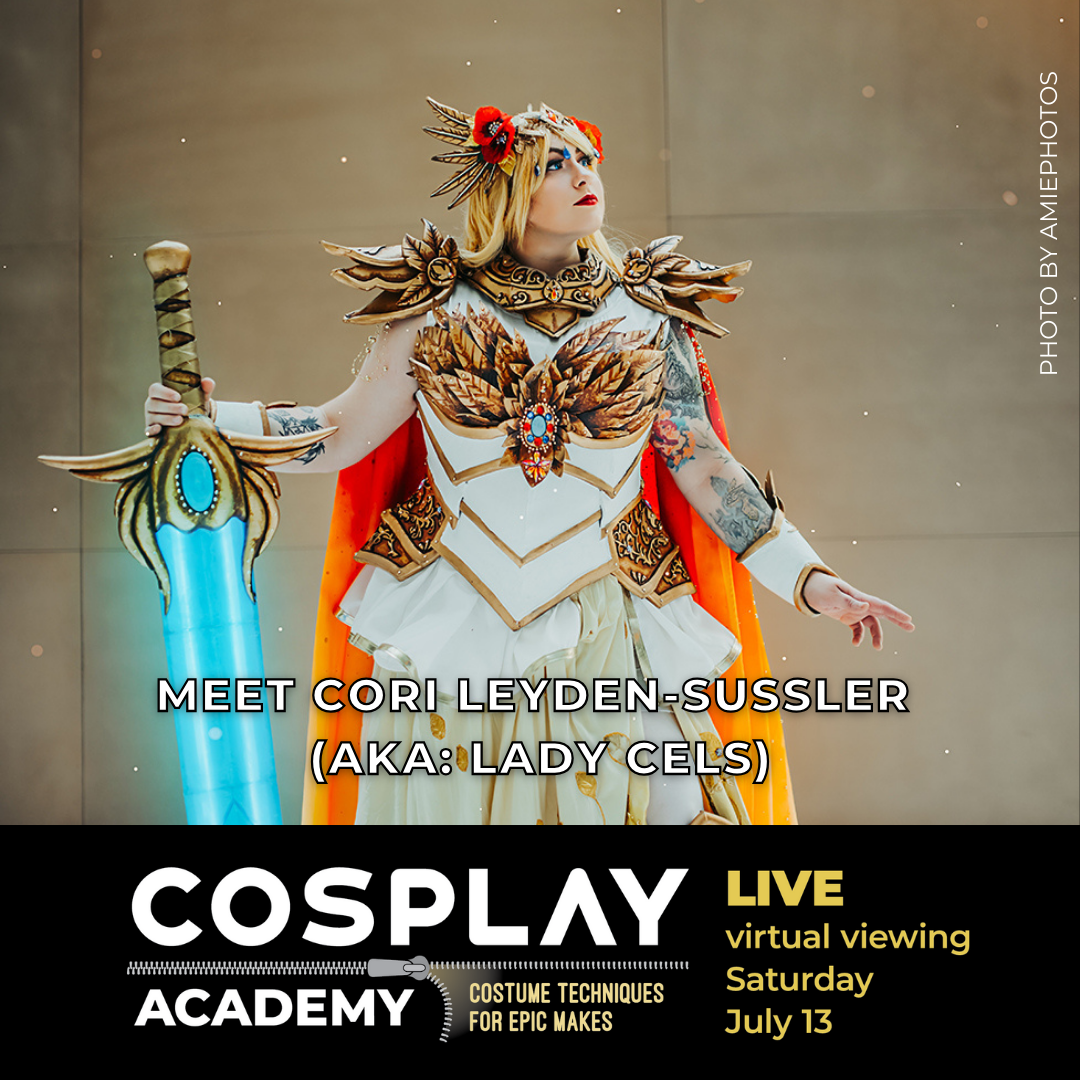
Hey there, I'm Lady Cels, and I'm thrilled to take you along with me through the construction of the Queen of Hearts bodice I'm currently crafting! Get ready to dive into my world of intricate stitching and detail as we explore how this regal piece came to life. Let's check it out!
The bodice started as a heavily modified Truly Victorian (TV490 - 1892 Ball Gown Bodice) pattern. The outer fabric is pieced velvet (and was a pain and a half to piece!). The lining is cotton with a woven interlining that I chose to pad stitch in place.
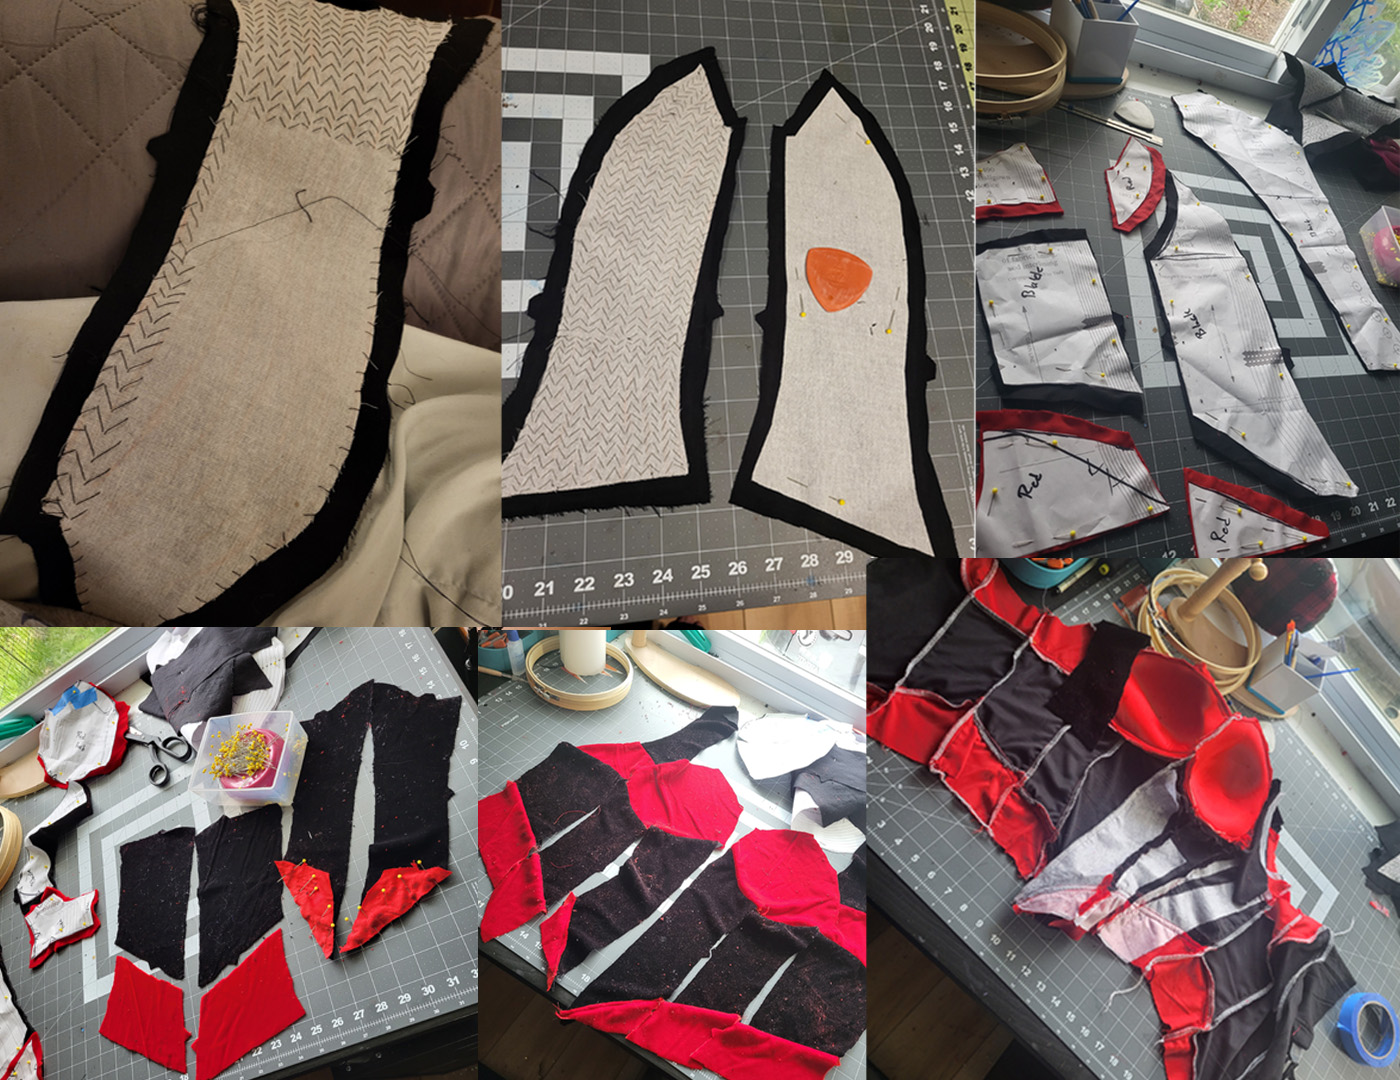
Originally, I intended to pad stitch only areas subjected to high stress. However, as the lining took form, I found the curvature and aesthetic appeal of the stitching worked for the costume, prompting me to extend its application throughout much of the lining.
The original pattern was made into a mock up, modified, and split into pieces to create the black under bust look. These sections were then assembled and serged to prevent fraying of the velvet. Certain areas were reinforced with stabilizer for added sewing support.

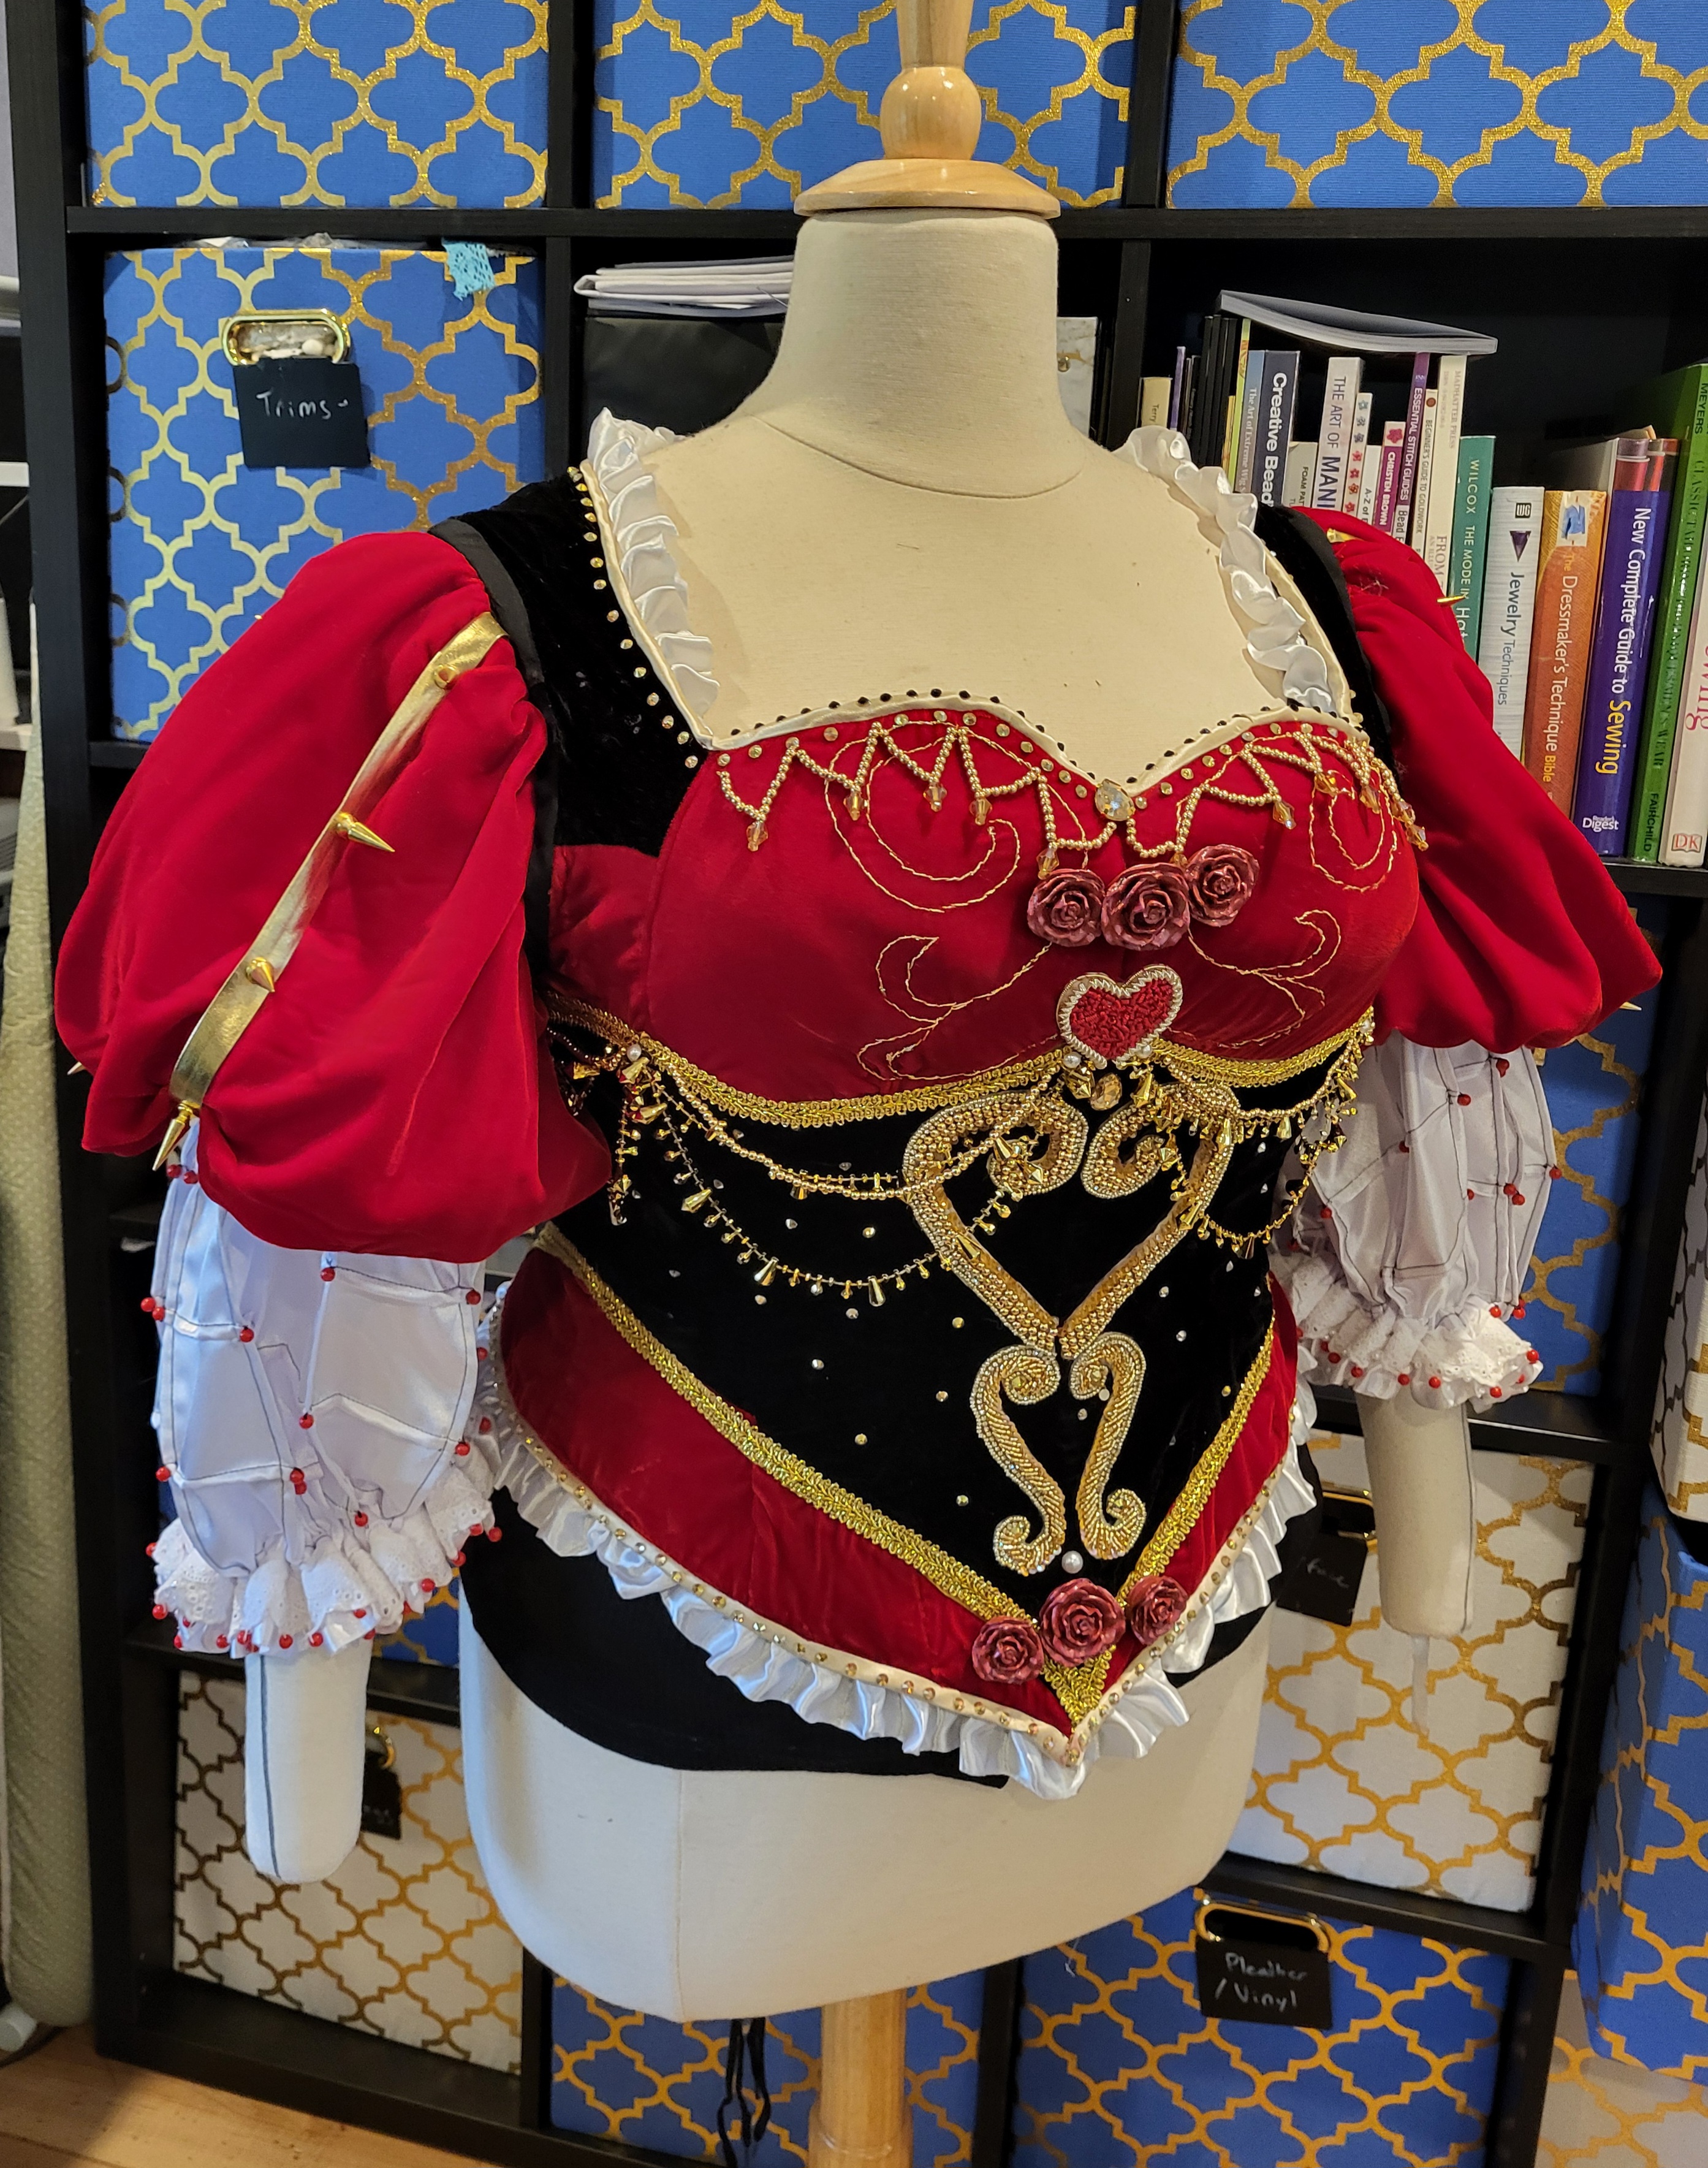
Following the assembly and pressing of the outer facing fabric, attention shifted to detailing. Initially opting for gold ribbon, I later switched to a more complementary gimp trim to better match the beadwork.
After that, it was time to go hog-wild on the details. Beading pieces were affixed using heat-n-bond to ensure alignment before being stitched into place. Chains of beads, rhinestones, and additional beadwork were meticulously stitched or adhered. Bust foam cups were introduced, followed by delicate 'sketchy' gold line work achieved through stem stitch embroidery with gold twist thread.
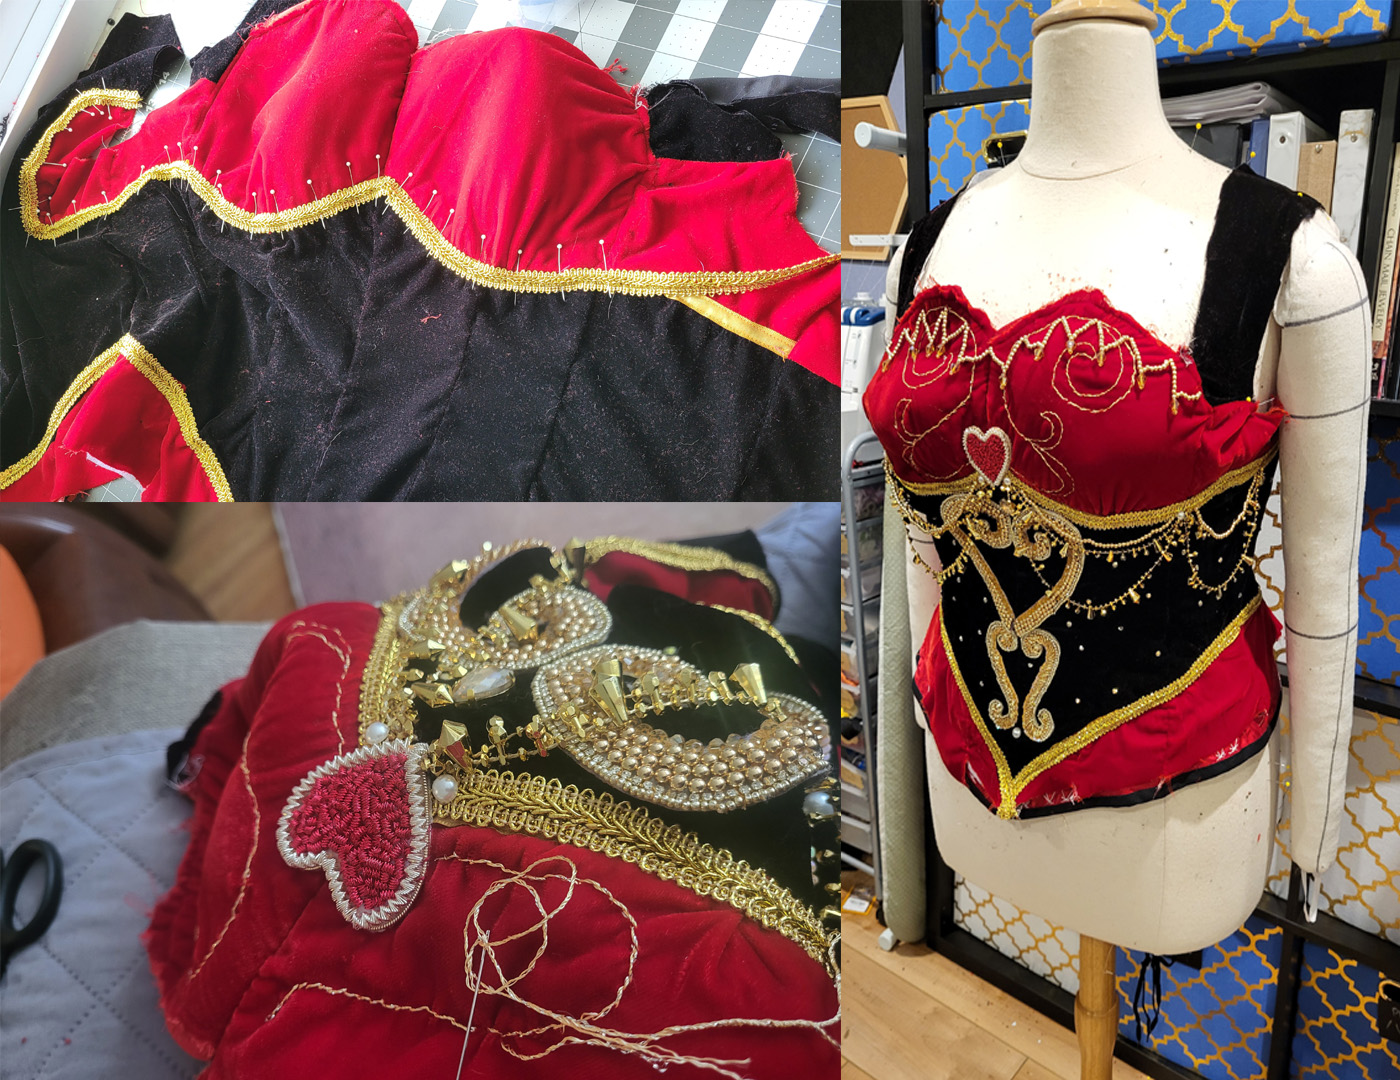
Each rose received either a buttonhole or a grommet to facilitate attachment with Chicago screws.
Final touches included finishing the armholes, top, and bottom with double-fold bias tape, along with the addition of ruffles at the top embellished further with stitched or glued beads.
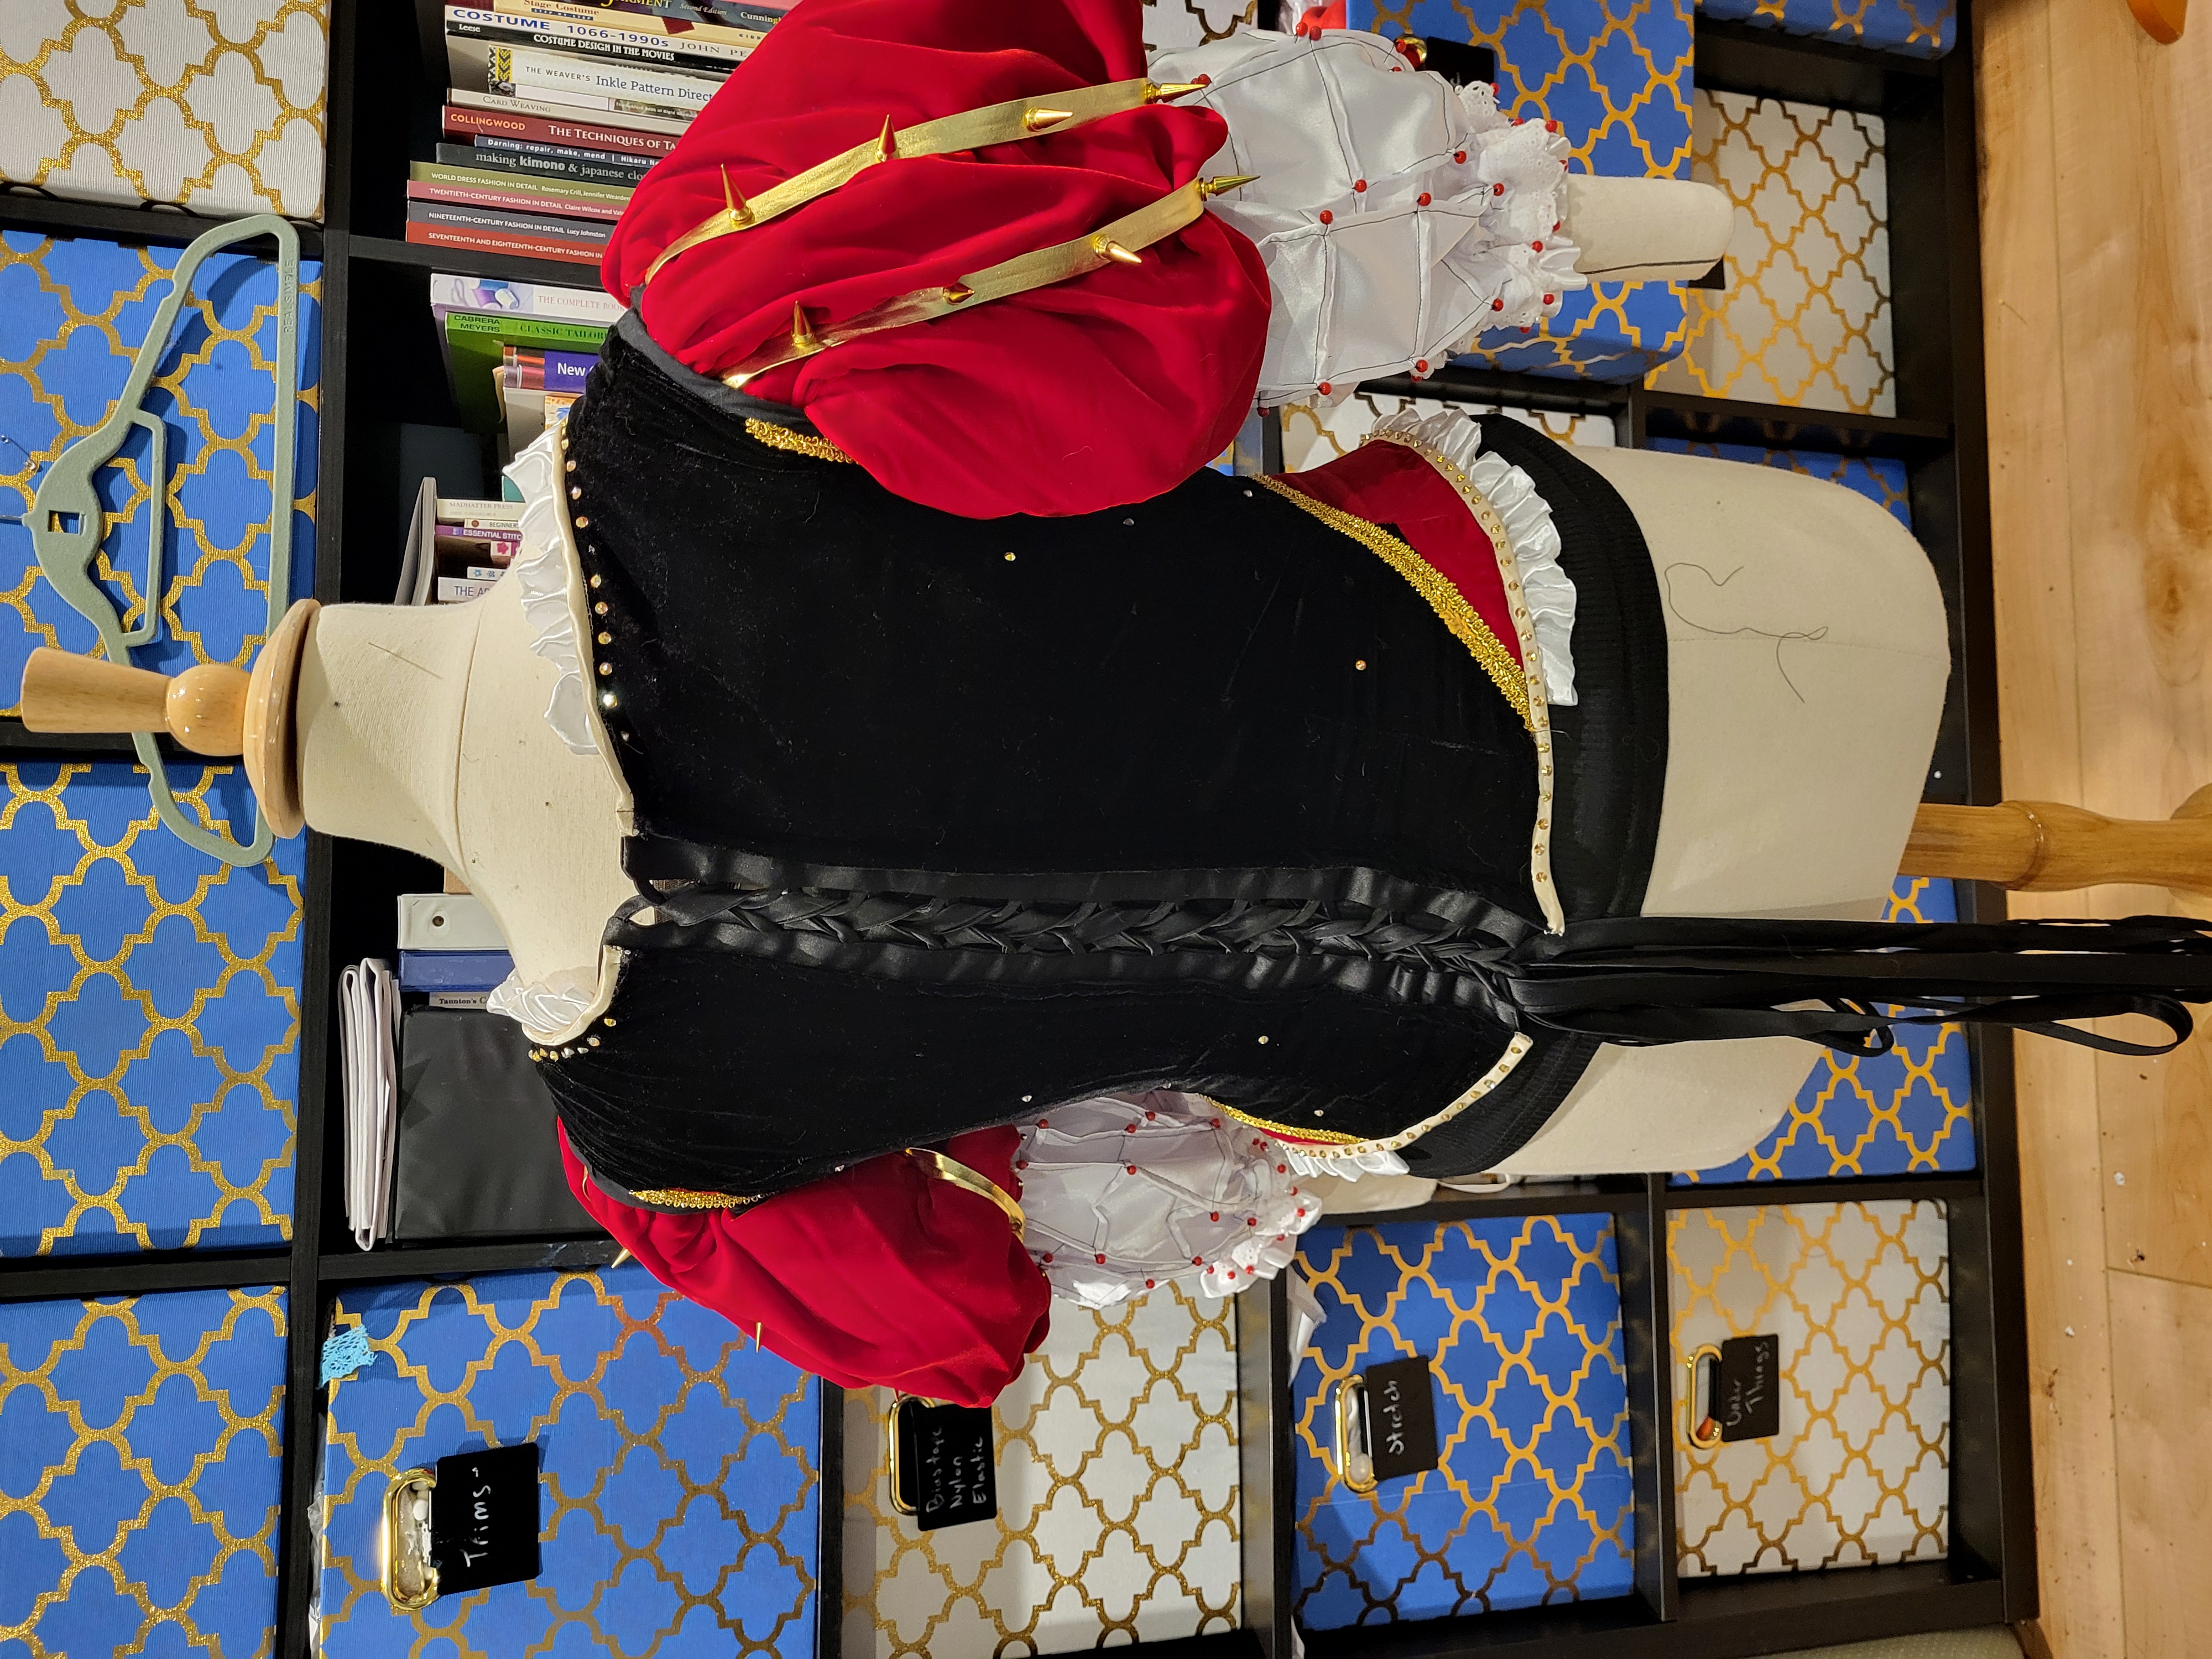
Originally conceived as a button-up back piece, alterations were made to accommodate potential fluctuations in weight or bloating, leading to the adoption of a lace-up closure featuring satin and satin ribbon.
Sleeves
Before delving into the sleeves, I embarked on a series of small experiments, exploring various smocking techniques and fabric manipulations. Ultimately, I was drawn to the aesthetic of pin tuck squares, appreciating the striking contrast they offered with their raised edges.
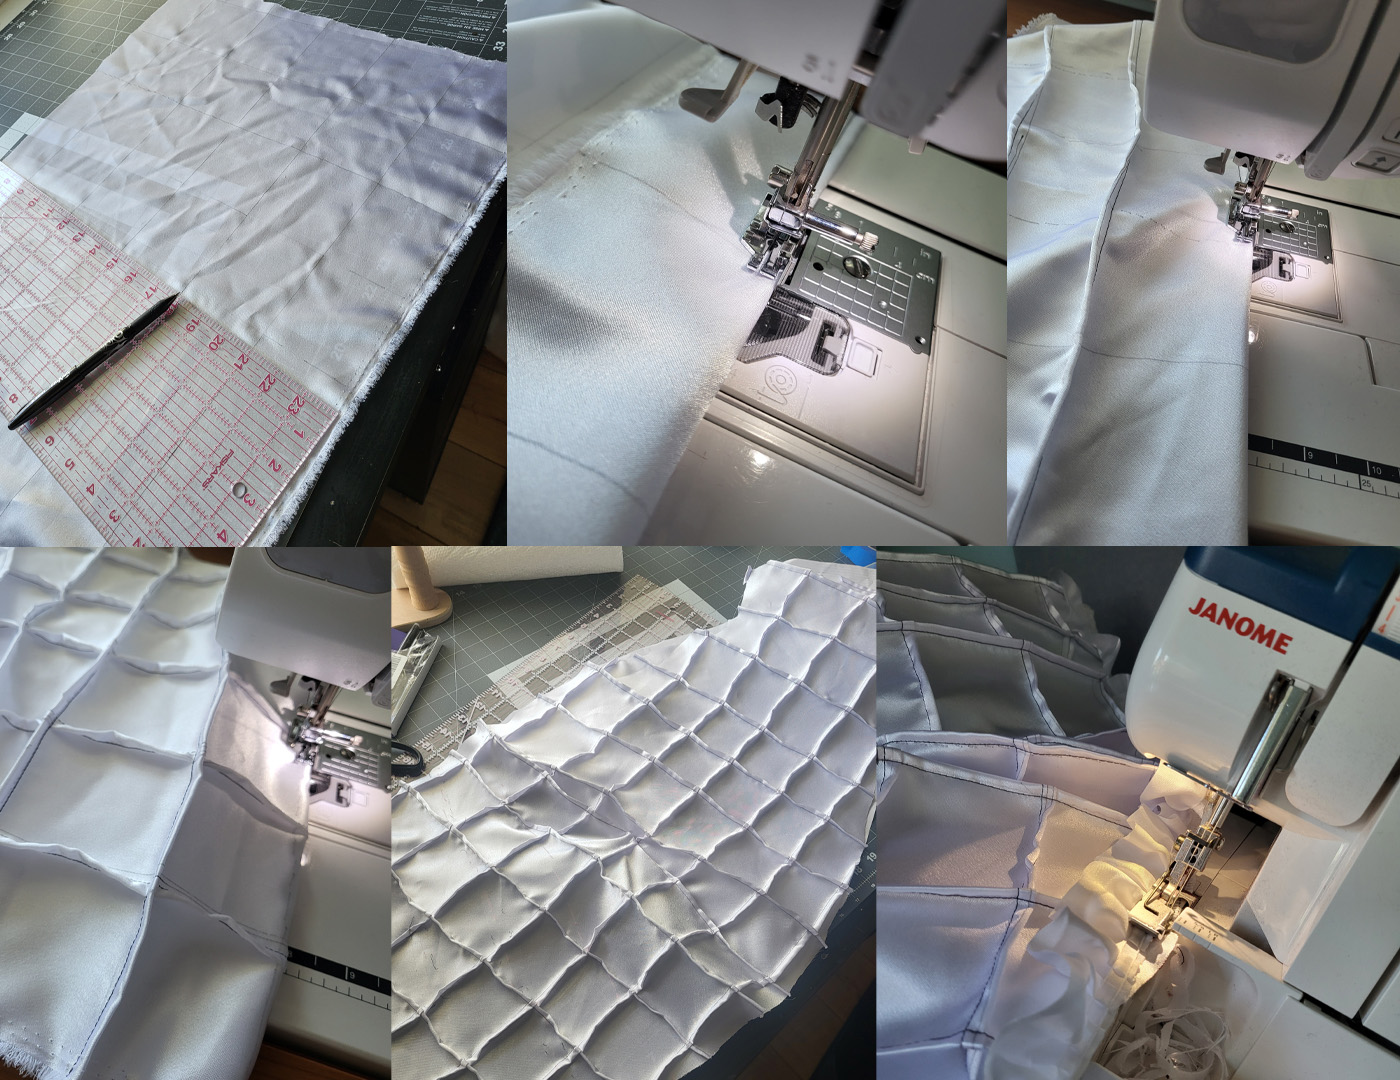
Using poly-satin, I meticulously marked out 3" squares and proceeded to sew the horizontal rows followed by the vertical ones, ensuring that all pin tucks faced downward for a consistent appearance. The lower sleeve was then adorned with an array of trim details including ruffles and lace, alongside an interior facing of bias tape to house the elastic.
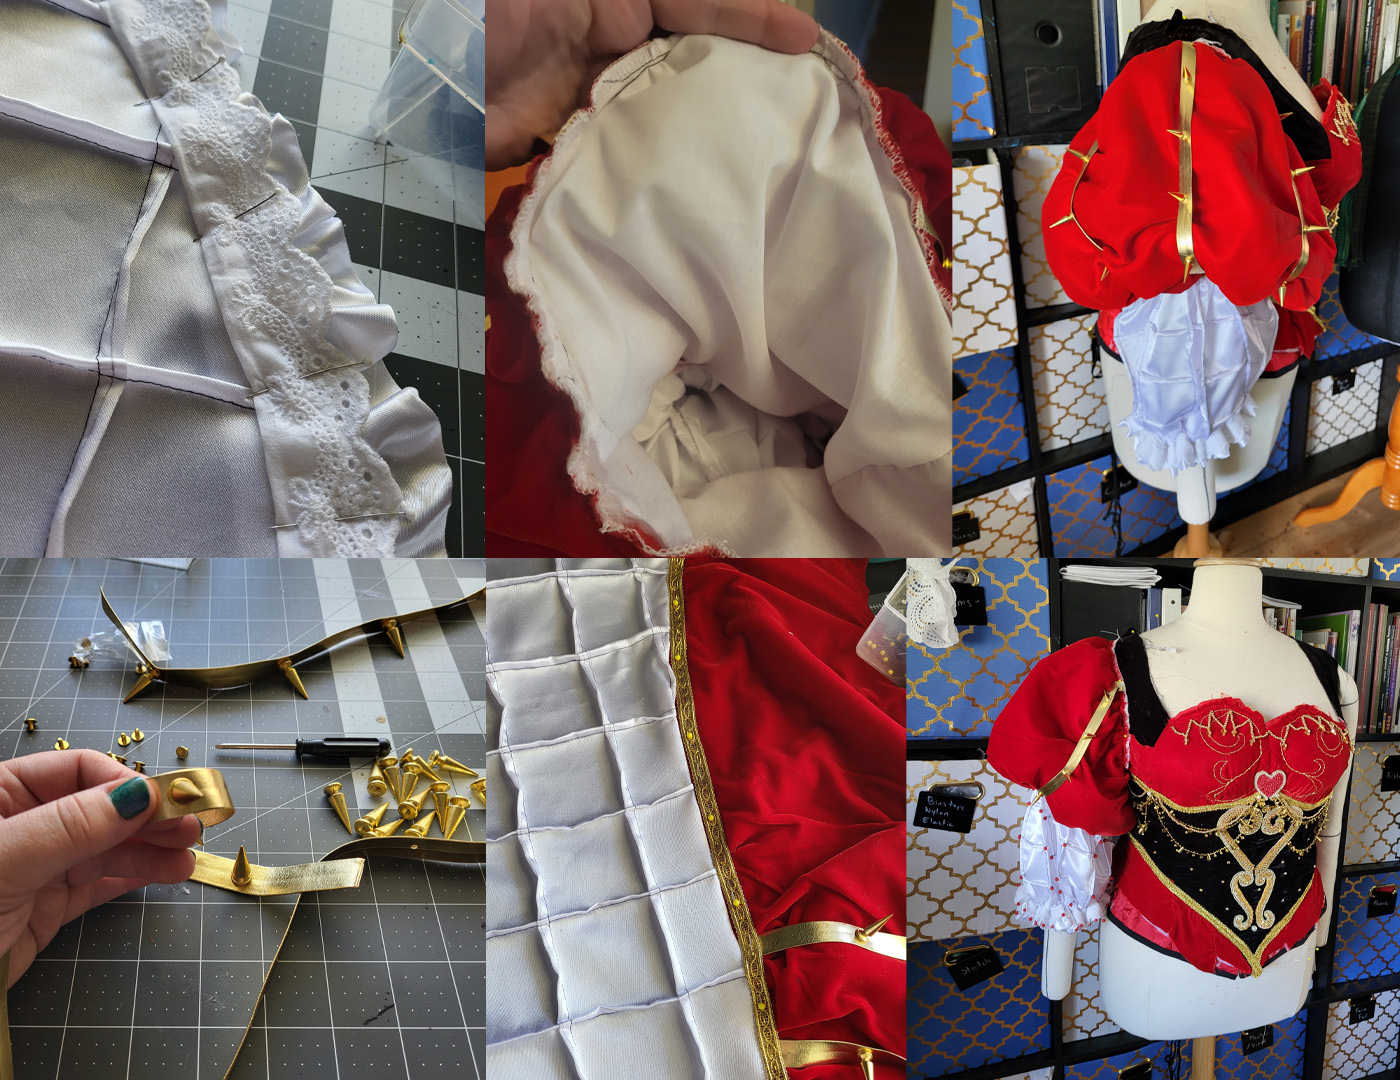
Transitioning to the upper puff, I used micro-velvet backed with cotton batting to enhance volume and make them super poofy. Prior to joining the top and bottom sleeves, I adorned strips of gold pleather with spike hardware, further accentuating the design with a gold trim along the join line.
With the sleeves assembled, they were affixed to the interior lining of cotton, facilitating a gathered mid-point in the puff and ensuring a clean interior finish. This ensemble was then stitched to a jersey knit tank shell, with the sleeves remaining separate from the main bodice.
And then came the beading—a plethora of beads meticulously applied. Each cross point on the pin tucks received a single red bead secured with waxed thread, while the ruffle hem boasted red beads stitched along the edges.
Gold beads were strategically added to the transition point between the red velvet and white crepe back satin, adding a touch of opulence to the design.
If you would like to explore these techniques and more, be sure to sign up for Cosplay Academy: Costume Techniques for Epic Makes, a live, virtual event on July 13th at 11am PT! Come join myself and a host of other cosplay crafters and try some of these techniques for yourself!

...
Cori Leyden-Sussler, known in the cosplay community as Lady Cels, is a Maryland-based cosplayer and costumer known for her passion for teaching and exceptional craftsmanship. With a B.F.A. in Technical Theater and Costume Design, complemented by an M.A. in Puppetry with a keen focus on Fabrication, Cori brings a wealth of knowledge and expertise to her craft. Drawing from over a decade of teaching experience, both in higher education and K-12 settings, Cori currently serves as a professor specializing in Maker Education. Cori's vast array of specialties includes sewing, sculpture, embroidery, fabric painting, foam fabrication, thermal plastics, woodcarving, 3D printing/modeling, leatherwork, beading, and prop construction. She is a frequent guest at conventions, where she shares her insights as a panelist, professional educator, and esteemed craftsmanship judge. Beyond the cosplay world, Cori enjoys indulging in video games and spending quality time with her two rescue cats.


