Paint Brush Stitch-Along
Share
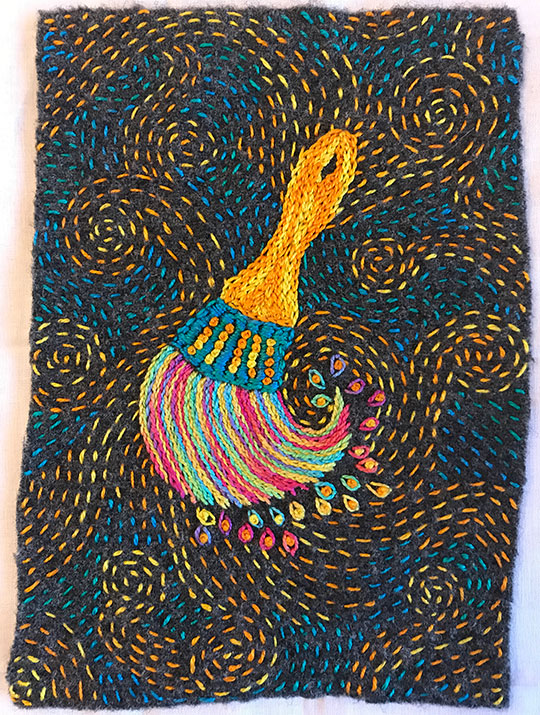
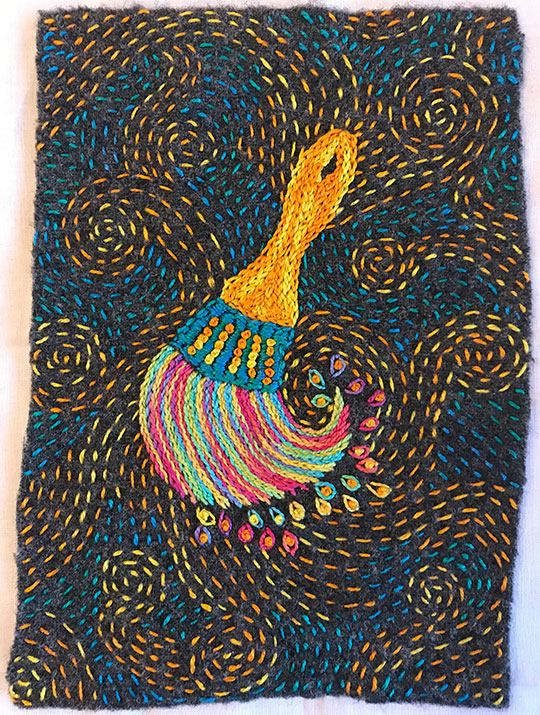
Need a little break from it all? Why not slow down and join me as we stitch this sweet little paint brush for fun. It is hand embroidered on wool using techniques from my new book, Joyful Stitching: Transform Fabric with Improvisational Embroidery.
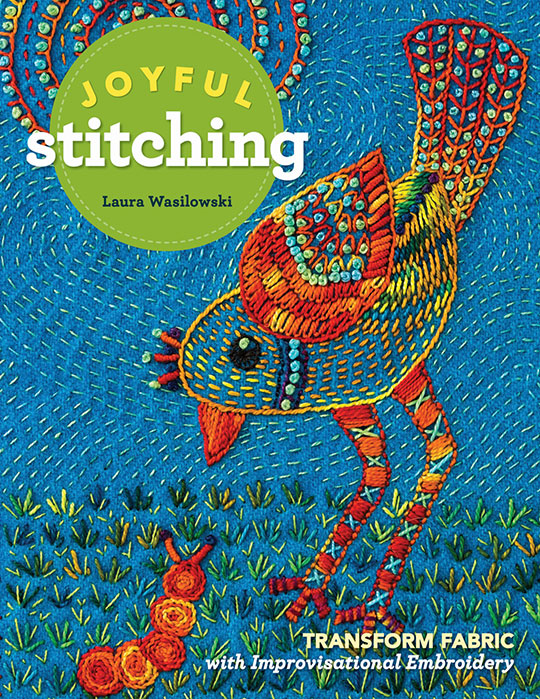
Like the Rare Songbird project found on the cover of the book, I’ll show you how to transfer the paint brush shapes to wool fabric and give you step-by-step directions for stitching. Need a refresher on how to make the seven embroidery stitches in the design? You’ll find written and illustrated directions in Joyful Stitching or just follow links to directions on my website.
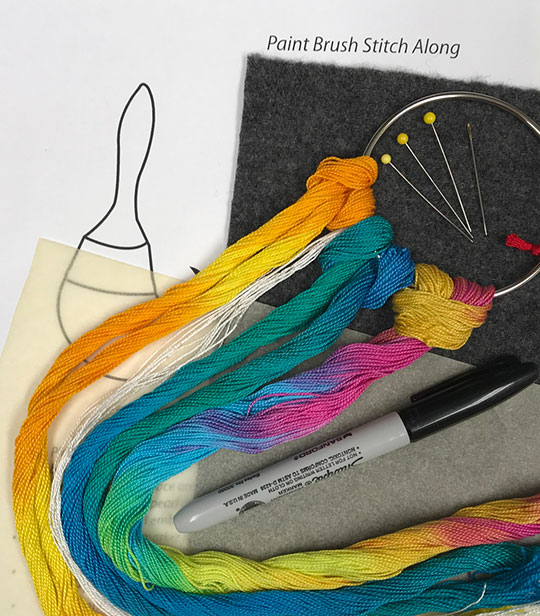
Materials Needed for the Paint Brush Stitch-Along:
- Printed pattern for the Paint Brush. Click here for a PDF of the pattern to download.
- Black fine-point marker
- 5” x 7” gray wool
- Straight pins
- Size 8 threads in these colorways: White (or other light-value color) and Aquamarine, Butter, Salt Water Taffy or similar colors
- Sizes 3 or 4 hand-embroidery needles
Directions
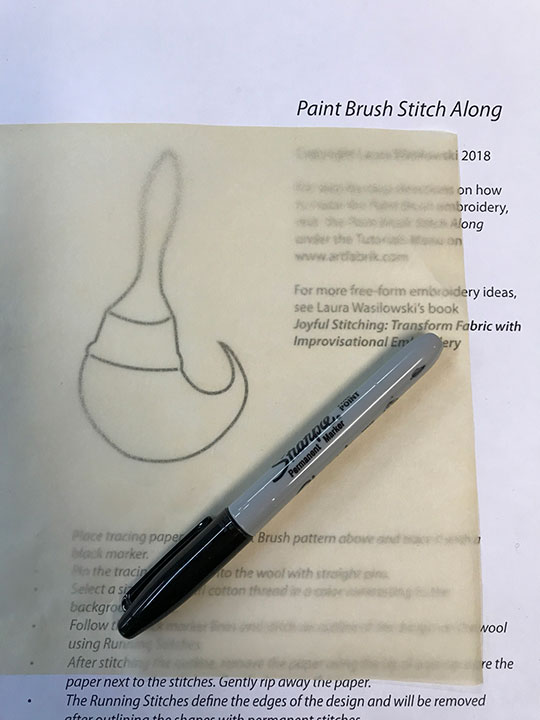
1. Print out the Paint Brush pattern PDF. Trace the brush pattern onto tracing paper using a black marker.
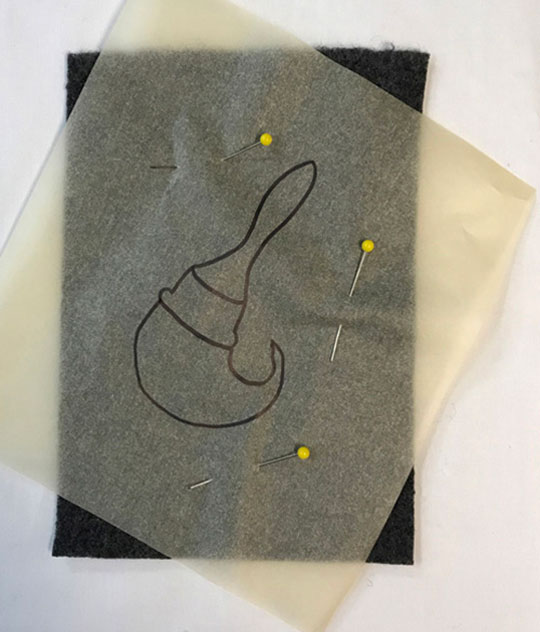
2. Tilt the tracing and pin it to the wool with straight pins.
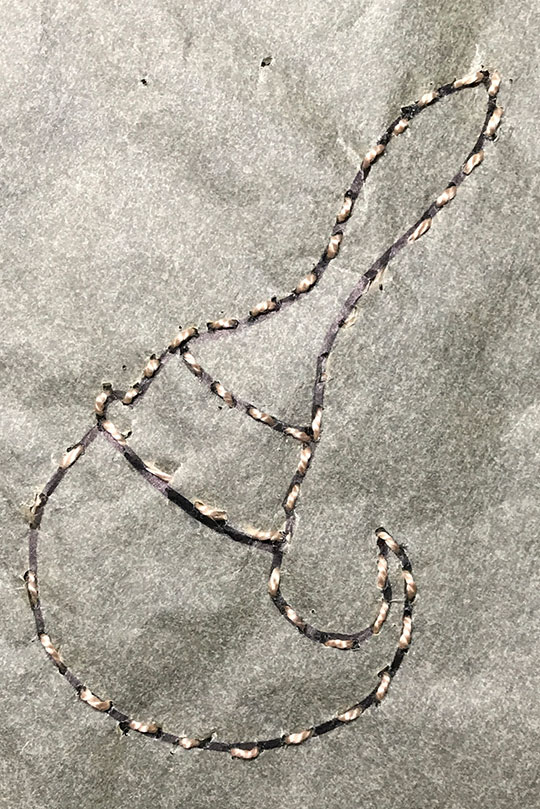
3. Stitch the outline of the design onto the wool using the white or light-colored thread. Follow the back marker lines on the tracing and use Running Stitches. The Running Stitches define the edges of the design and will be removed after outlining the shapes with permanent stitches.
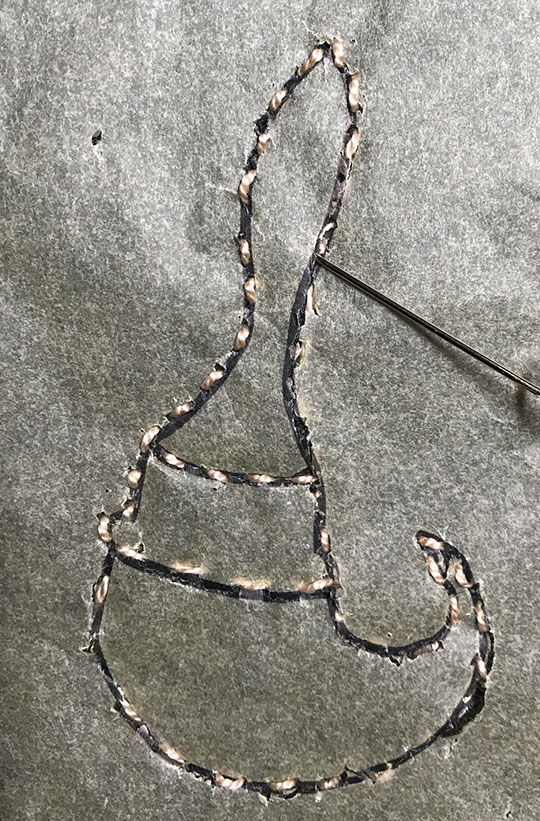
4. After stitching the outline, remove the paper by using the tip of a pin to score the paper next to the stitches. Gently rip away the paper.
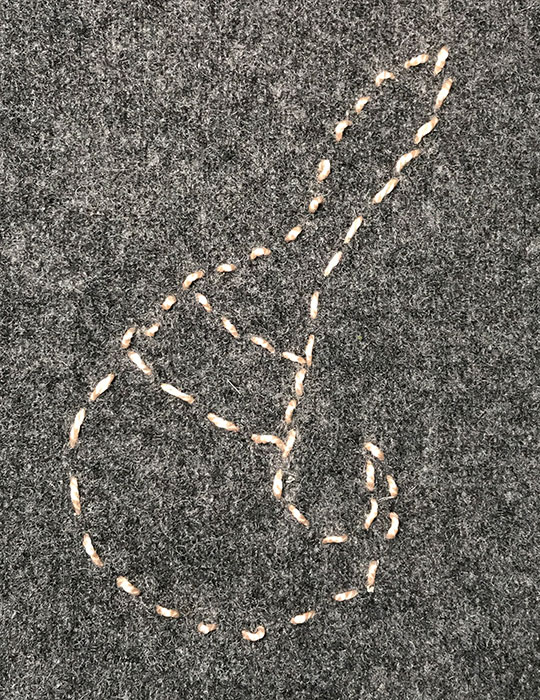
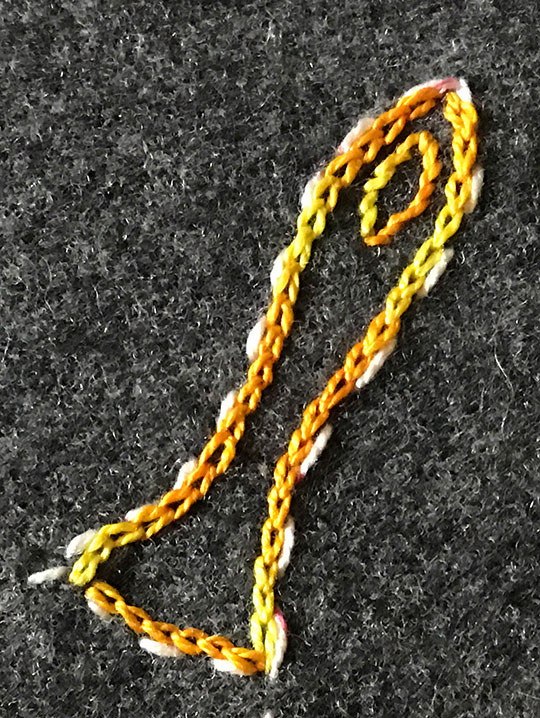
5. Stitch Stem Stitches at the top of the brush handle to form an oval-shaped opening. Stitch Chain Stitches around the outline of the brush handle.
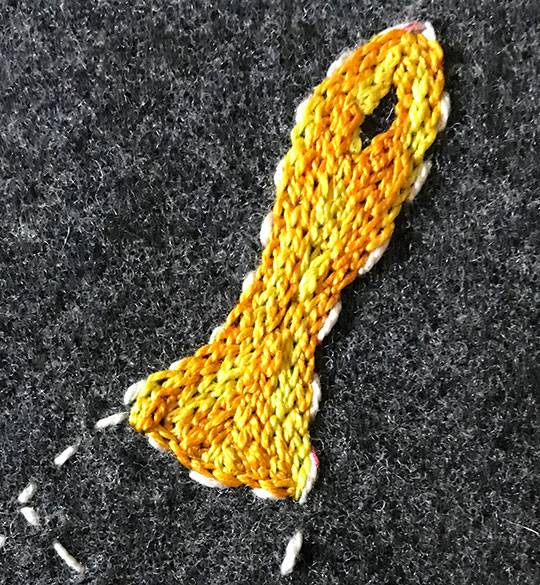
6. Fill in the brush handle with rows of Chain Stitches placed closely together.
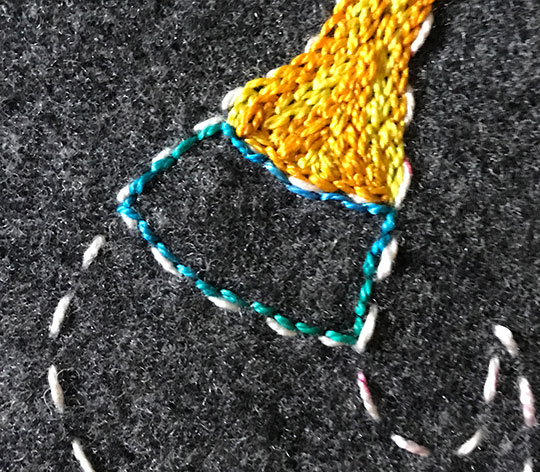
7. Stitch Back Stitches around the outline of the ferrule or center of the brush.
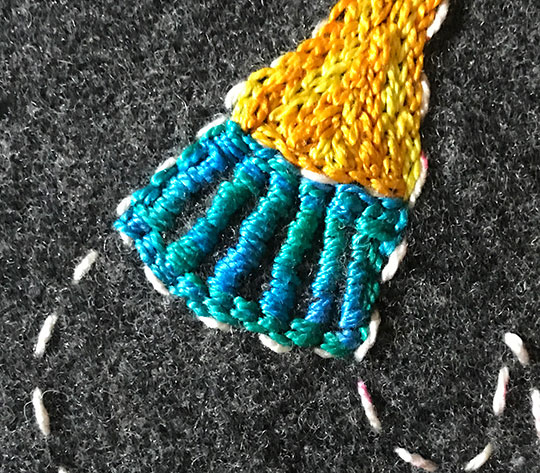
8. Stitch rows of the Satin Stitch vertically across the ferrule, leaving 1/4″ gaps between the rows.
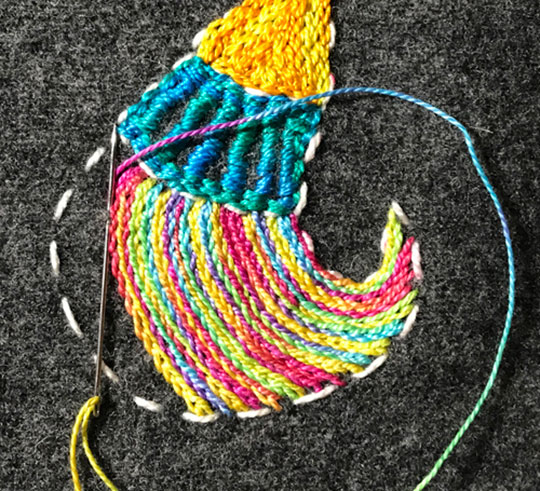
9. Stitch rows of Stem Stitches from the ferrule to the base of the brush to form bristles. Start on the right side, follow the curve of the outline, and place the rows closely together.
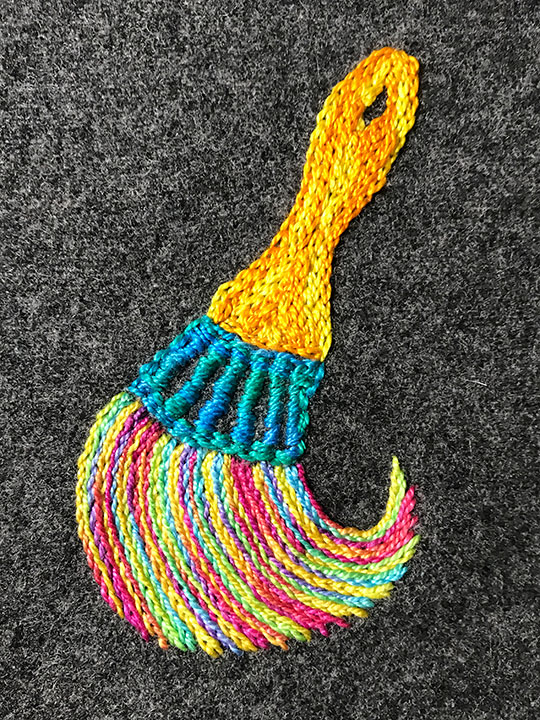
10. Carefully remove the Running Stitches that initially formed the outline of the shapes.
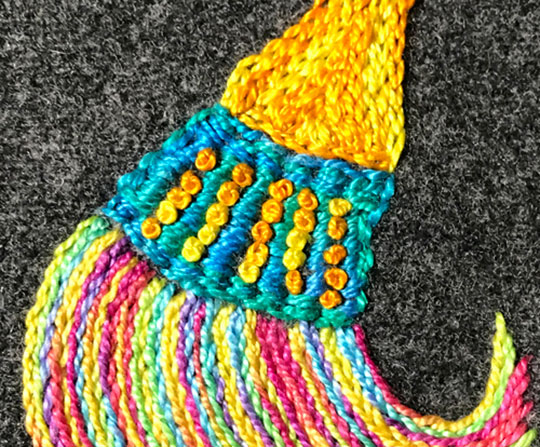
11. Stitch French Knots between the rows of Satin Stitches on the ferrule.
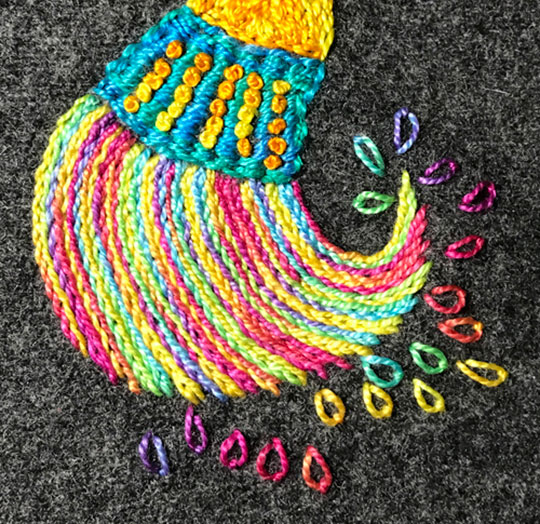
12. Stitch Lazy Daisy Stitches around the tip of the brush to form paint drips.
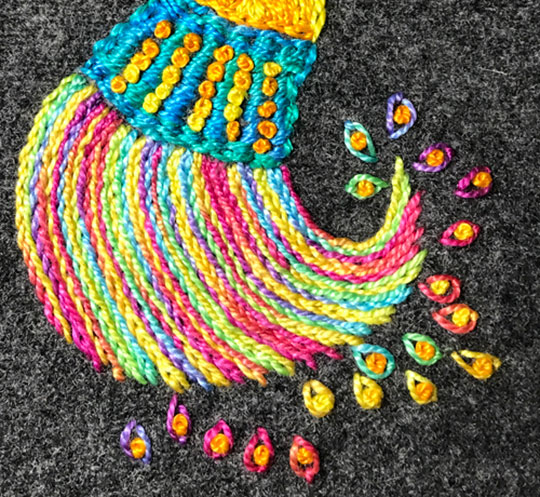
13. Stitch French Knots inside of each Lazy Daisy Stitch.
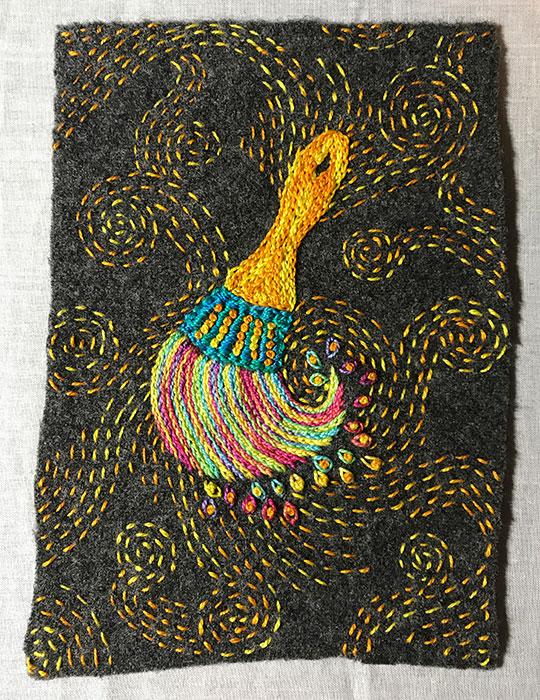
14. Stitch Running Stitches in curves and swirls on the background fabric using one color of thread.

15. Stitch Running Stitches to fill the background fabric with a different color thread.
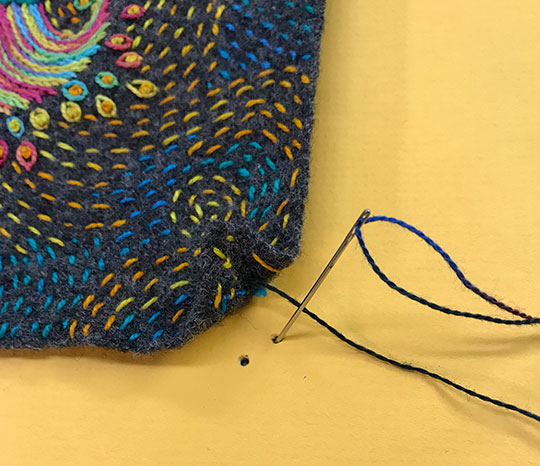
To display your work in a shadowbox frame, use an acid-free mat and pierce two holes in the mat that match each corner of the embroidery. Stitch through the holes into the back of the embroidery at each corner.
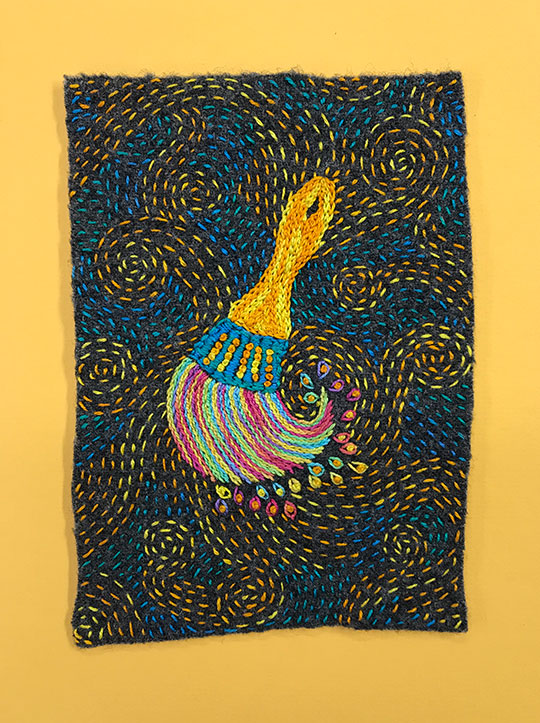
I hope you’ve enjoyed the Paint Brush stitch-along. Look for more freeform embroidery tutorials here. View our hand-dyed pearl cotton threads here. See all the projects from Joyful Stitching here.

