How to Make Lace Gloves: Sewing Tips & Working with Lace
Posted by Gillian Conahan on Apr 19th 2023
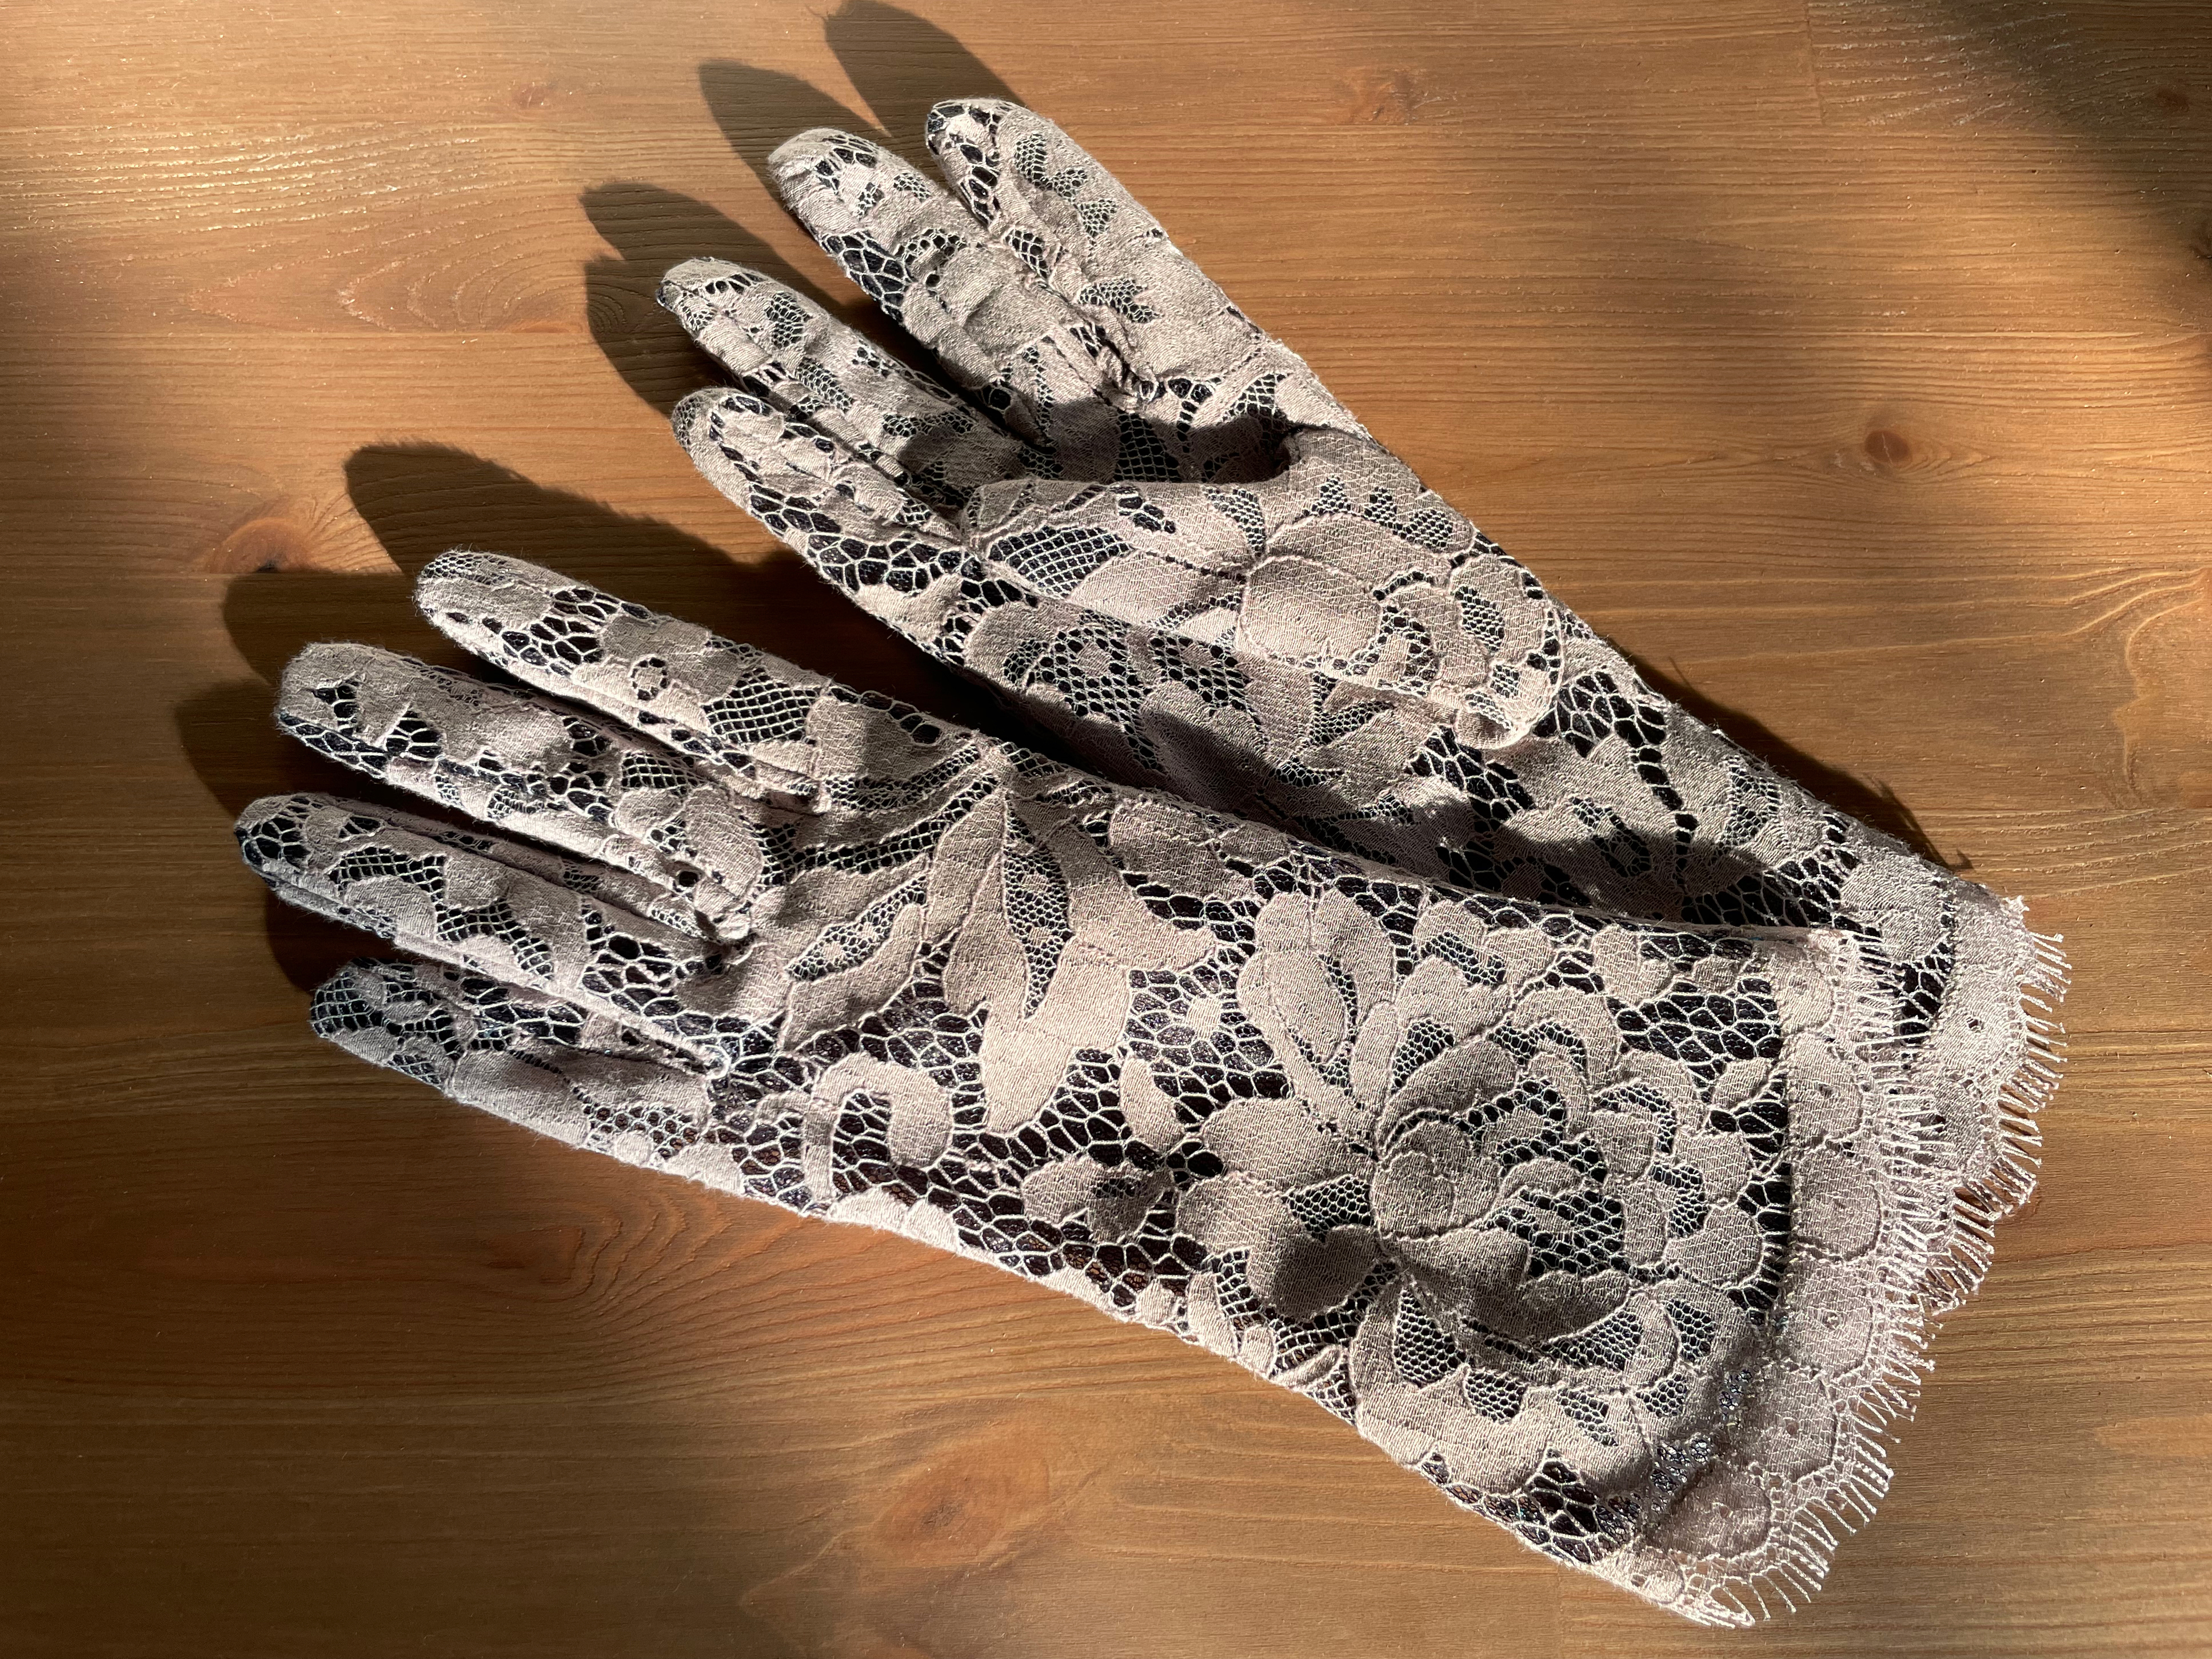
Greetings! I'm Gillian Conahan, costumer and author of the Handwear Handbook, available April 25. To celebrate the launch, and the spring weather here in NYC, I thought I'd share a fun variation on one of the book projects. Lace gloves are one of those crossover pieces that are equally at home in costume and fashion. They make a lovely detail for elegant and romantic character types, but they also make a sweet accessory for a vintage-styled outfit or special occasion look.
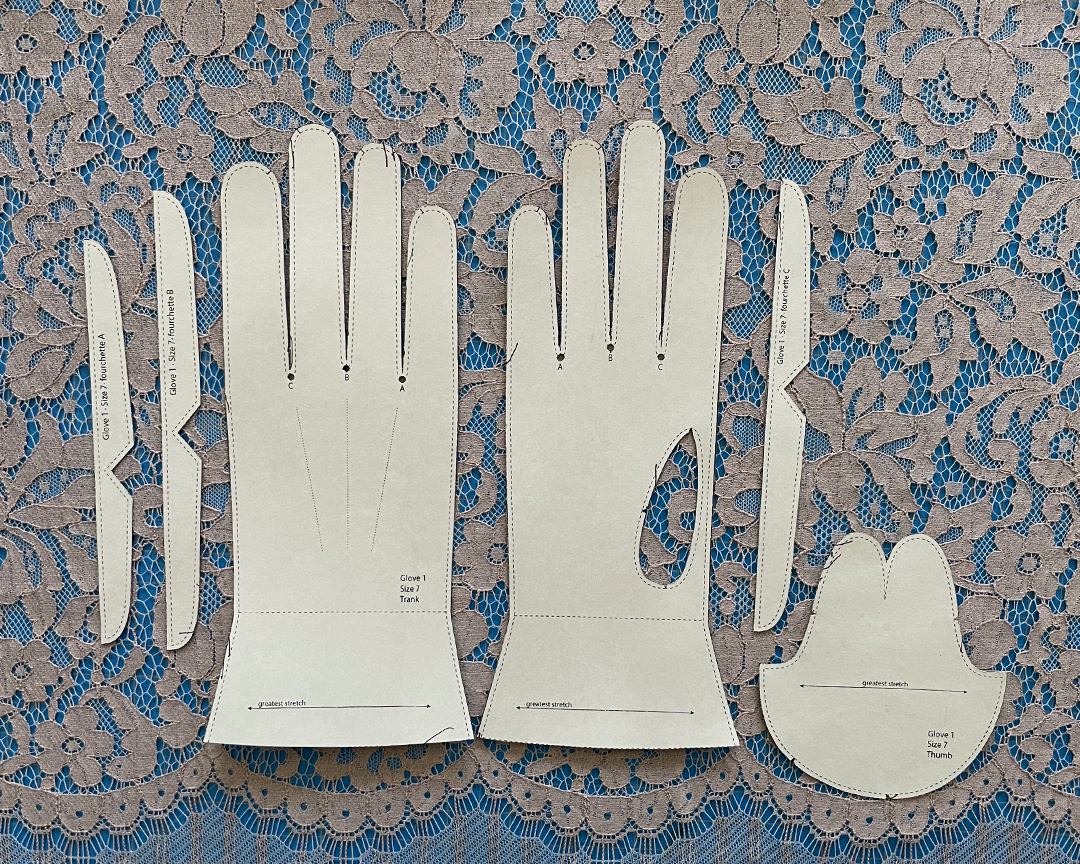
This project is based on the first of two main glove patterns in the book, intended for stable knit fabrics and other materials that fray minimally and have small to moderate amounts of stretch. I've stretched that guideline a little bit to do them up in this scalloped lace, which has just a tiny bit of mechanical stretch but benefits from the slightly simpler construction of the knit glove pattern. I separated the glove trank into two halves, trimmed the seam allowance down to 2mm everywhere since the seams will be visible through the sheer fabric, and added allowance to the new center seam. Then I extended and flared the wrist edge slightly on both pieces.
When choosing a lace for gloves, look at how the motifs will work for the shape and scale of your hand. The floral pattern on this fabric is moderately large, which can make placement a little bit tricky, but the design is dense enough that it won't leave large voids anywhere. There's subtle cording to accent the shapes, but overall the fabric is flat and thin enough to make for clean seams. This panel also has a beautiful fringed scallop with a width of about 4 1/8" (10.5cm), which in this size makes a nice width for a slightly flared glove edge, so I decided to plan my design around that. The panel also includes a mirrored version of the motif, which makes it possible to cut both gloves identically - if yours does not, you can sometimes flip the fabric over and use the reverse face for one side without a noticeable difference. Otherwise, consider how the motifs can be arranged so that the two gloves complement each other. Make sure to buy enough fabric that you can experiment with the placement to find what works best.
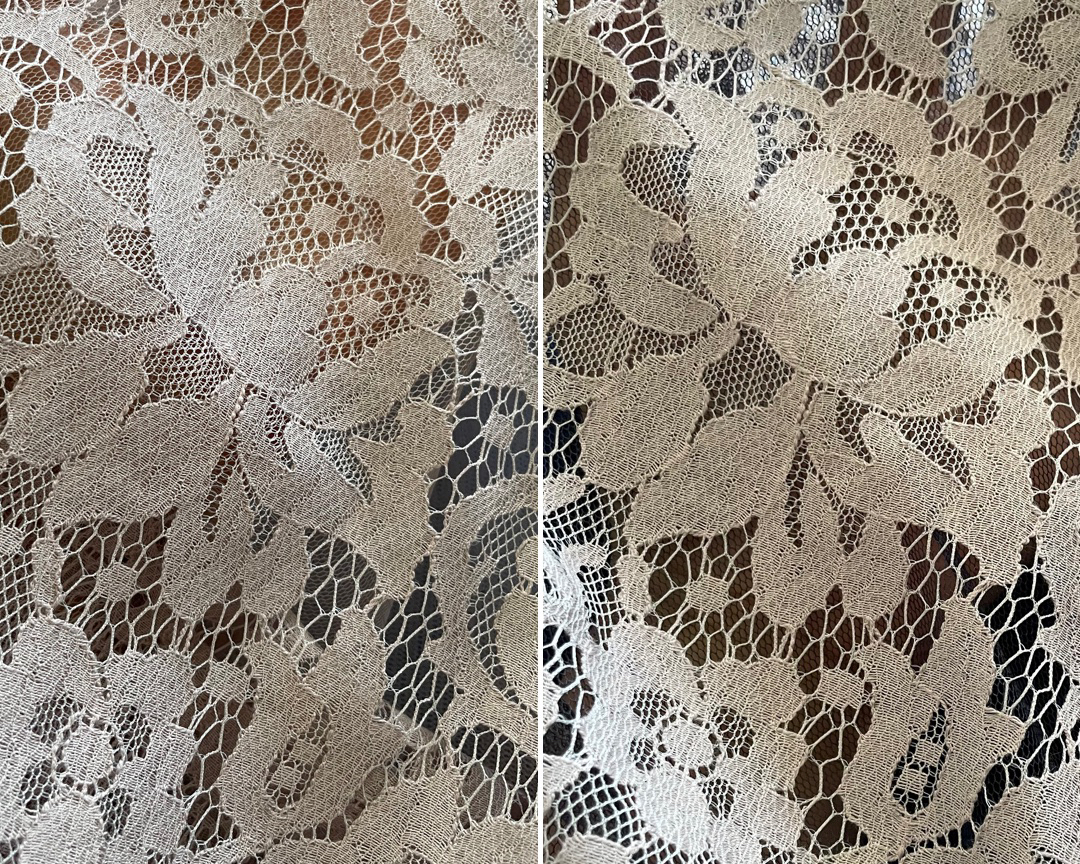
I decided to back the lace with nylon netting, which also has a slight crosswise mechanical stretch. This helps to even out the stretch across the denser and more open areas of the lace, and ensures that there will always be enough material at the edges for a sturdy seam, which allows for more precise sewing and a better fit. I tried two different colors, and decided that I liked the additional contrast from the smoky gray net.
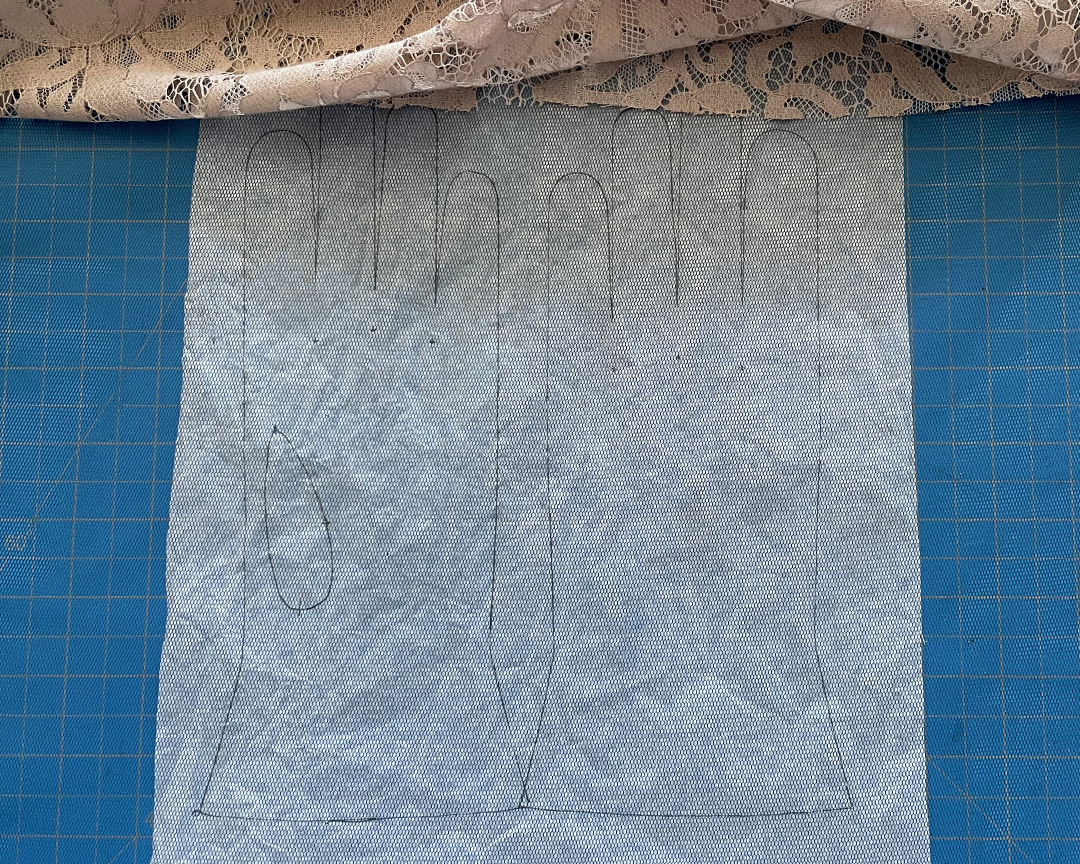
Both these fabrics can be difficult to mark accurately, so start by tracing a full set of pattern pieces for both gloves out on a sheet of tissue paper. Recycled is fine, just press it flat if it's very wrinkled. (You could also use a light wash-away stabilizer if you have it handy, but tear-away might be too tough for such delicate work.) I butted the trank pieces so that they join at the scallop edge on the outside of the arm, and the seam picks up above the scallops like a dart. Lay the tulle out on top of the tissue, paying attention to the direction of greatest stretch, which should be oriented around the hand.
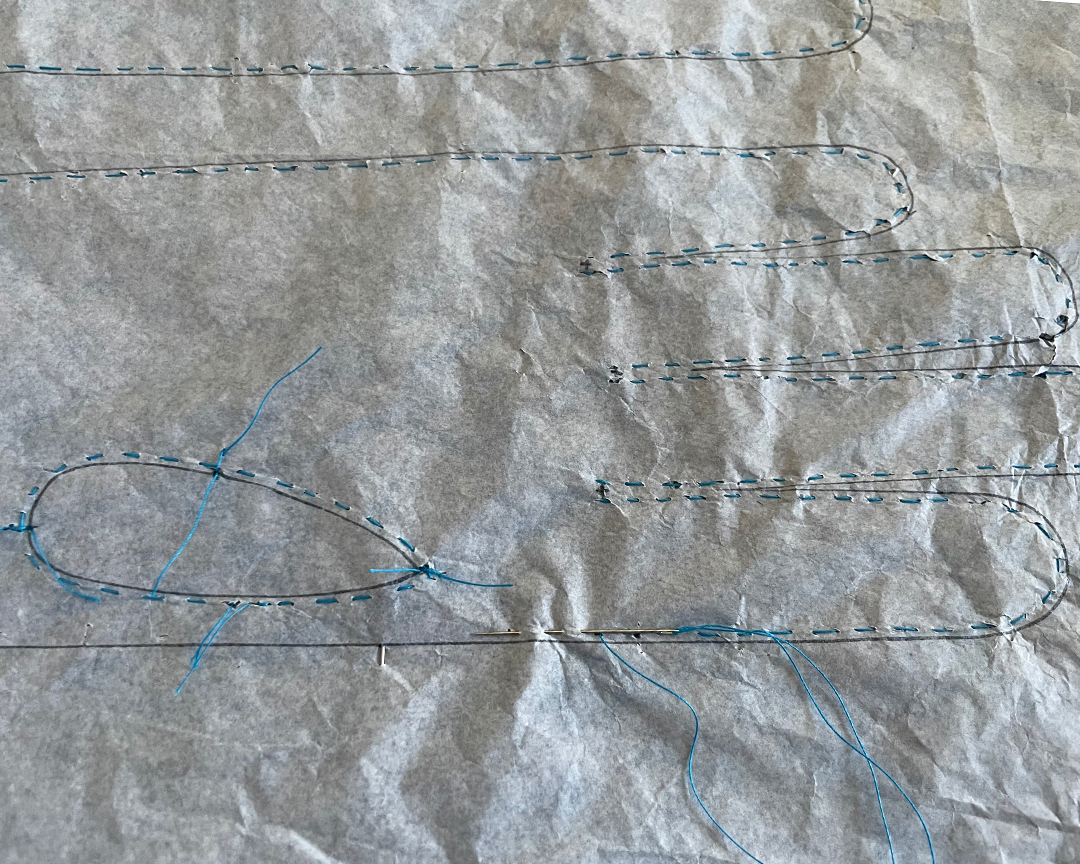
Add the lace on top, aligning the motifs so that they will land attractively in the most visible areas. Pin thoroughly, keeping everything flat, then turn the piece over so you can see the lines and baste within the narrow seam allowance all the way around each piece. I chose to do this by hand so that it could be removed later to reduce the amount of thread in the seams, but by machine should be fine if you're time crunched.
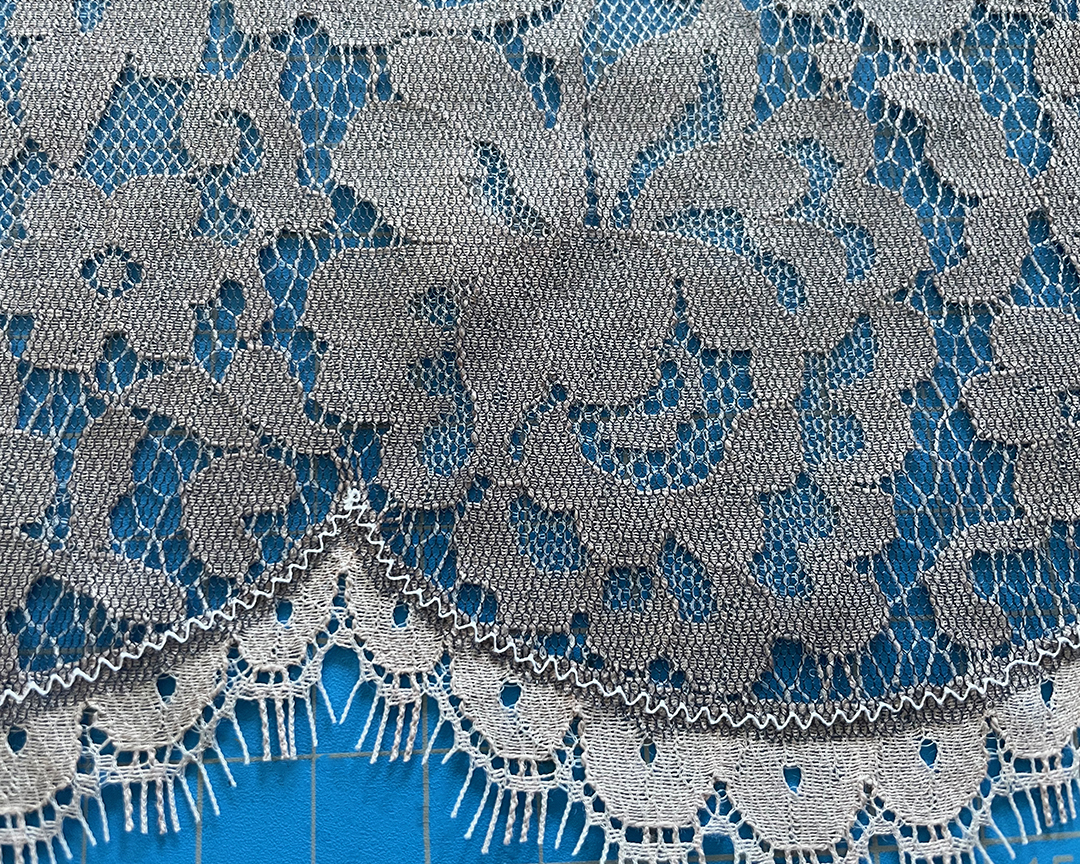
If using a scallop edge, sew with a small zigzag stitch along the top edge of the scallop motif. Try this on scraps to see what blends best with your lace fabric, but done right it should virtually disappear. This stitch secures the lower edge of the tulle so that it can be trimmed away from the scallops, leaving a delicate lace edge.

Stitch up one side seam first, so that the trank is in one piece and easier to handle. Continue with the assembly as described for the standard knit glove (page 58). Use a straight stretch stitch if using a stretch lace; for this lace a standard straight stitch was adequate. After stitching, trim the seams slightly to neaten them and remove the stabilizer and basting. Stitch again with a tight zigzag stitch to neaten the seams.
...
Find more of Gillian's work at www.alltomorrowspatterns.com, or on Instagram @gillianconahan

