Free Project: Felt Air Plants
Sep 14th 2022
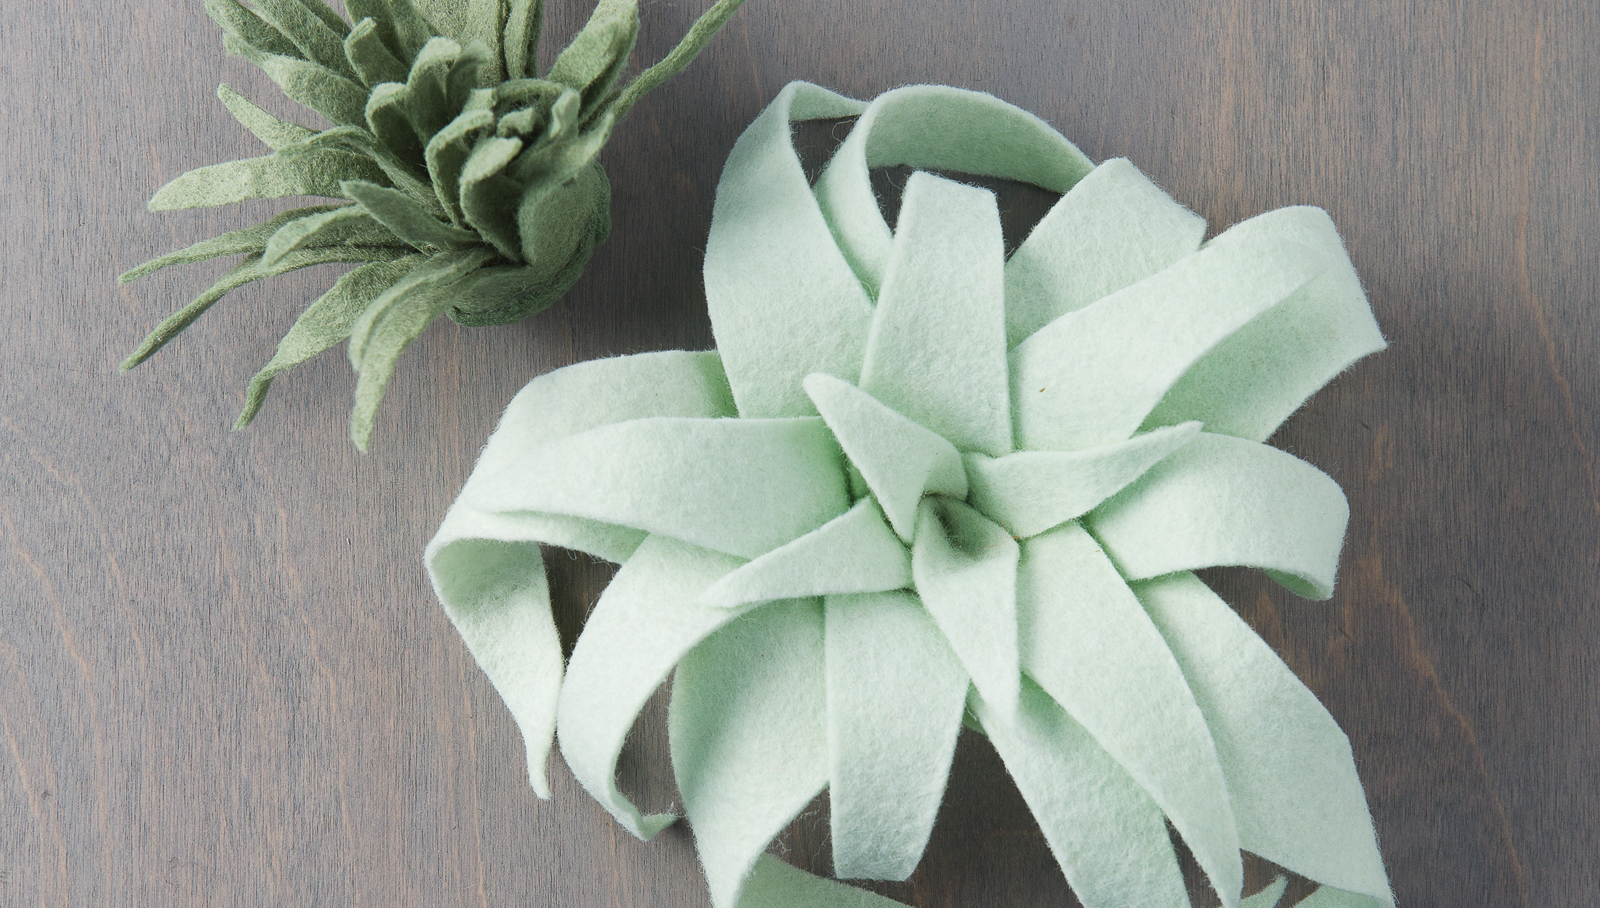
With their extraterrestrial-like beauty and simple care needs, air plants have soared in popularity. These felt versions are just as interesting and require even less attention. There’s no need to soak or spritz these versions after they’re made!
SUPPLIES
Olive green felt
Sage green felt
Scissors
Hot glue gun and glue sticks
Fabric stiffener
Variation 1
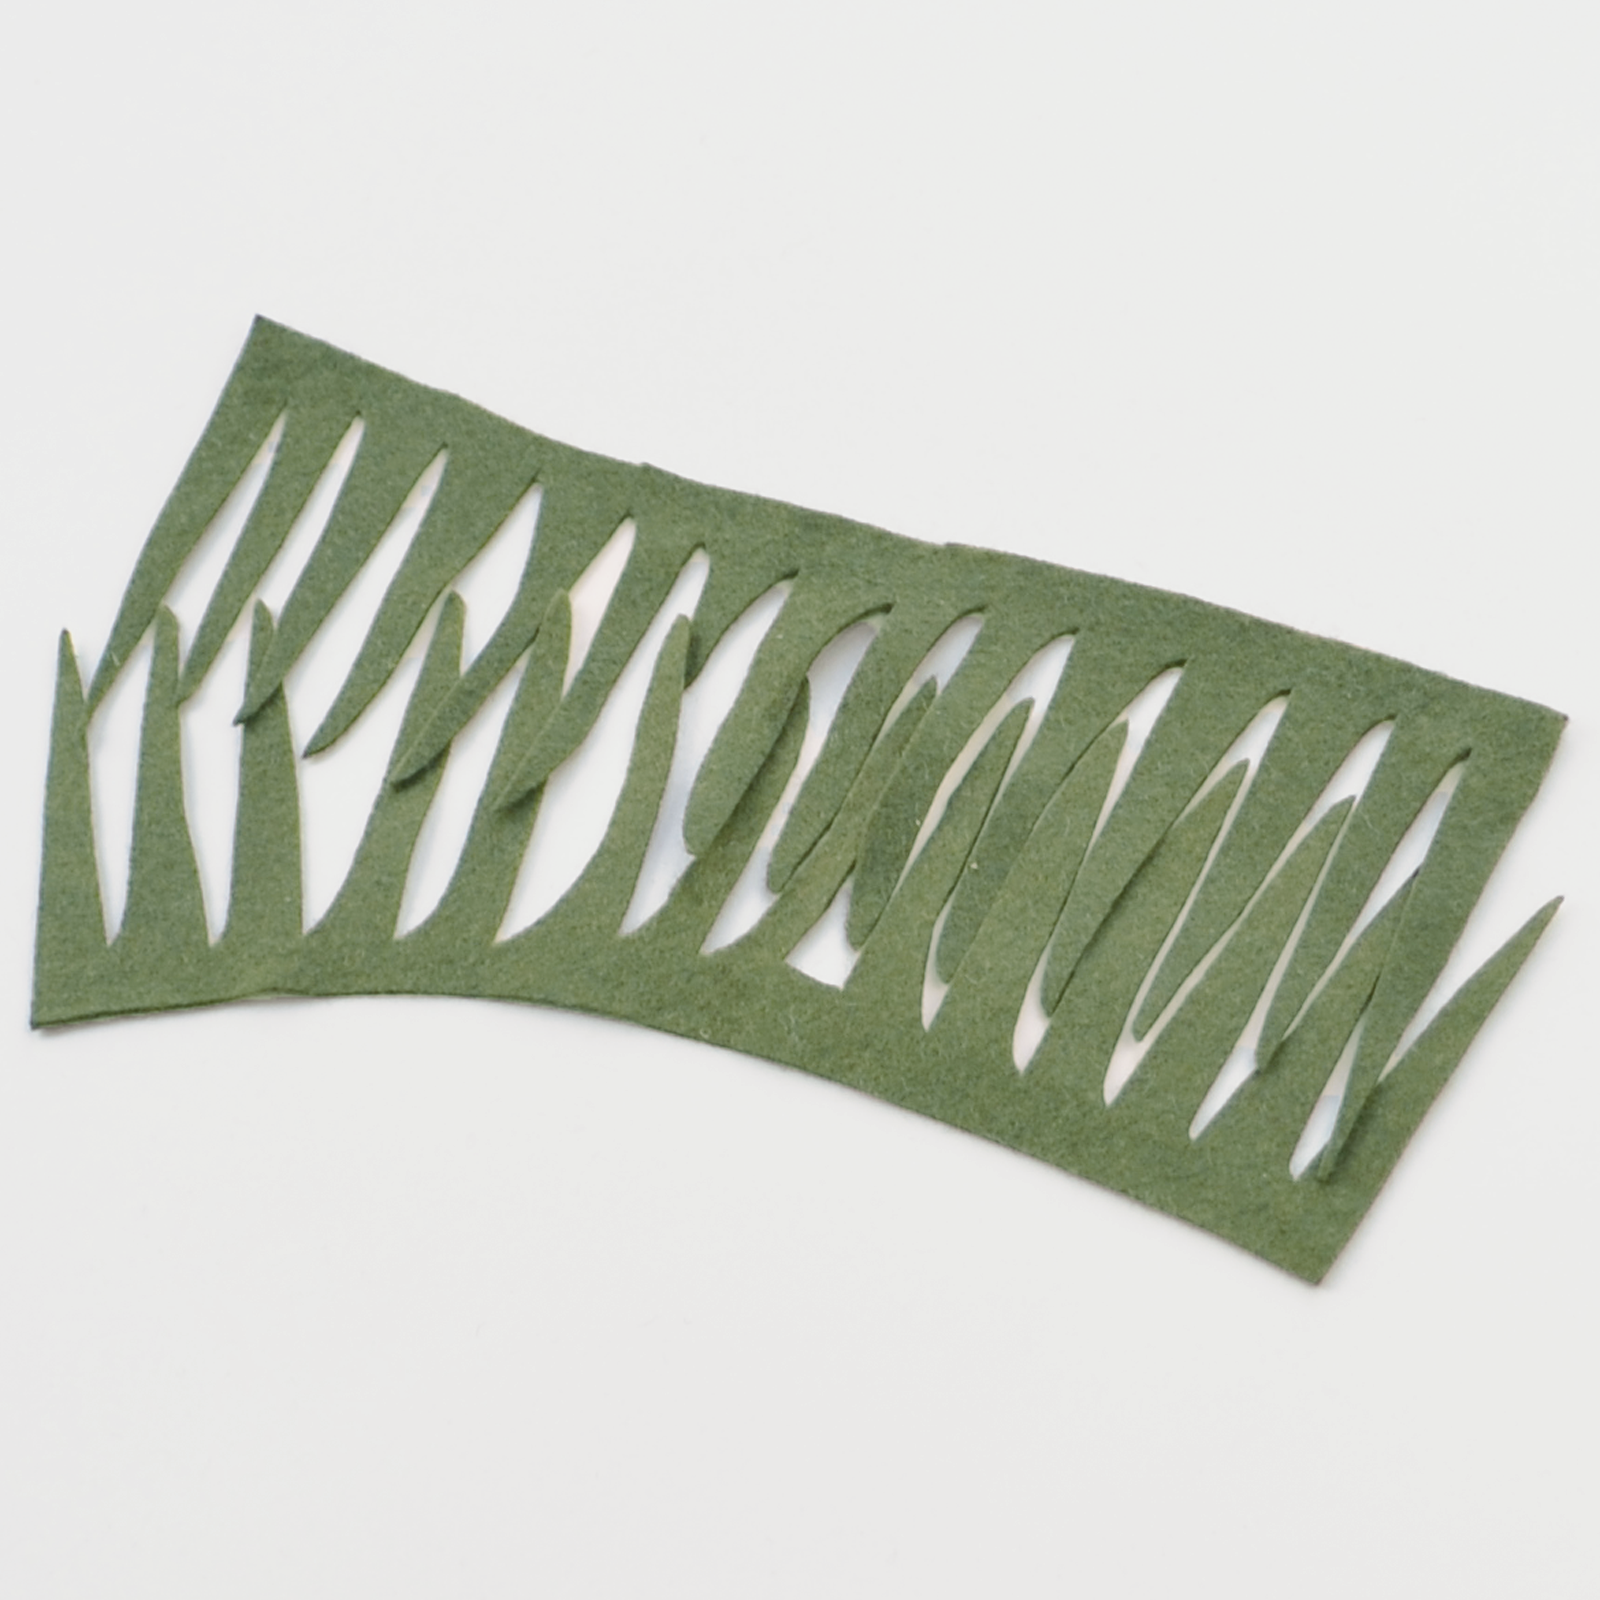
STEP 1: Cut the pieces. Using air plant template one, cut out two pieces from the olive green felt. If using the template is tedious, freehand the design!
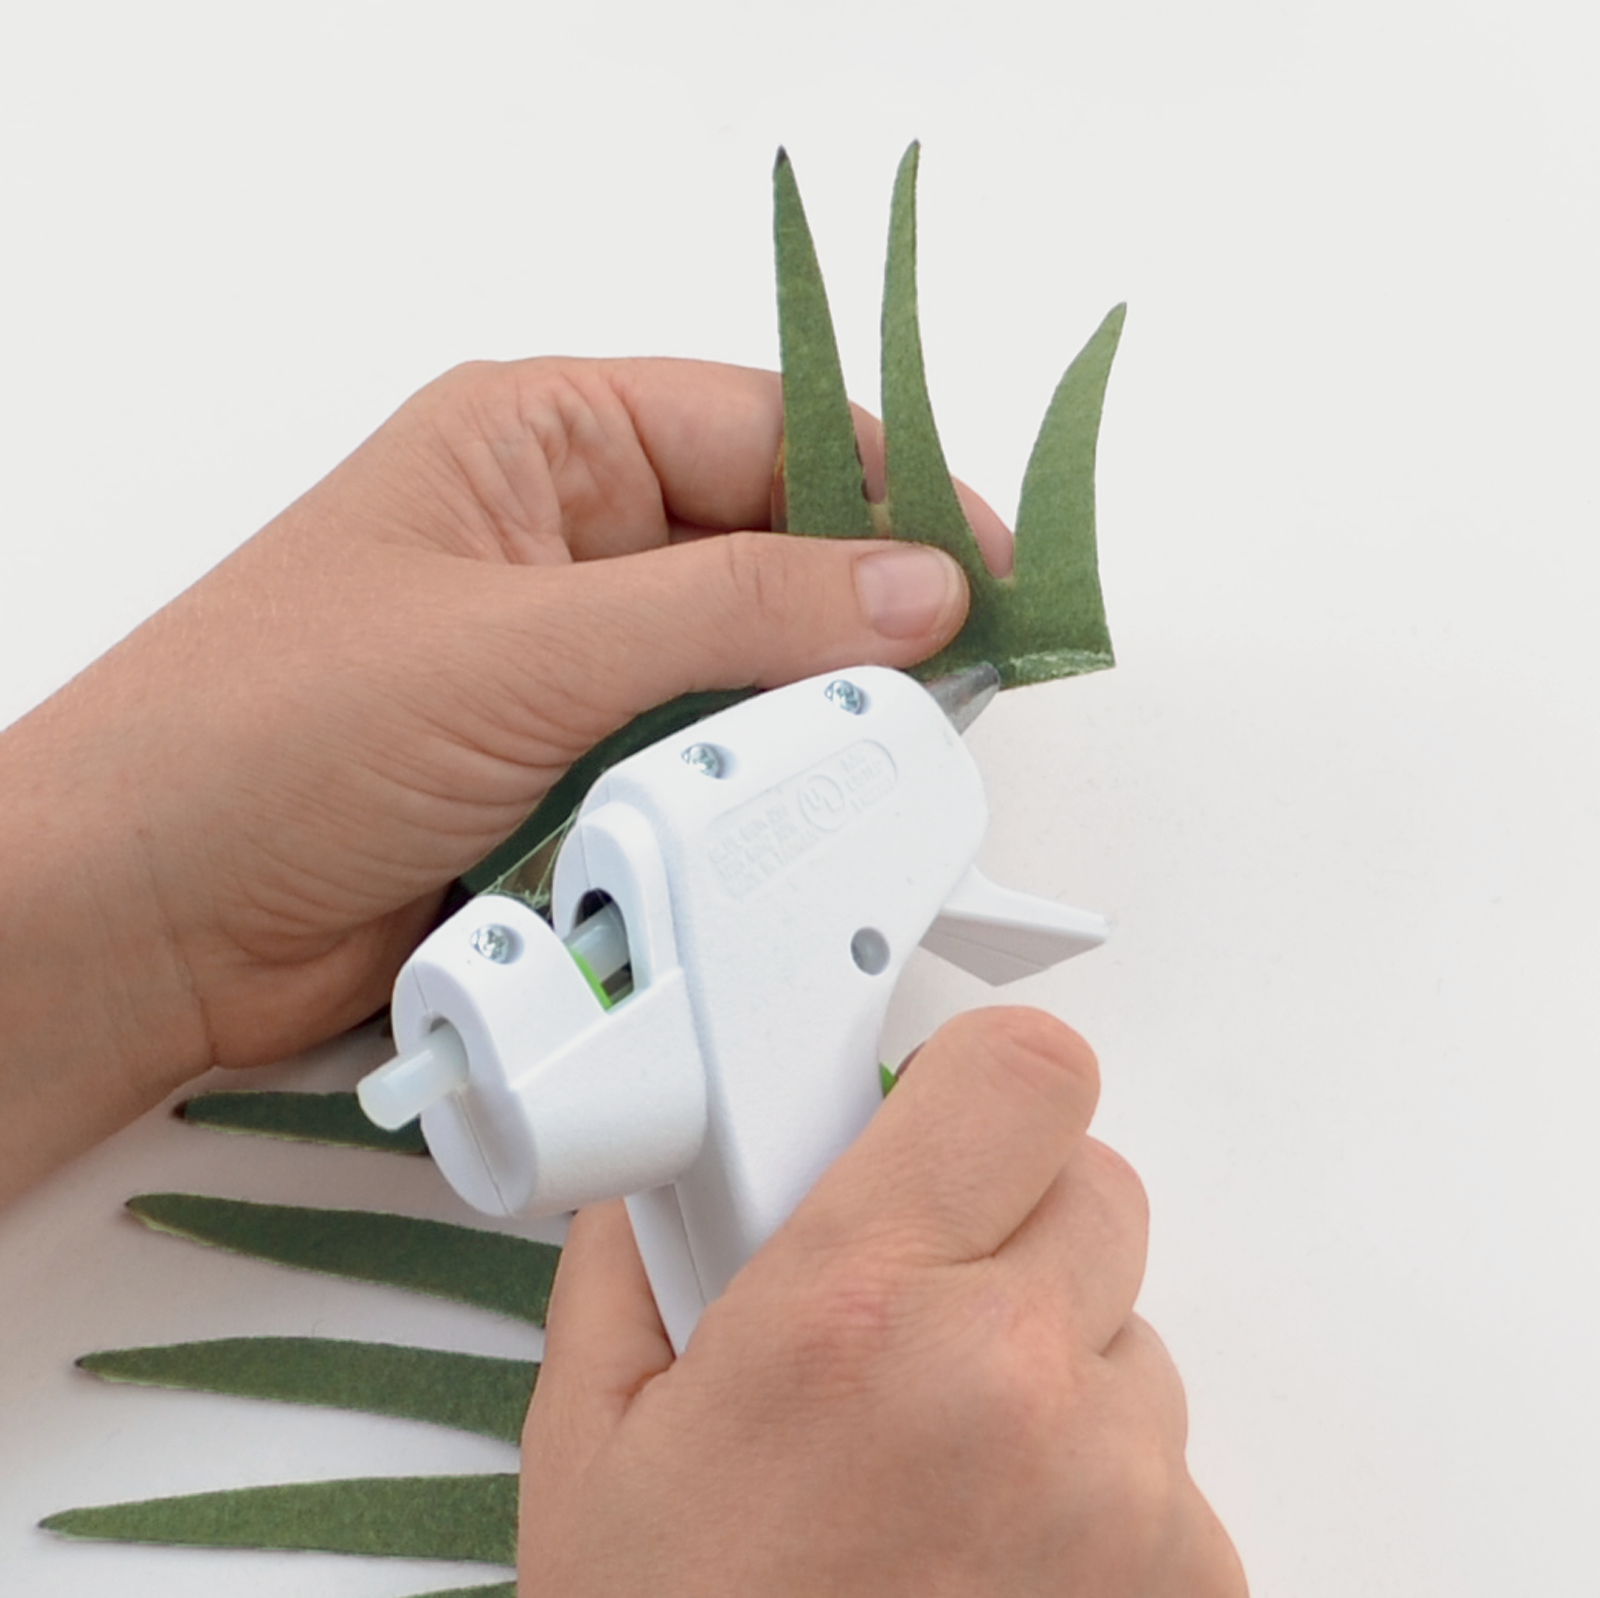
STEP 2: Roll the first piece. Take one of the felt pieces. Starting at one end, apply a small line of glue along the bottom (straight) edge. Fold the end of the felt onto the glue and begin rolling it. Continue adding glue and rolling up the felt in sections until you reach the end.
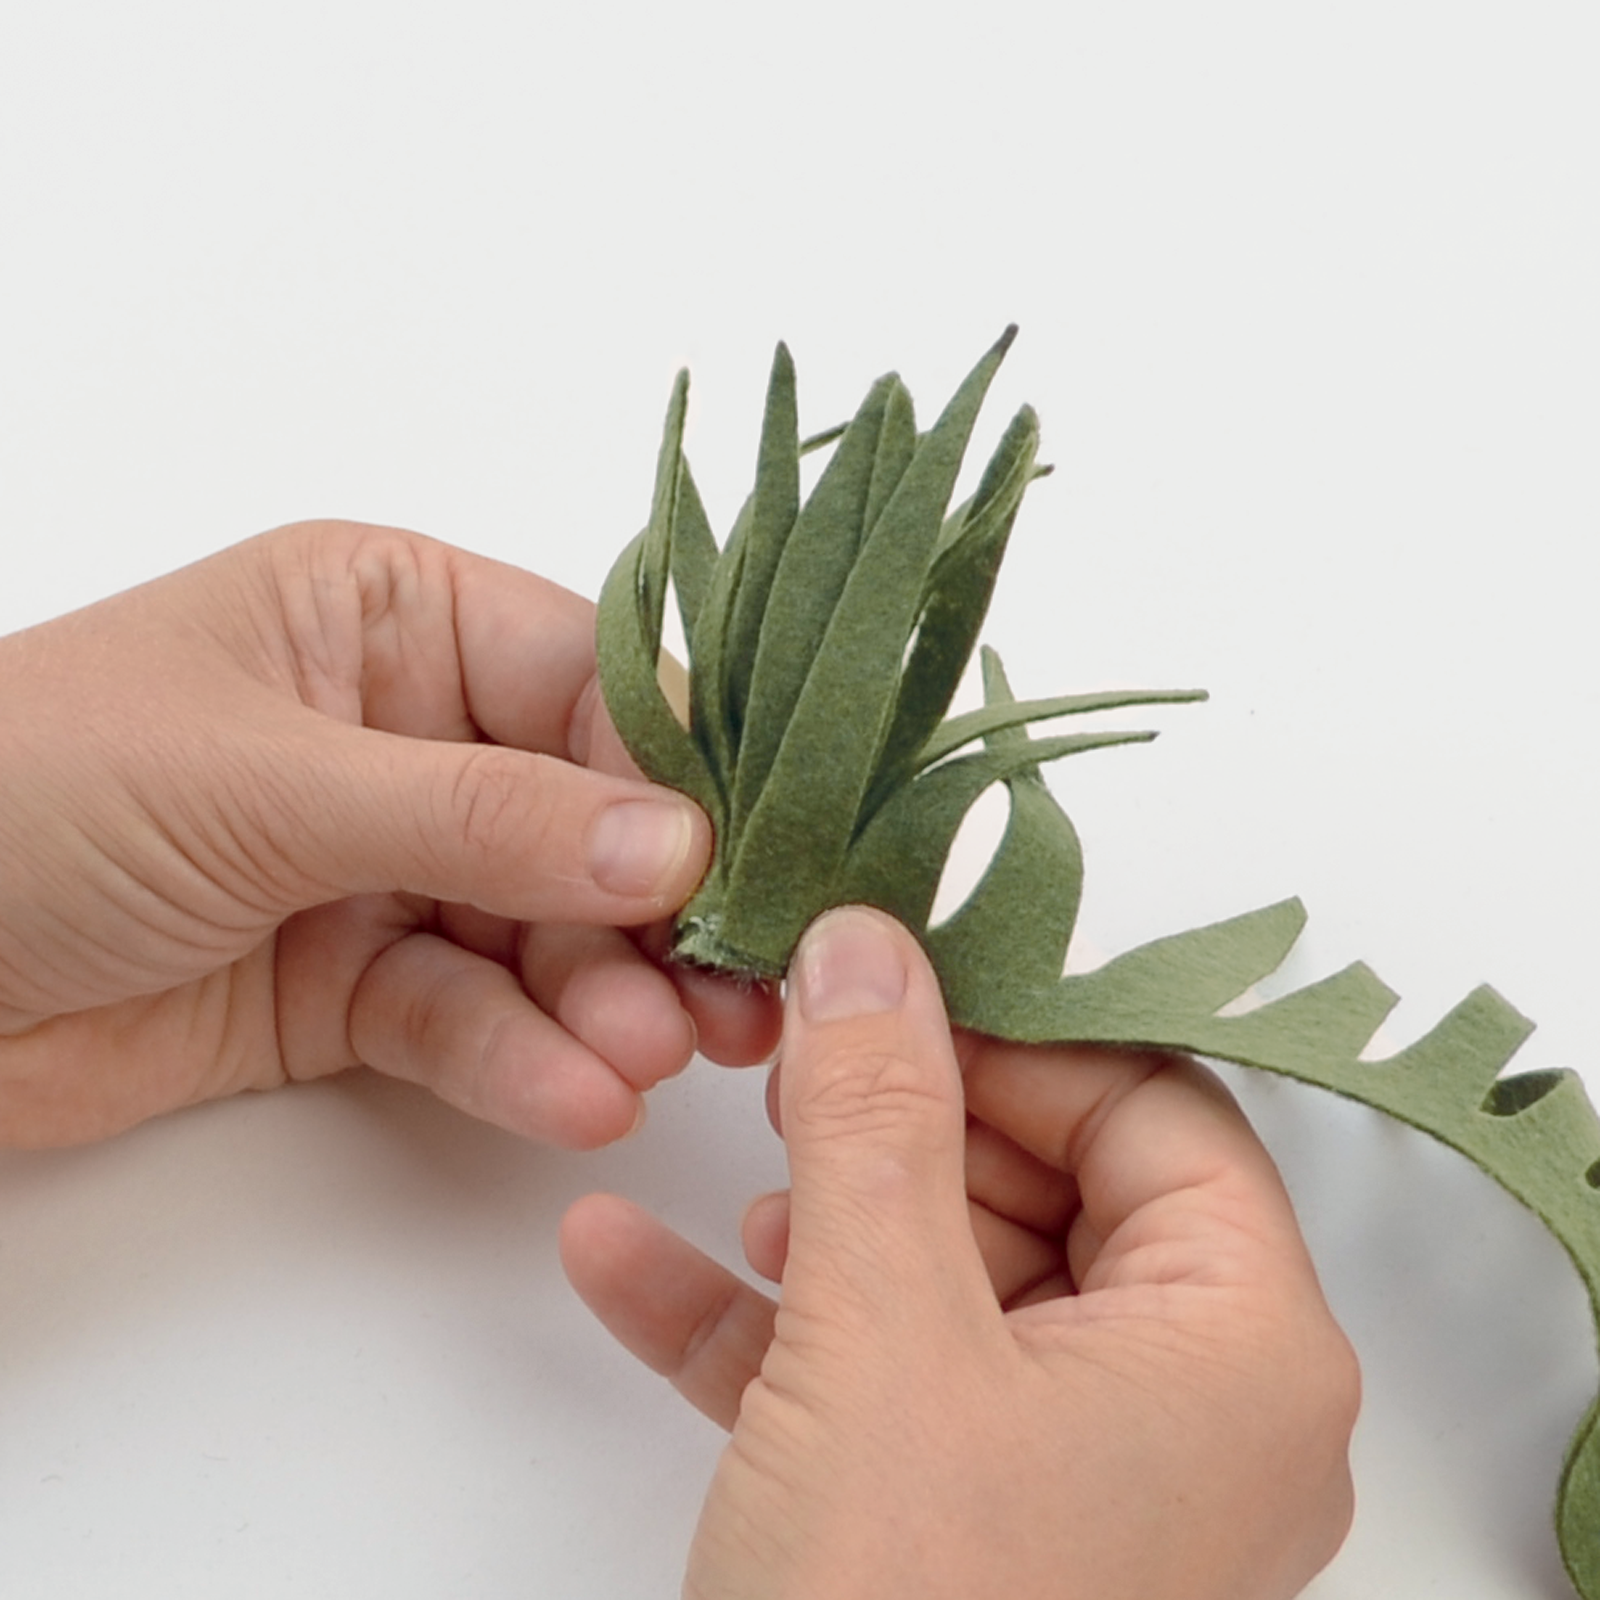
STEP 3: Add the second piece. Glue the second piece of felt onto the end of the first piece where you left off in Step 2. Continue adding glue and rolling the felt in sections until you reach the end.
STEP 4: Shape the leaves. Spray the felt with fabric stiffener and shape the leaves, using your fingers to curl each one.
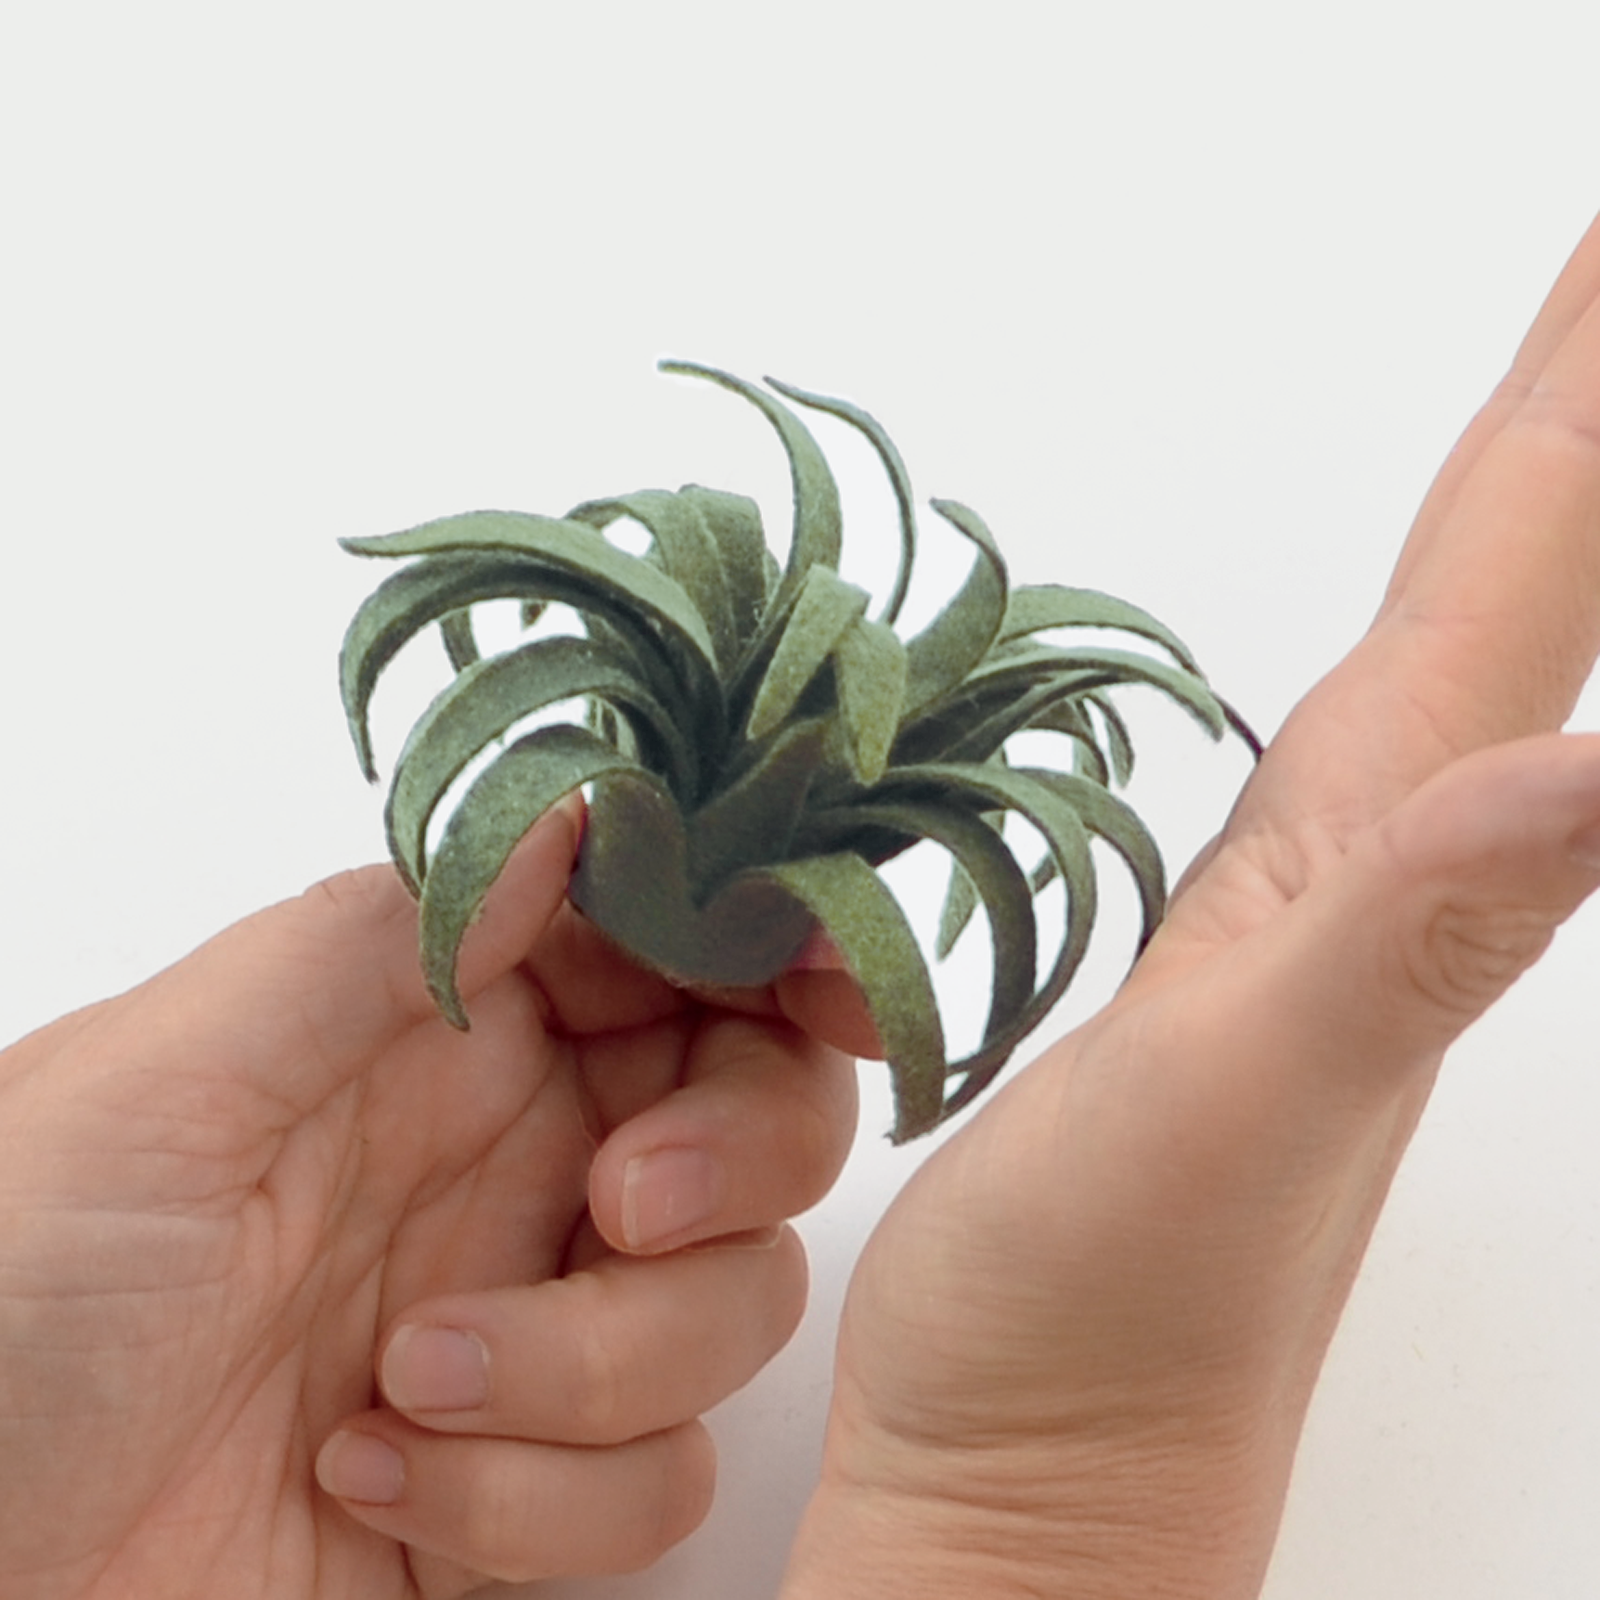
Variation 2
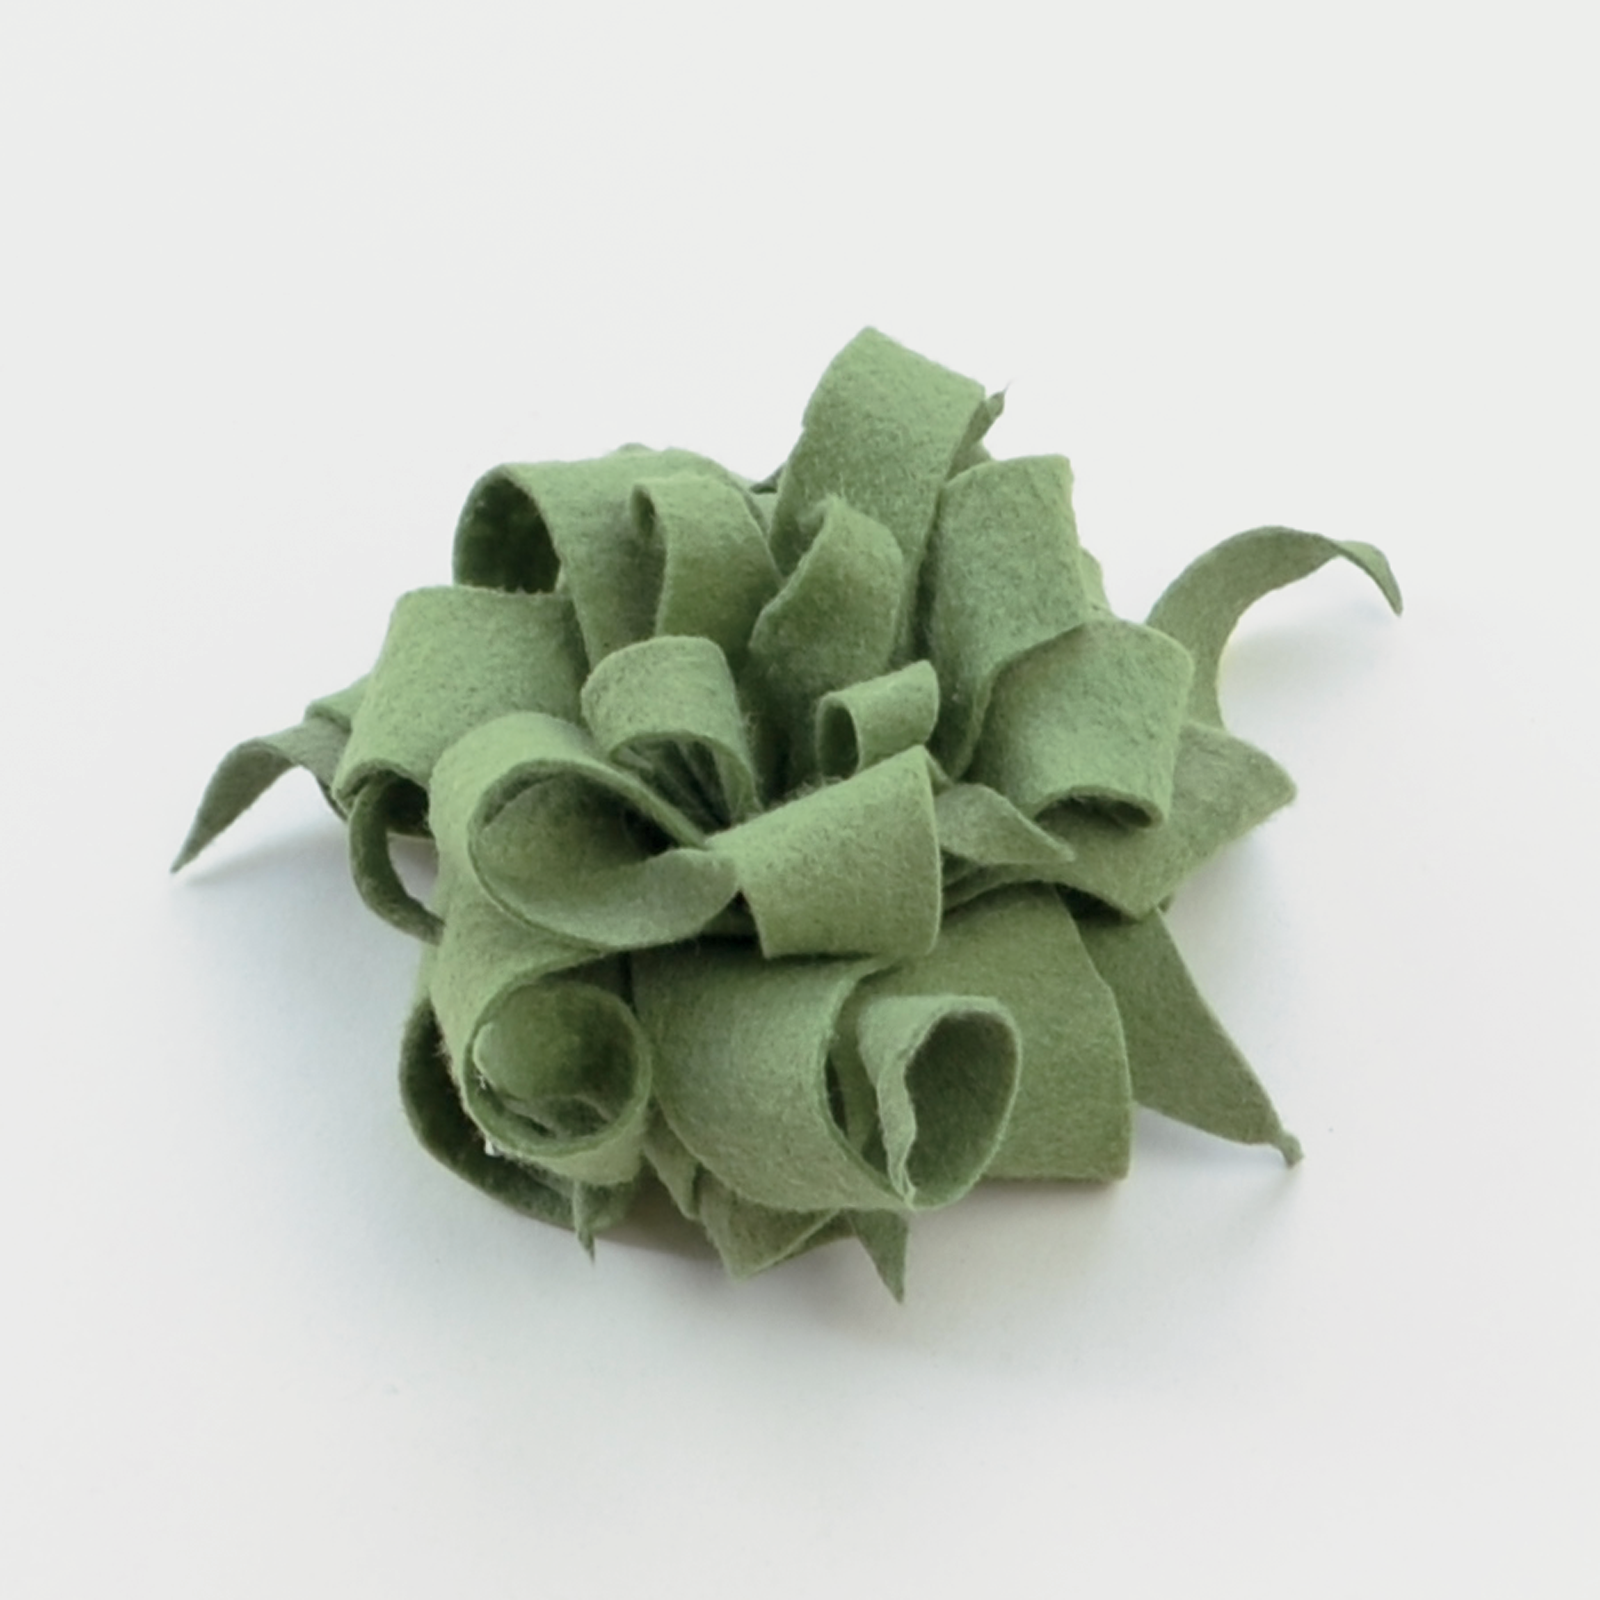
This air plant gets some extra primping after it's assembled. I always feel a bit like a hairdresser spraying and curling the leaves. Be sure to let the swirly tendrils fully dry and set before moving your air plant. This one was inspired by the Tillandsia Xerographica, which can grow to be quite large!
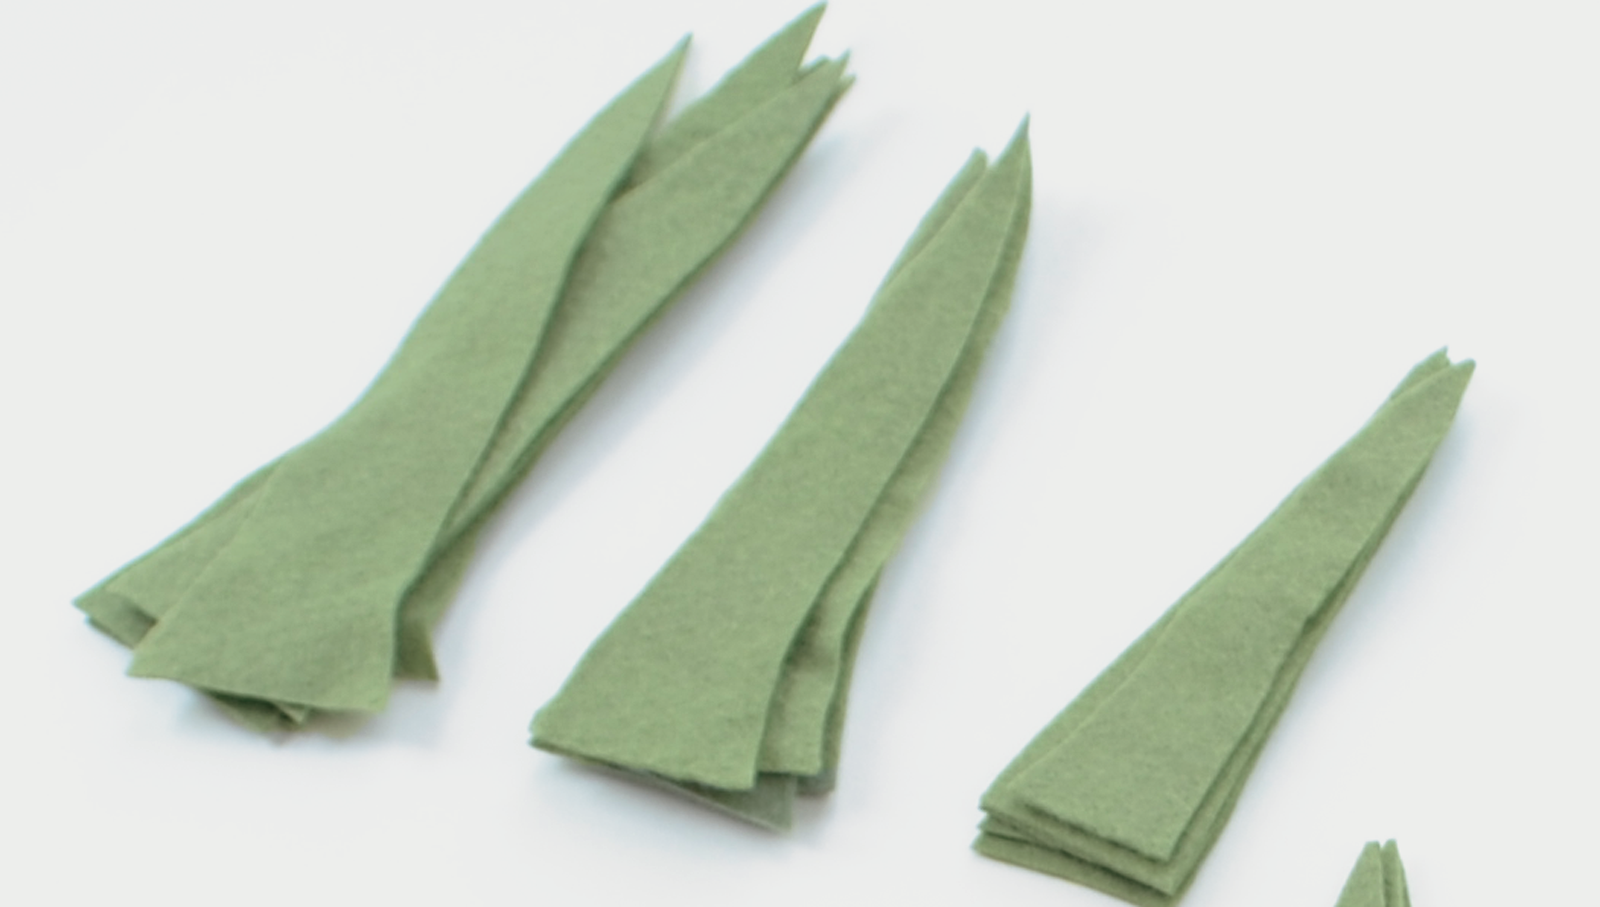
STEP 1: Cut the pieces. Follow air plant template two to cut out four small, five medium, five large, and five extra-large leaves from the sage green felt.
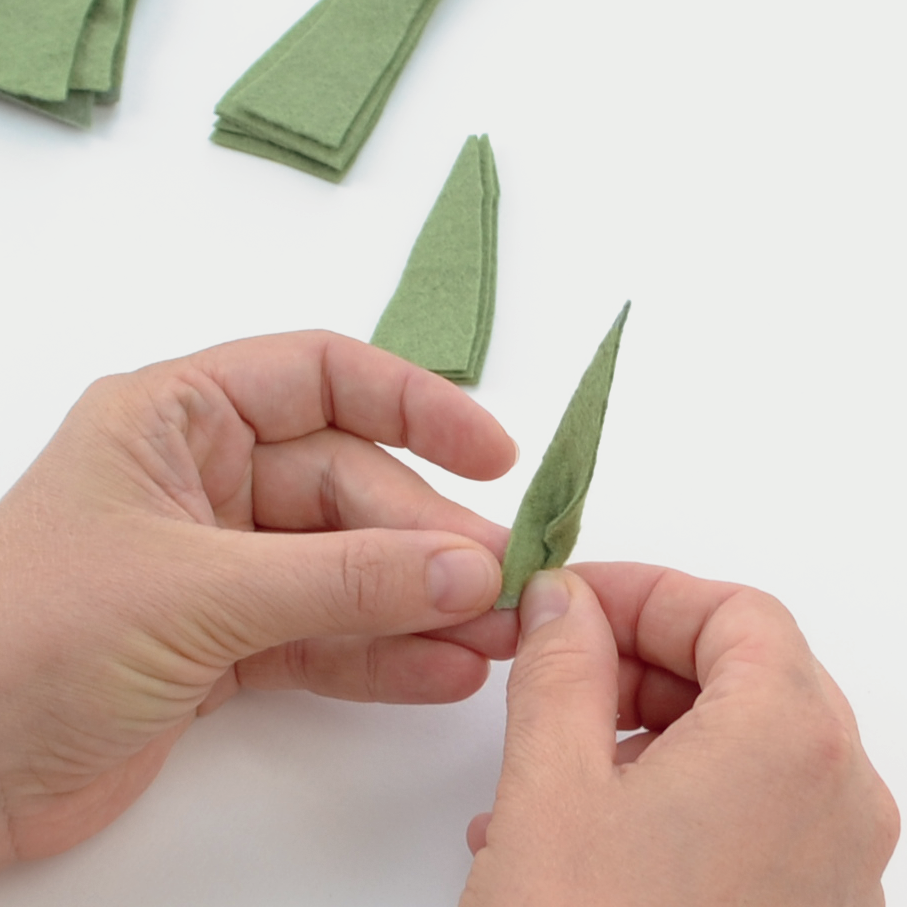
STEP 2: Roll the first leaf. Add some glue along the bottom edge of one of the small leaves and roll it up as shown.
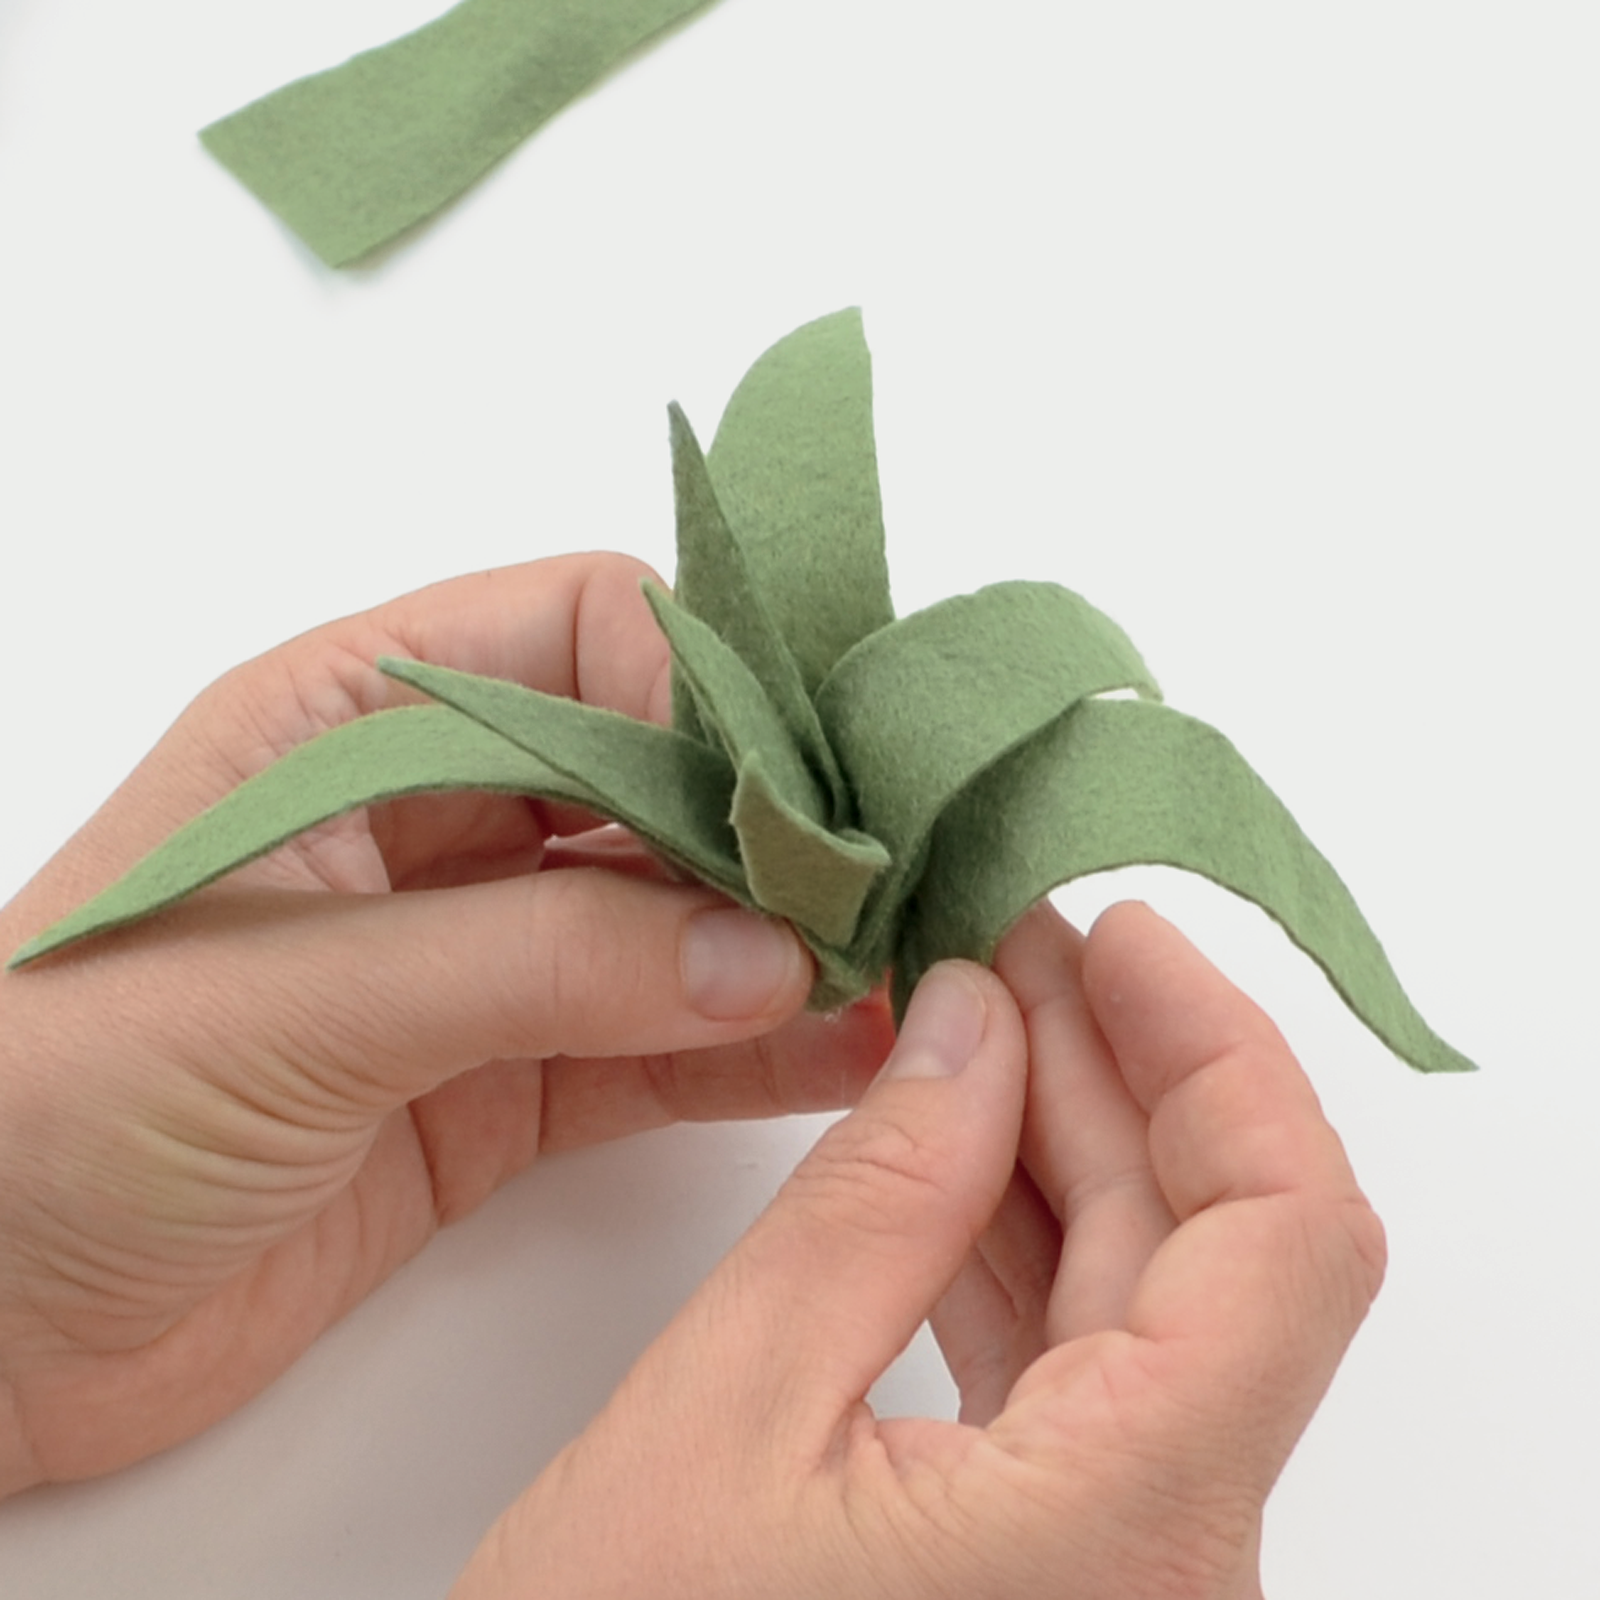
STEP 3: Add the remaining leaves. Continue adding leaves around the first one, spacing them out evenly and working from small to extra-large.
STEP 4: Shape the leaves. Spray the felt with fabric stiffener. Add enough so the felt feels noticeably wet. Using your fingers, curl and twist each leaf, working from the center of the plant outward.
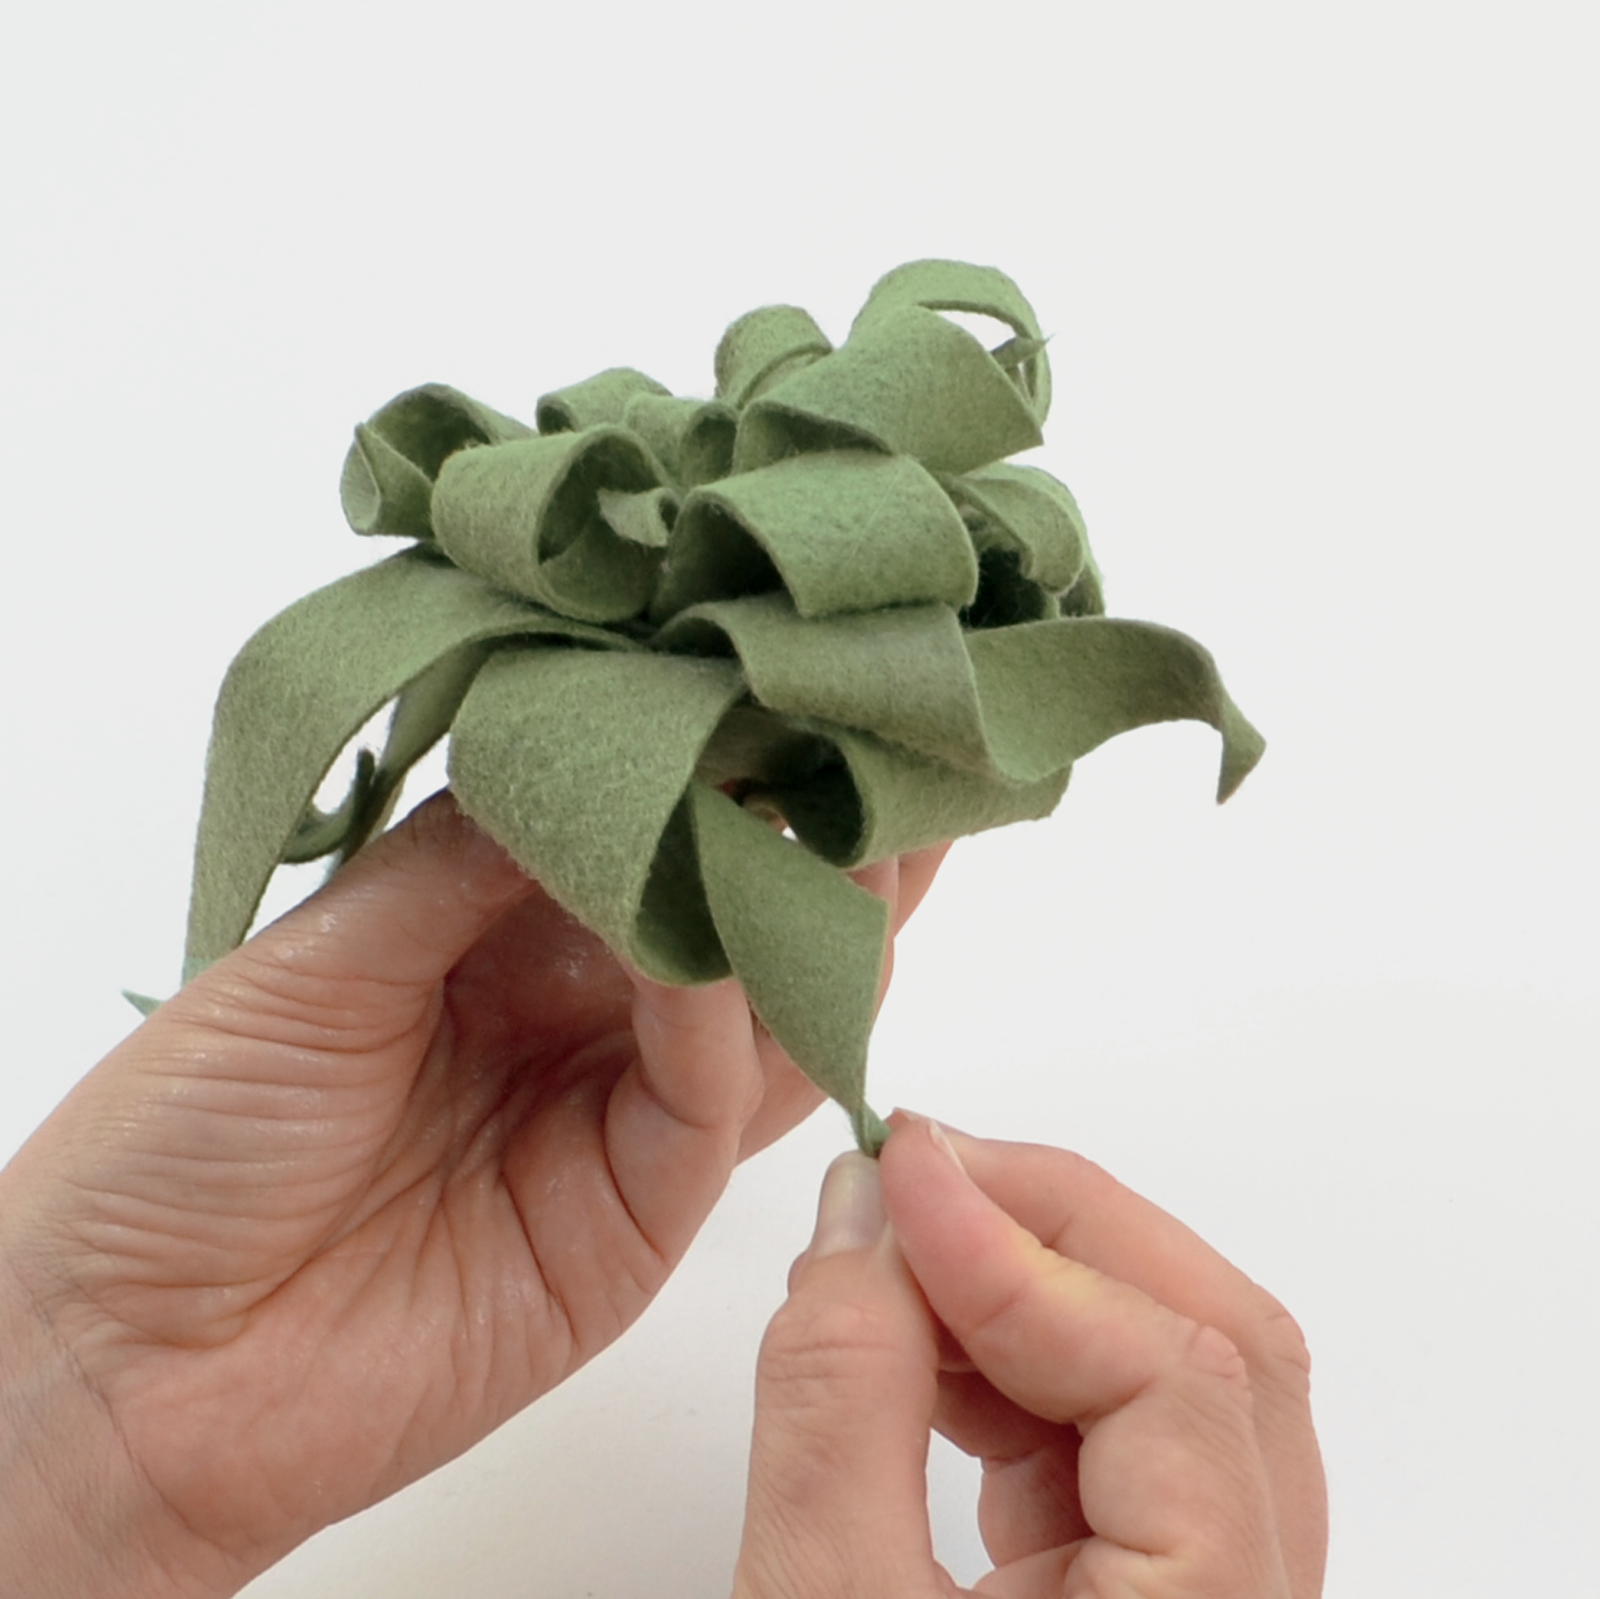
STEP 5: Dry. Set the air plant aside to dry. If you want to reshape some of the leaves, you can do so as they dry. You can also prop the leaves up on one another to help them hold their shape until they dry.
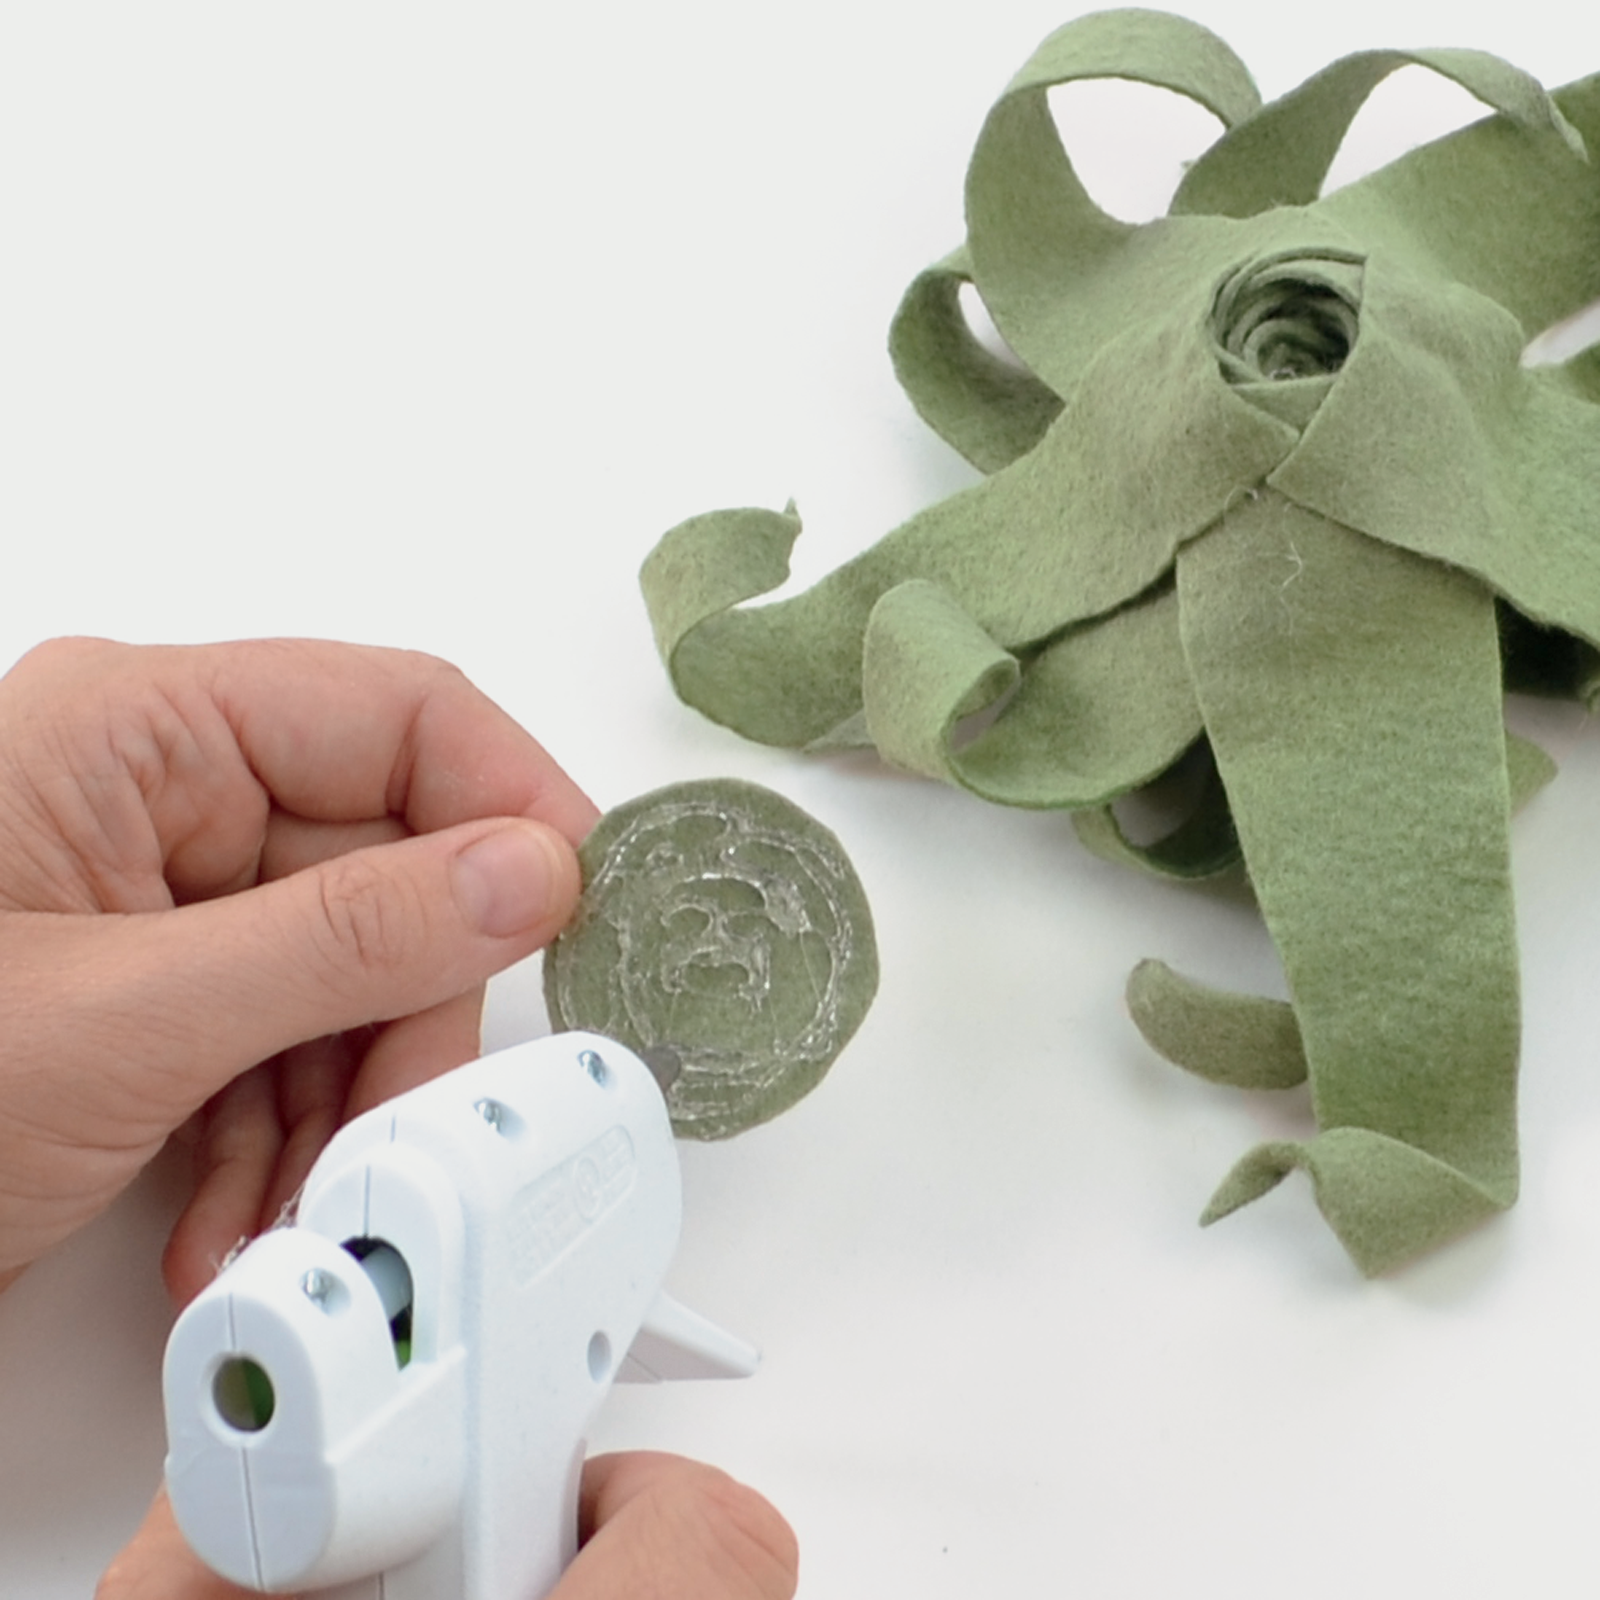
STEP 6: Finish. Cut a circle of felt large enough to cover the bottom of the plant and glue it in place.
This free project and introduction excerpt are from Felt Flower Workshop by Bryanne Rajamannar


