Free Project: Back-to-School Pencil Pouch
Feb 4th 2022
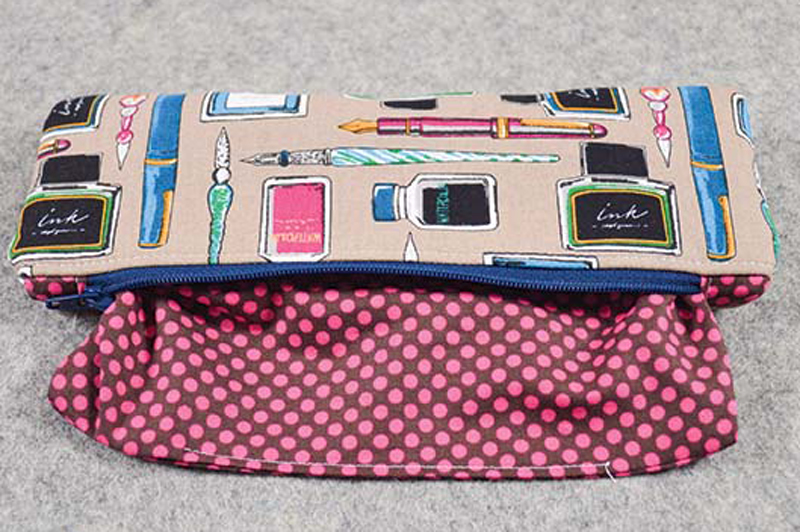
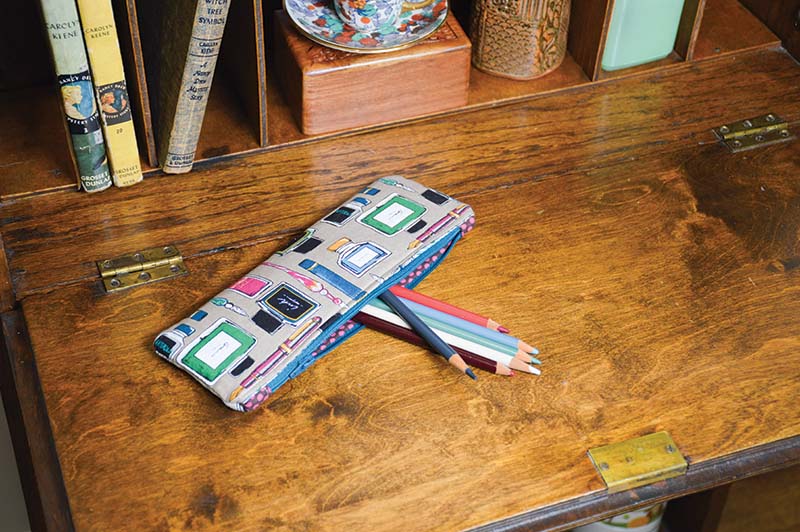
Use your favorite fabric to create your own back-to-school pencil pouch! This handy pencil pouch from Jump Into Sewing by Lee Chappell Monroe is the perfect project for beginner sewers.
Finished size: 9” x 3 ½” (22.9 x 8.9 cm)
MATERIALS
Exterior: 1/8 yard (32cm)
Lining: 1/8 yard (32cm)
Fusible fleece interfacing: 1/8 yard (32cm) (I used Pellon Fusible Fleece.)
All-purpose zipper: 10˝ (25.4cm) or longer
CUTTING
Cut out your pieces using either a rotary cutter or scissors.Rotary cutting is recommended.
EXTERIOR
Cut: 2 rectangles 4˝ × 10˝ (10.2 × 25.4cm)
LINING
Cut: 2 rectangles 4˝ × 10˝ (10.2 × 25.4cm)
2 rectangles 1˝ × 3˝ (2.5 × 7.6cm) for zipper accents
INTERFACING
Cut: 2 rectangles 31/2˝ × 91/2˝ (9.9 × 24.1cm)
Make the Pouch
Seam allowance is 1/2˝ (1.3cm) unless otherwise noted.
1. Center and fuse the interfacing to the wrong side of the exterior rectangles.
2. Attach the zipper and zipper accents to both sides of the exterior and lining, using Installing a Zipper (page 26).
3. Open the zipper.
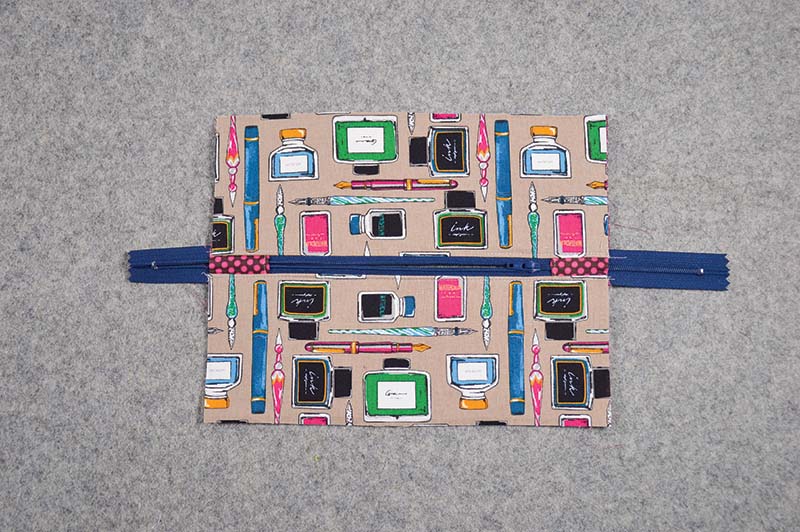
4. Pin or clip the exterior panels right sides together.
5. Pin or clip the lining right sides together. Leave a 4˝ (10.2cm) opening on the bottom of the lining. See Stitching an Opening (page 22).
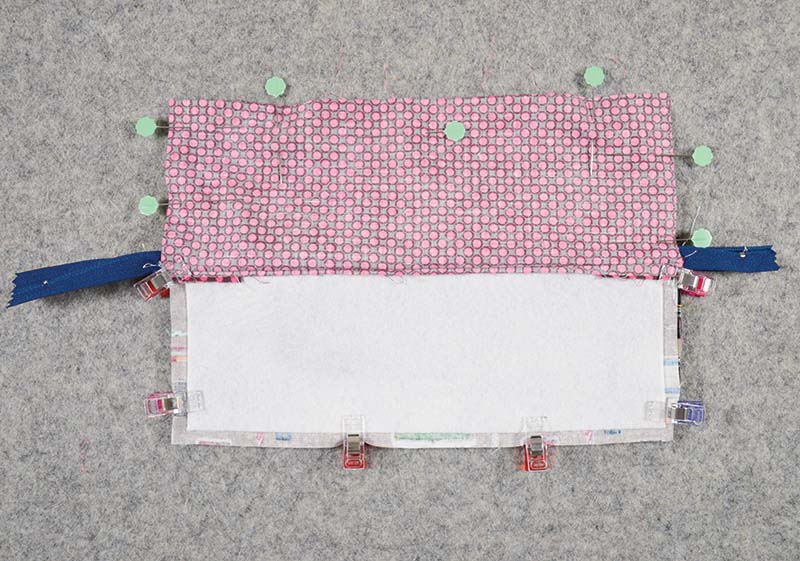
No-Sew Zone
Place a horizontal pin across the opening. If all other pins are perpendicular, this will serve as a reminder not to stitch this area.
6. Starting with the exterior of the bag, stitch down each side. Stitch back and forth across the zipper area a few times to add strength.
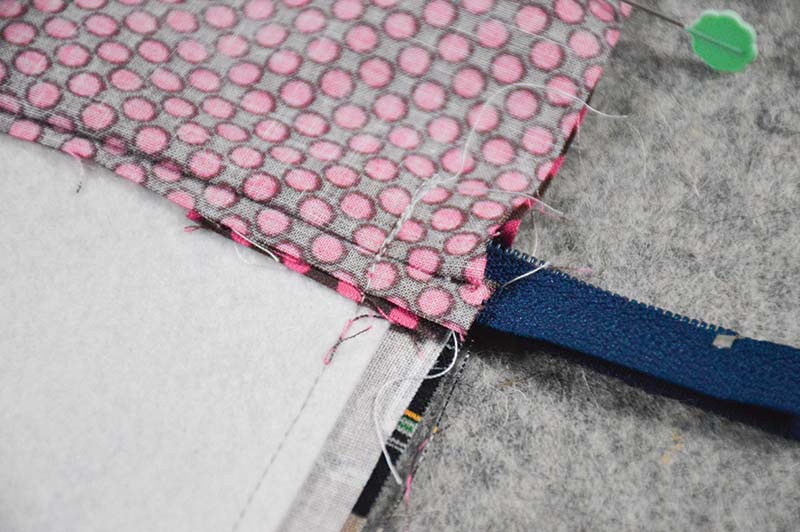
7. Stitch across the bottom of the exterior. Stitch across the bottom of the lining, leaving an opening (see Stitching an Opening, page 22).
8. Round the corner of the bag, using the instructions in Rounded Corner Stitching (page 22). Trim away the excess seam allowance to the outside corner seam on the exterior.
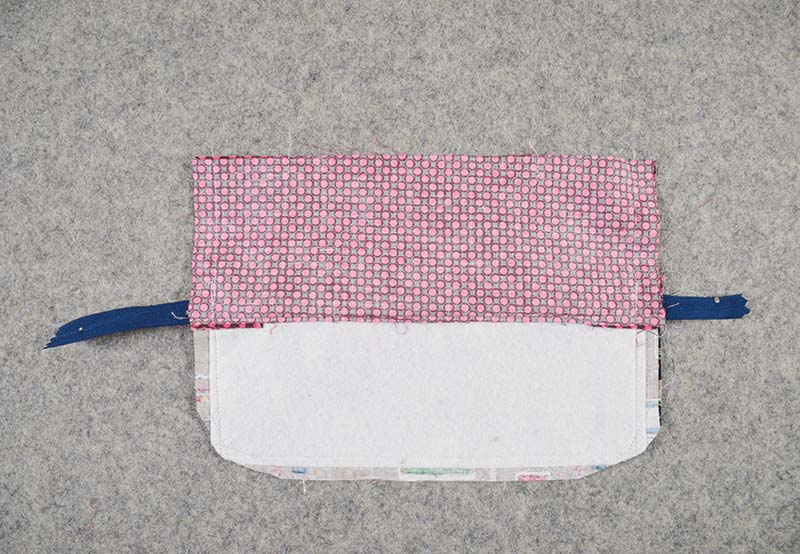
9. Trim off the excess zipper and cut a half-circle out of the seam allowance 1/8˝ (3mm) from the seam.
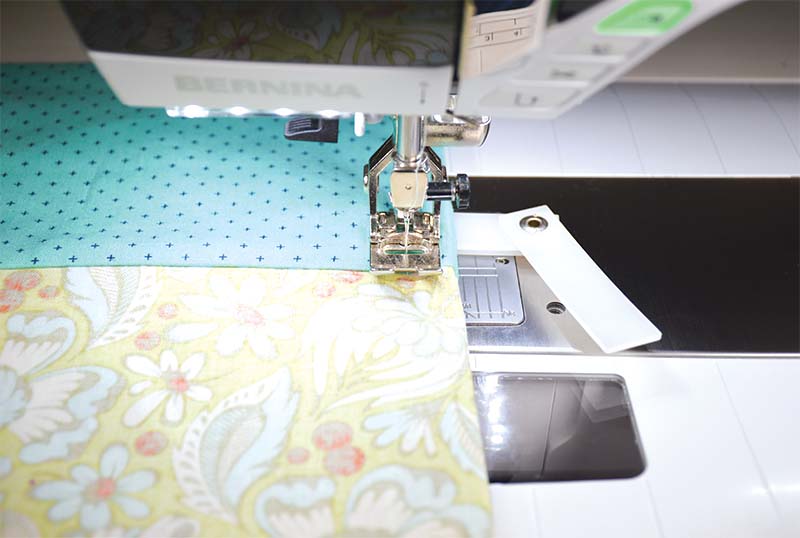
Hump Jumper
The white piece behind the presser foot is a height compensation tool, more aptly referred to as a hump jumper. It provides a height boost to the presser foot when your machine is struggling over multiple layers. It is often included with a sewing machine.
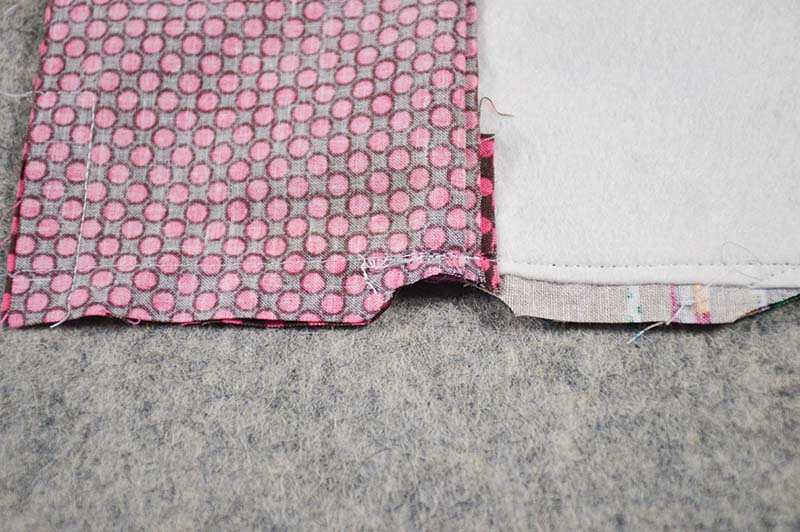
10. Turn right side out. Use a point turner to poke out the corners.
Other Point Turners
Don’t have a point turner? Any narrow blunt object will work. Try a mechanical pencil with no lead or a chopstick. You should never use anything sharp for fear of piercing the fabric. No seam rippers or snips!
11. Hand stitch or topstitch the lining closed.
